The Heart of the Cake
Let’s talk about vanilla. It is the soul of this cake. I use a whole tablespoon. It might seem like a lot. But it makes the whole kitchen smell like a hug. Doesn’t that smell amazing?
My granddaughter once asked why we don’t just use less. I told her it’s like a secret promise. You promise the cake will be full of warmth. That first bite keeps the promise. That matters. It turns food into a feeling.
A Little Buttermilk Magic
Now, the buttermilk. It sounds sour, I know. But here is the fun fact: Buttermilk makes cakes extra tender and soft. It works with the baking soda. They have a little fizzy party in your bowl.
I remember my first cake without it. It was dry as a cracker. I still laugh at that. Now I never skip it. This matters because good ingredients are friends. They help each other make something wonderful.
Building Your Layers
You will have three pans. Dividing the batter can be tricky. I use a big spoon to be fair. I want each layer to be a good friend to the others. They all need to be the same.
When they come out of the oven, let them rest. A warm cake is fragile, like a nap. If you frost it too soon, it will crumble. Patience is part of the recipe. What’s your favorite part of baking? Is it mixing, or is it the decorating?
The Fluffy Frosting Cloud
The frosting is just butter, sugar, and vanilla. You beat it for a long time. Two whole minutes! It changes from grainy to a fluffy cloud. That pinch of salt is the key. It stops the sweetness from being too much.
My advice? Taste it with a clean spoon. Does it need a touch more milk? Your tongue knows best. Do you like your frosting super sweet, or just a little?
The Grand Finale
Putting the cake together is my favorite part. A little frosting between each layer is like glue. Then comes the crumb coat. It’s a thin first layer. It traps all the loose crumbs. Then you chill it.
That chill time is important. It makes the final frosting so easy. You can make it smooth or add big swirls. Then, the sprinkles! They are pure joy. What color sprinkles would make you smile the most?
Ingredients:
| Ingredient | Amount | Notes |
|---|---|---|
| Cake Flour | 3 2/3 cups | For the cake |
| Salt | 1 teaspoon | For the cake |
| Baking Powder | 1 teaspoon | For the cake |
| Baking Soda | 3/4 teaspoon | For the cake |
| Butter, softened | 1 1/2 cups | For the cake |
| Sugar | 2 cups | For the cake |
| Whole Eggs | 3 | For the cake |
| Egg Whites | 2 | For the cake |
| Vanilla Extract | 1 tablespoon | For the cake |
| Buttermilk | 1 1/2 cups | For the cake |
| Butter, softened | 1 1/2 cups | For the frosting |
| Powdered Sugar | 6 cups | For the frosting |
| Milk or Half and Half | 1/3 cup | For the frosting |
| Vanilla Extract | 1 1/2 teaspoons | For the frosting |
| Salt | pinch | For the frosting |
| Sprinkles | as needed | For garnish |
My Favorite Vanilla Cake & The Best Baking Tips
Hello, my dear! It’s Lena. Let’s bake my favorite vanilla cake. This recipe is my go-to for birthdays. It always brings back happy memories. I baked this for my grandson’s tenth birthday. He got frosting everywhere! I still laugh at that.
Baking should feel like a hug. So don’t rush. First, get your pans ready. That’s our secret for an easy release later. Doesn’t that smell amazing when it starts to bake? It fills the whole house with warmth.
Step 1: Heat your oven to 350 degrees. Line three 8-inch pans with parchment paper. Grease the paper and sides well. This little paper circle is a cake’s best friend. It stops sticking! Set your pans aside for now. Step 2: Whisk your dry stuff in a bowl. That’s the cake flour, salt, baking powder, and baking soda. In another big bowl, beat the soft butter and sugar. Beat it until it’s fluffy and pale. It should look like creamy clouds. Step 3: Add the eggs and egg whites one at a time. Then pour in the vanilla. Mix until it’s all smooth. Now, add your dry mixture slowly. Mix it on a low speed. Scrape the bowl’s sides with a spatula. Step 4: Pour in the buttermilk. Mix just until you see no white streaks. (Here’s a hard-learned tip: Over-mixing makes a tough cake. Stop as soon as it’s combined!). Divide this lovely batter between your three pans. Step 5: Bake for 25 to 30 minutes. The cake is done when the edges are light gold. A toothpick poked in the middle should come out clean. Let the cakes cool completely in their pans. Patience is key here! Step 6: For the frosting, beat the soft butter until fluffy. Gradually add the powdered sugar, milk, vanilla, and a tiny salt pinch. Beat on high for two full minutes. It becomes so light and spreadable. Pro tip: What does adding the eggs one at a time prevent? Share below! Step 7: Level your cake tops with a serrated knife. Place one layer on a plate. Spread a cup of frosting on top. Add the next layer and more frosting. Top with the final layer. Now frost the top and sides. Step 8: For a super neat cake, do a thin “crumb coat” first. Chill the cake for 20 minutes. Then add your final, beautiful layer of frosting. Top it all with a big handful of colorful sprinkles. There! You made a masterpiece. Cook Time: 30 minutesTotal Time: 1 hour 30 minutes (plus cooling)
Yield: 12 slices
Category: Dessert, Cake
Three Fun Twists on a Classic
This cake is a perfect blank canvas. You can dress it up so easily. Here are three of my favorite ways to change it. Each one feels like a whole new dessert. Try one next time you bake.
Sunshine Lemon: Add the zest of two lemons to the batter. Use lemon juice in the frosting instead of milk. So bright and cheerful! Berry Surprise: Spread a thin layer of seedless raspberry jam between the cake layers. It’s a sweet, fruity little secret inside. Cookie Crunch: Mix half a cup of crushed vanilla wafers into the frosting. Sprinkle more on top. It gives a wonderful crunch. Which one would you try first? Comment below!Serving It Up With Style
This cake is a star on its own. But a few extras make it a real celebration. For a summer party, serve it with fresh berries on the side. A dollop of whipped cream never hurts either. You could even toast some coconut for a pretty topping.
What to drink? For the grown-ups, a little glass of sweet dessert wine is lovely. It sips like honey. For everyone, a cold glass of milk is the classic choice. Or try sparkling apple cider. The bubbles are fun with the sweet cake.
Which would you choose tonight?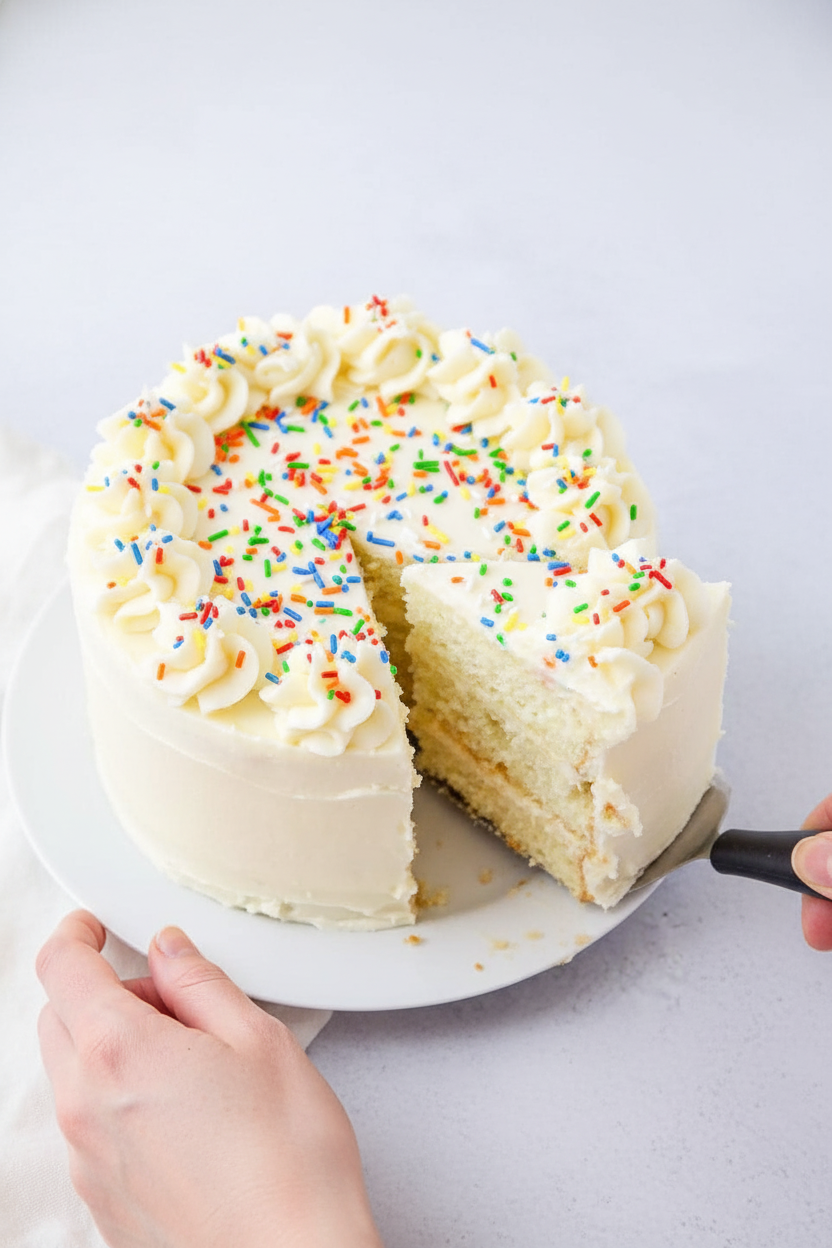
Keeping Your Cake Fresh and Happy
Let’s talk about keeping your cake tasty. First, cool it completely. Warm cake in a container makes soggy frosting. I learned this the hard way with my first layer cake. It was a sad, sticky mess.
For the fridge, cover it well. Use a cake carrier or wrap it gently. It will stay fresh for about five days. You can freeze unfrosted layers for three months. Wrap them tightly in plastic wrap first. This is perfect for batch baking.
Why does this matter? Good storage saves your hard work. It means you can have sweet treats ready anytime. A little planning brings a lot of joy. Have you ever tried storing it this way? Share below!
Common Cake Troubles and Easy Fixes
Even grandmas have cake problems sometimes. Here are three common ones. First, a dry cake. This often means you baked it too long. Set a timer and check it early. I once got talking with a neighbor and over-baked. We still ate it with extra frosting!
Second, a dense or heavy cake. Did you measure the flour correctly? Spoon it into the cup and level it off. Do not scoop from the bag. This simple step makes a lighter cake. Third, frosting that tears the cake. Your cake must be completely cool. A warm cake will crumble.
Fixing these issues builds your confidence. You learn how ingredients work together. It also makes your cake taste so much better. Every baker has stories. Which of these problems have you run into before?
Your Cake Questions, Answered
Q: Can I make this gluten-free? A: Yes. Use a good gluten-free flour blend made for baking.
Q: Can I make parts ahead? A: Absolutely. Bake the layers a day early. Wrap and frost them the next day.
Q: What if I don’t have buttermilk? A: Mix 1 tablespoon of lemon juice or vinegar into 1 1/2 cups of milk. Let it sit for 5 minutes.
Q: Can I make a smaller cake? A: You can halve the recipe. Use two 6-inch round pans. Bake time will be less.
Q: Any optional tips? A: For extra flavor, add a little lemon zest to the batter. *Fun fact: vanilla comes from orchids!* Which tip will you try first?
From My Kitchen to Yours
I hope you love baking this vanilla cake. It is a classic for a reason. It is perfect for birthdays, Tuesdays, or any day that needs a smile.
I would love to see your creation. Sharing food is how we share joy. Have you tried this recipe? Tag us on Pinterest! You can find me at @LenasCozyKitchen. I can’t wait to see your beautiful cakes.
Happy cooking!
—Lena Morales.
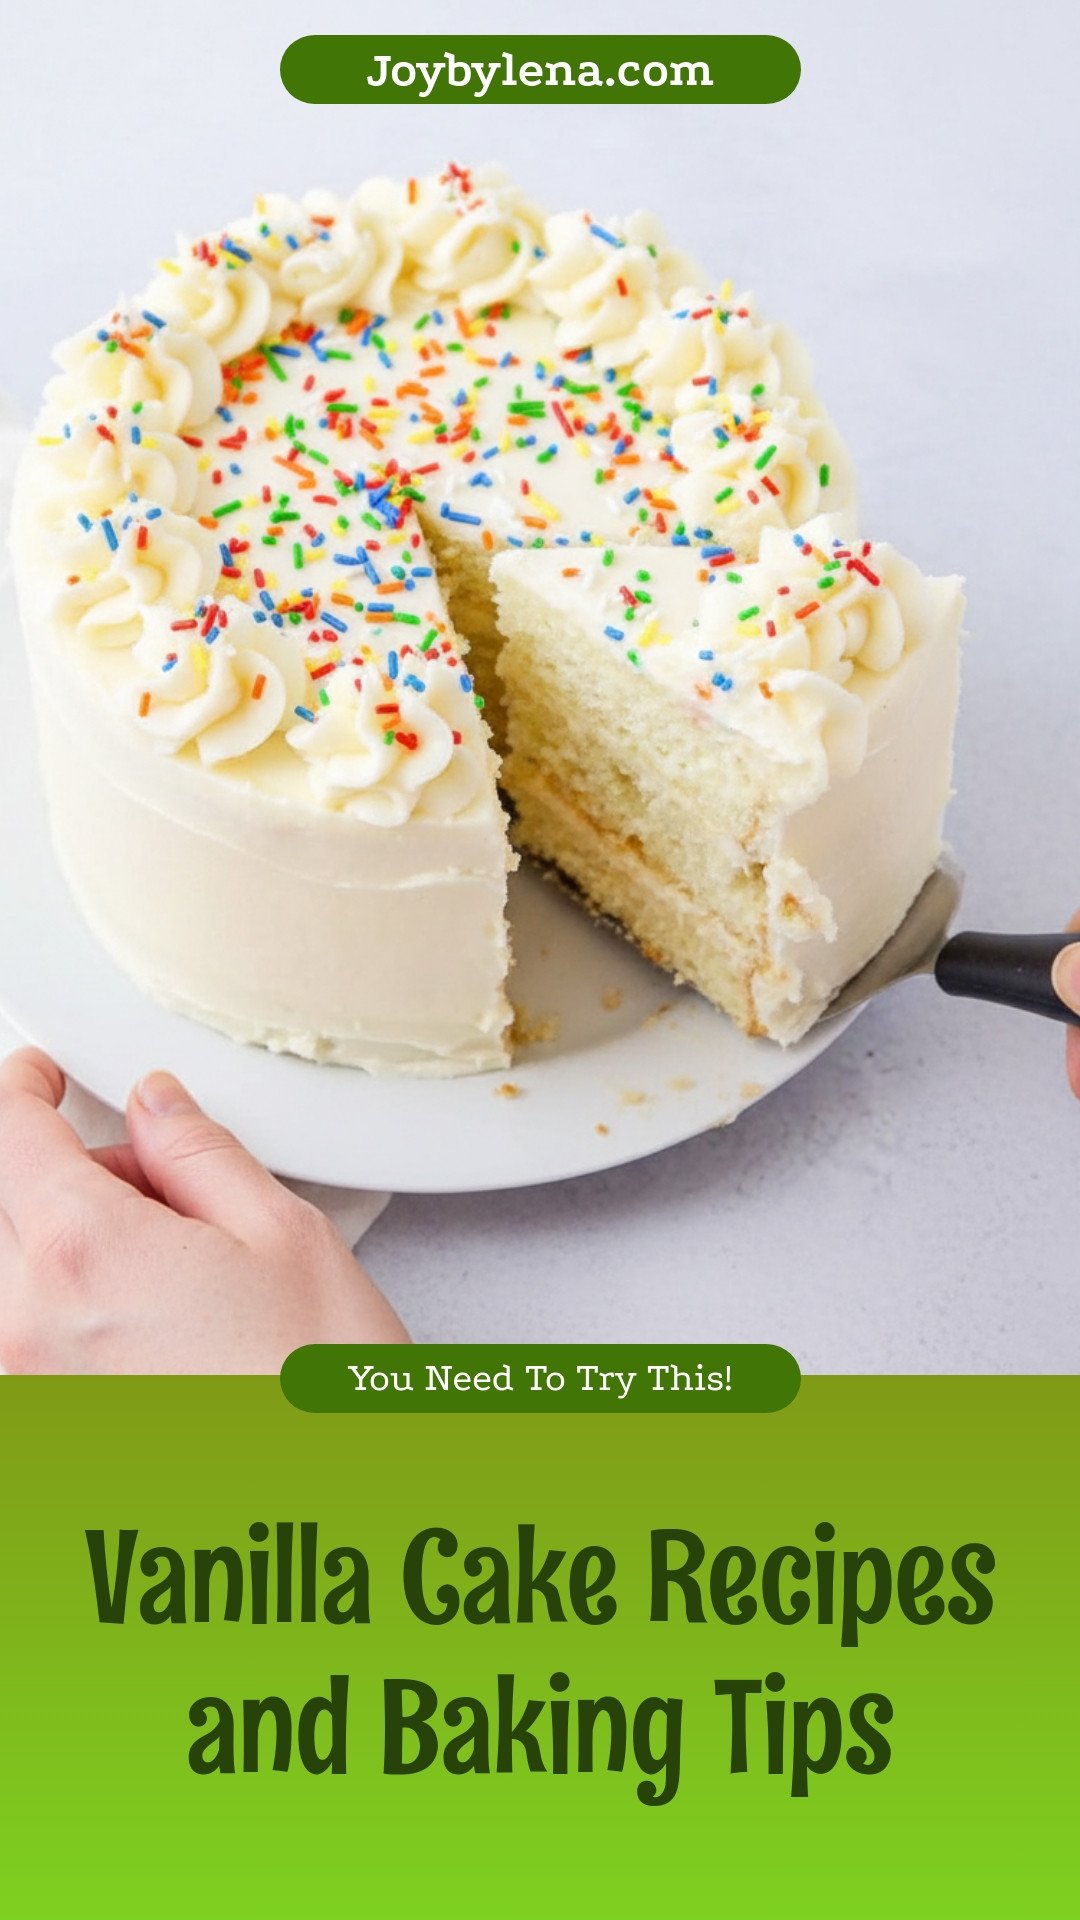
Vanilla Cake: Vanilla Cake Recipes and Baking Tips
Description
A classic, moist, and fluffy vanilla cake with rich vanilla frosting, perfect for any celebration.
Ingredients
**Ingredients for the Frosting:**
Instructions
- Preheat the oven to 350 degrees. Line three 8-inch cake pans with parchment paper, grease them and set aside.
- In a medium bowl, whisk together the cake flour, salt, baking powder, baking soda, and set aside. In a large bowl or the bowl of a stand mixer, beat together the butter and sugar until light and fluffy. Add the eggs, egg whites, and vanilla, and mix until smooth.
- With the mixer on low, gradually add the dry ingredients, until well combined, scraping down the sides of the bowl as needed. Pour in the buttermilk and mix until combined.
- Divide the cake batter evenly between the three prepared cake pans. Bake the cake layer for 25-30 minutes, until lightly browned around the edges, and a toothpick inserted in the center comes out clean. Remove from oven and let cool completely.
- To make the frosting, beat the butter in a large bowl or the bowl of a stand mixer until light and fluffy. Add the powdered sugar, milk, vanilla, and salt, and mix to combine. Add milk or powdered sugar as needed to make a smooth frosting. Beat on high for 2 minutes, until light and fluffy.
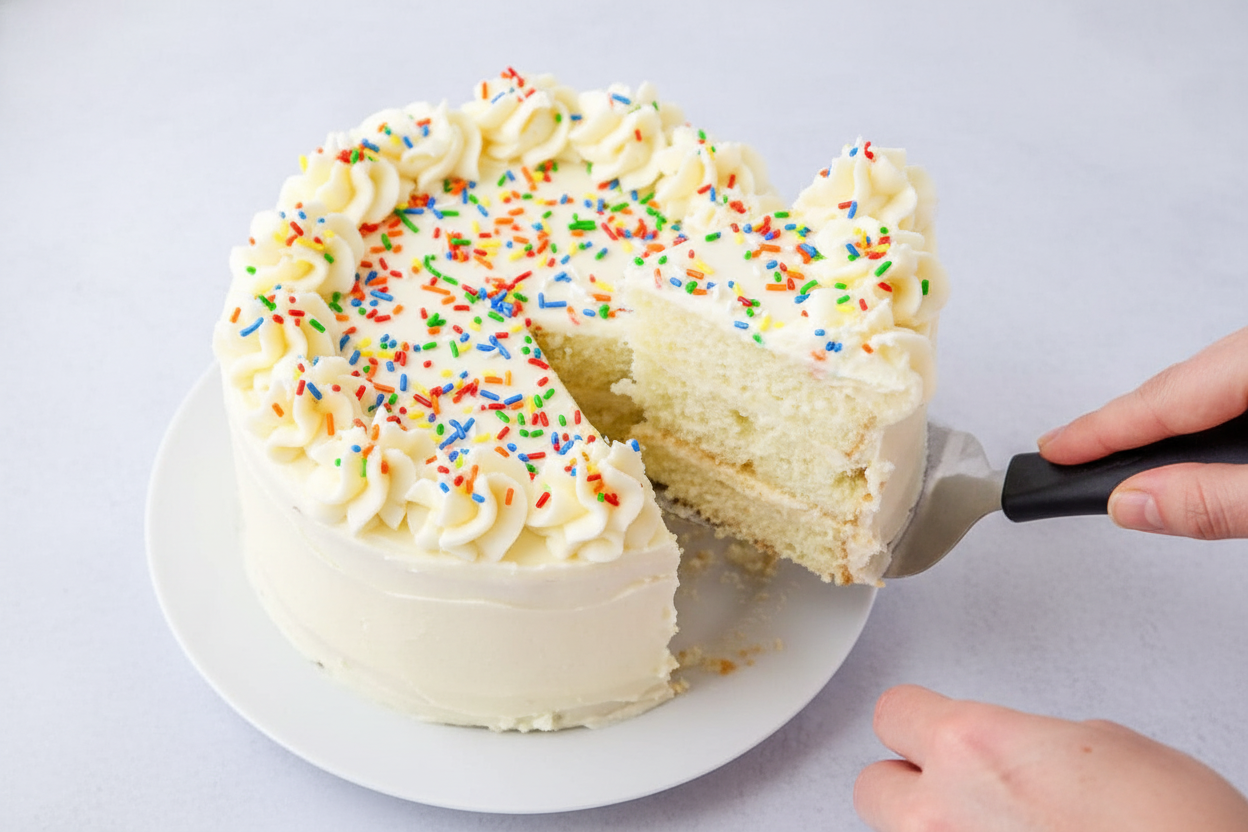
- To assemble the cake, level the tops of each of the cake layers with a serrated knife. Place one cake layer down on a cake turntable or serving platter. Spread with one cup of the frosting. Place the second cake layer on top and spread with another cup of frosting. Place the final layer on top, then spread the frosting around the top and sides.
- For a smoother look, add a light layer of frosting (known as a crumb coat) around the top and sides of the cake, then refrigerate for 20-30 minutes. Once the cake has chilled slightly, spread a thicker layer of frosting around the sides and over the top, and add dollops of frosting for decoration, if desired. Sprinkle with multicolored sprinkles.
Notes
- Nutrition per serving: Calories: 715kcal | Carbohydrates: 92g | Protein: 6g | Fat: 37g | Saturated Fat: 23g | Cholesterol: 125mg | Sodium: 546mg | Potassium: 119mg | Fiber: 1g | Sugar: 71g | Vitamin A: 1154IU | Calcium: 62mg | Iron: 1mg


Leave a Reply