My First Lemon Meringue Disaster
I made my first lemon meringue pie at sixteen. I was so proud. I put it on the table for my family.
Then the whole meringue slid right off! It landed on the table with a sad plop. We ate the lemon part with a spoon. I still laugh at that.
Why The Crust Matters
Always bake your crust first. This is called blind baking. It stops the crust from getting soggy.
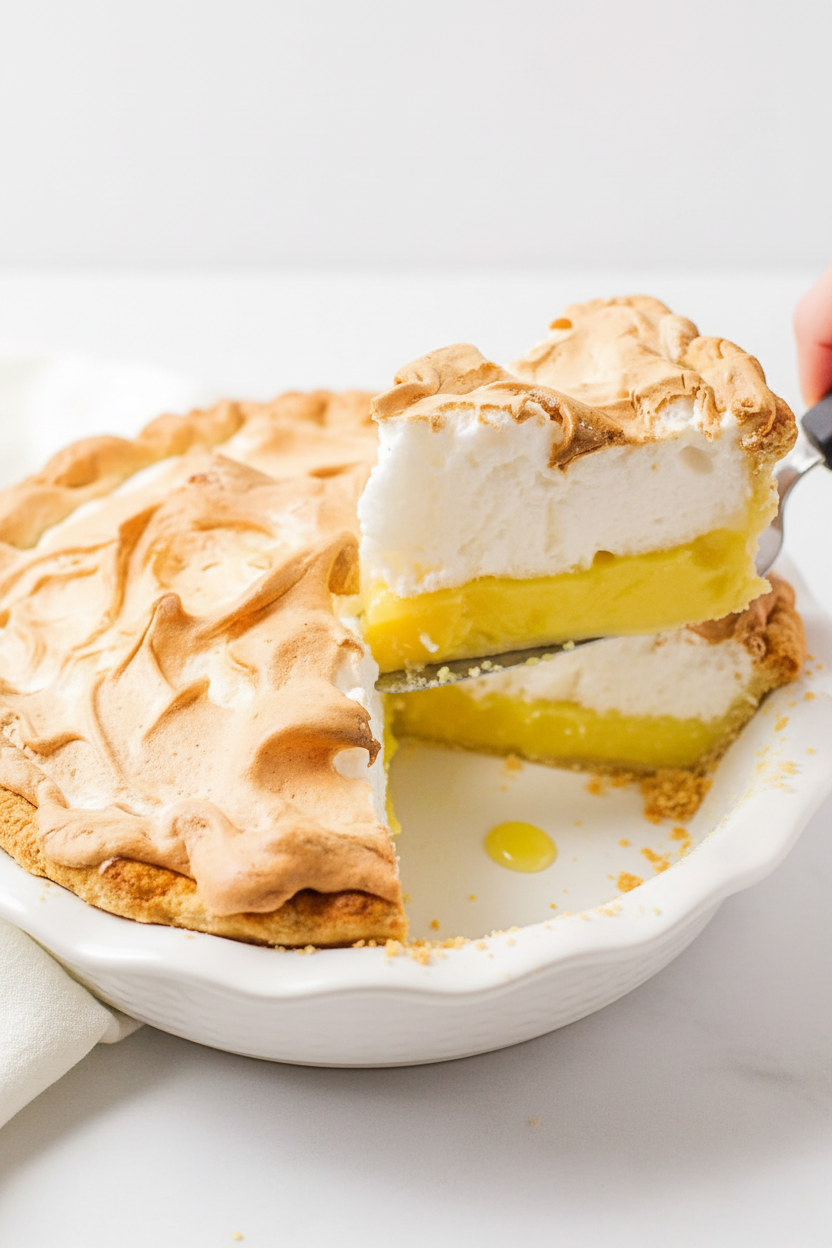
A soggy bottom is a sad pie. A crisp crust holds that bright filling. It gives you a perfect bite every time.
The Magic of The Filling
Whisk your sugar and cornstarch well. No lumps! Then add the yolks, milk, and lemon. Now comes the fun part.
You must stir and stir until it boils. It will thicken like magic. Doesn’t that smell amazing? That sharp, sunny lemon fills the whole kitchen.
Fun fact: The acid in lemon juice “cooks” the egg yolks, helping it thicken!
Fluffy Cloud Meringue
Use a very clean bowl for the egg whites. Any grease stops them from fluffing up. Beat them until they look like soft clouds.
Then add the sugar slowly. Keep beating until it’s glossy and stiff. This matters because strong meringue won’t weep or slide off later.
What’s your biggest baking fear? Is it meringue, or something else? Tell me, I’ve probably been there!
Sealing The Deal
Here’s the secret from my disaster. Put the meringue on the warm filling. Start by spreading it to the very edge of the crust.
Seal it all the way around. No gaps! This locks in the heat. It makes the meringue stick. Then pile the rest in the middle and make peaks.
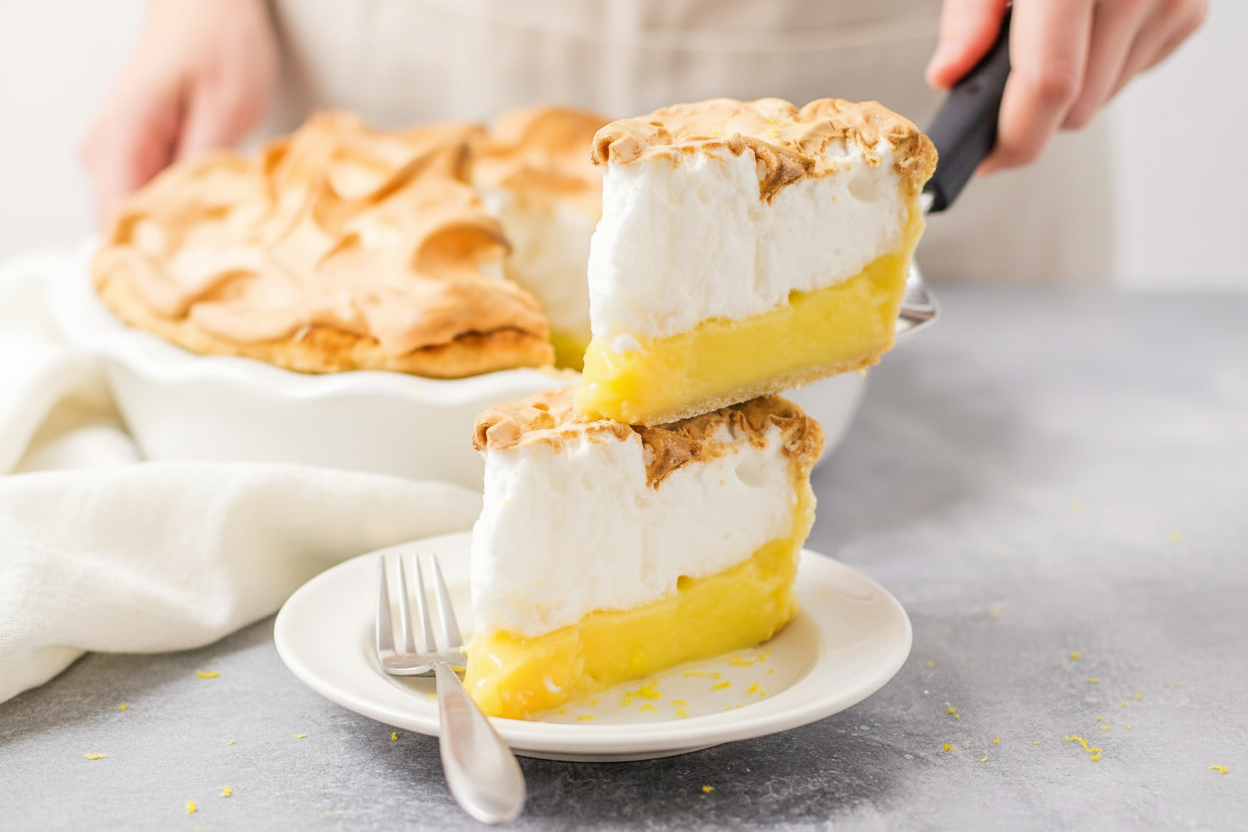
A Pie Full of Sunshine
That first tart, sweet bite is pure joy. It tastes like a sunny day. This matters because food made with care brings people together.
It’s more than just dessert. It’s a memory on a plate. Do you have a family dessert that holds a special memory? I love hearing those stories.
If you make this, will you share a picture? I would love to see your golden meringue peaks!
Ingredients:
| Ingredient | Amount | Notes |
|---|---|---|
| Egg yolks | 5 | For the filling |
| White sugar | 1 cup | For the filling |
| Cornstarch | ⅓ cup | For the filling |
| Salt | ¼ teaspoon | For the filling |
| Milk | 1 ½ cups | For the filling |
| Fresh lemon juice | ½ cup | For the filling |
| Lemon zest | 1 tablespoon | For the filling |
| Butter | 2 tablespoons | For the filling |
| Vanilla | ½ teaspoon | For the filling |
| Pie crust (9-inch) | 1 | Baked, for the filling |
| Egg whites | 7 | For the meringue |
| Cream of tartar | ½ teaspoon | For the meringue |
| White sugar | ½ cup | For the meringue |
My Sunshine Lemon Meringue Pie
Hello, my dear. Come sit. Let’s make my favorite pie. It tastes like a bright, sunny day. I learned this from my own abuela. She always said a good pie fixes most things. I think she was right. The kitchen smells amazing with lemon and sugar. Doesn’t that sound nice?
We’ll take it slow, step-by-step. It’s easier than it looks. I promise. Just follow my lead. I’ll share my little secrets along the way. Ready? Let’s begin.
Step 1: The Crust & Eggs
First, get your oven hot. Set it to 375°F. Put your store-bought crust in a pie dish. Bake it like the package says. This is called blind baking. It keeps the crust crisp. Now, crack your eggs. Separate the yolks from the whites. Put the yolks in a small bowl. Beat them gently with a fork. Set them aside for later.
Step 2: The Lemon Filling
Grab a medium saucepan. Whisk the sugar, cornstarch, and salt together. Now add your beaten egg yolks. Mix until it’s all yellow. Pour in the milk, fresh lemon juice, and zest. The zest is the secret! It gives the best flavor. Turn the heat to medium. Stir it almost the whole time. (My hard-learned tip: Don’t walk away! This filling can burn quickly.)
Step 3: Finish the Filling
Keep stirring until it boils. Let it bubble for one full minute. Then take it off the heat. Stir in the butter and vanilla. See how it gets shiny and thick? Pour this beautiful yellow filling into your baked crust. Spread it evenly. The warmth feels lovely on your hands.
Step 4: The Meringue Cloud
Time for the fluffy cloud! Use a very clean bowl for the egg whites. Add cream of tartar. Beat with a mixer until soft peaks form. Now slowly add the sugar. Keep beating until the peaks are stiff and glossy. It should look like shiny snow. What does “soft peaks” mean? Share below!
Step 5: Bake & Cool
Lower your oven to 325°F. Spoon the meringue around the edge of the warm filling first. Seal it right to the crust. This stops it from shrinking! Then pile the rest in the center. Use a spoon to make pretty peaks. Bake for 20 minutes. Watch it turn a perfect golden brown. Let it cool completely before you slice. The wait is the hardest part!
| Cook Time: | 45 minutes |
| Total Time: | 1 hour 15 minutes (plus cooling) |
| Yield: | 8 servings |
| Category: | Dessert, Pie |
Three Twists to Make It Yours
This pie is perfect as is. But it’s fun to play sometimes. Here are three ideas my grandkids love.
- Lime & Coconut: Use lime juice instead of lemon. Add a handful of toasted coconut to the filling.
- Berry Swirl: Gently swirl some raspberry jam into the lemon filling before adding the meringue.
- Ginger Snap Crust: Use a crust made from crushed ginger snap cookies. It adds a little spicy warmth.
Which one would you try first? Comment below!
Serving It With Style
A slice of this pie is a celebration. For a special touch, add a dollop of whipped cream. A few fresh blueberries on the side look pretty. Or just a tiny sprinkle of extra lemon zest. So simple, so good.
What to drink? For grown-ups, a glass of cold Moscato wine is lovely. For everyone, a fizzy lemon-lime soda or iced tea is perfect. The tart and sweet flavors dance together. Which would you choose tonight?
Keeping Your Sunshine Pie Fresh
Let’s talk about keeping your pie perfect. First, cool it completely on the counter. Then, cover it loosely and put it in the fridge. It will stay happy for about three days. I do not recommend freezing the whole pie. The meringue gets weepy and sad.
You can freeze just the lemon filling, though. Make a batch and freeze it in a container. Thaw it in the fridge when you need a quick pie. This is a great batch-cook trick for busy weeks. Having that filling ready feels like a kitchen hug on a tough day.
My first meringue pie sat out too long. The topping started to droop! Now I know, the fridge is its friend. Storing food right means less waste and more joy. You get to enjoy your hard work longer. Have you ever tried storing it this way? Share below!
My Favorite Pie Fixes
Sometimes our pies need a little help. Here are my easy fixes. First, a runny filling. This means it did not boil long enough. You must boil it for a full minute while stirring. It will thicken up beautifully.
Second, watery meringue. Make sure your bowl is very clean. Any grease stops the egg whites from fluffing. I remember using a plastic bowl once. The meringue just would not peak! A glass or metal bowl works best.
Third, the meringue shrinking. Spread it on the filling while both are still warm. Seal it right to the crust edge. This keeps it from pulling back. Fixing small problems builds your cooking confidence. It also makes your pie taste and look amazing. Which of these problems have you run into before?
Your Pie Questions, Answered
Q: Can I make this gluten-free? A: Yes! Use your favorite gluten-free pie crust from the store.
Q: Can I make parts ahead? A: You can bake the crust and make the filling a day early. Add meringue and bake the day you serve it.
Q: What if I don’t have cornstarch? A: You can use flour, but you will need a bit more. Use half a cup instead.
Q: Can I make a smaller pie? A: Sure! Just cut all the ingredients in half. Use a smaller pie dish.
Q: Any optional tips? A: A little cream of tartar in the meringue makes it stable. *Fun fact: It comes from grapes!* Which tip will you try first?
Bake With Love, Share With Joy
I hope you love making this sunny pie. It is a taste of bright days. Cooking is about sharing stories and smiles. I would love to see your creation. Your kitchen adventures make me so happy.
Please share a photo of your slice. Show me your beautiful peaks and golden crust. Have you tried this recipe? Tag us on Pinterest! You can find me there at Lena’s Kitchen Table. Thank you for baking with me today.
Happy cooking!
—Lena Morales.
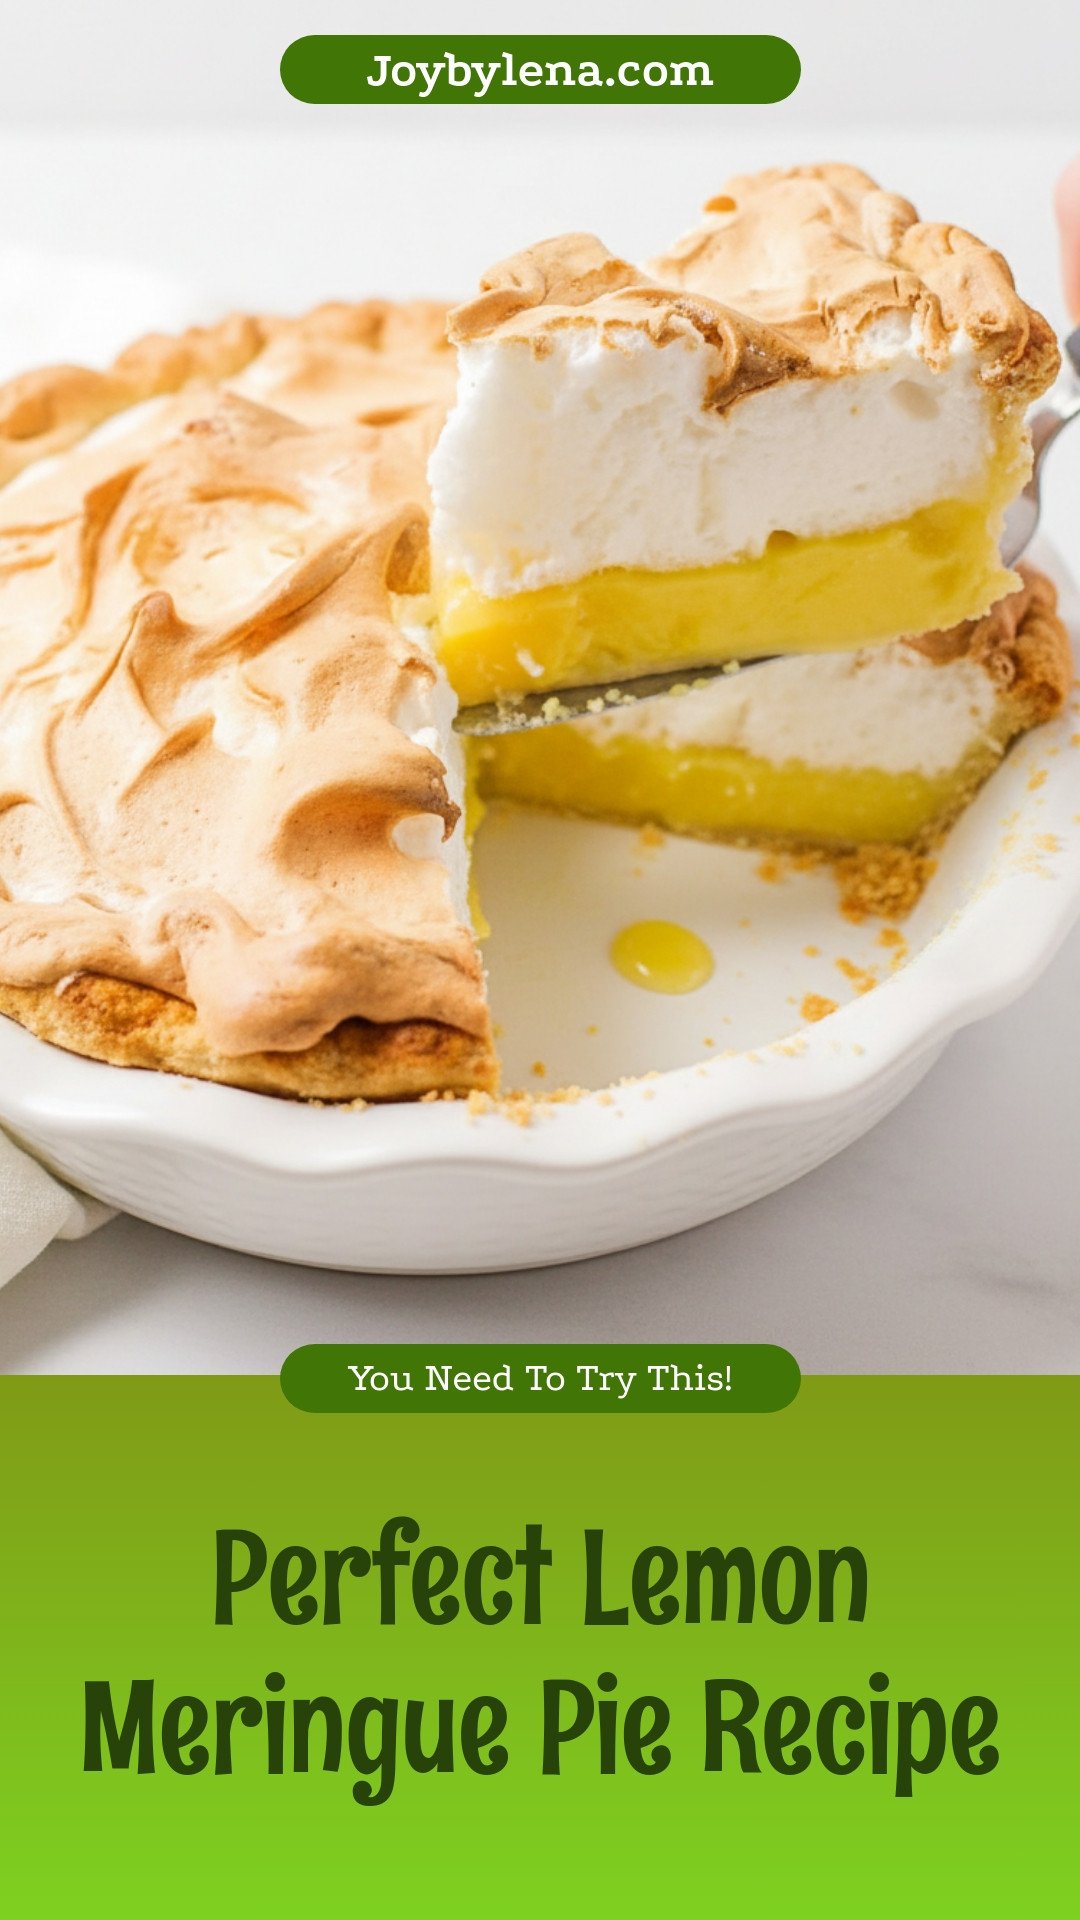
Perfect Lemon Meringue Pie Recipe
Description
A classic dessert with a tangy, smooth lemon filling and a light, golden meringue topping.
Ingredients
Filling:
Meringue:
Instructions
- Preheat the oven to 375°F. Place crust in a shallow 9-inch pie dish and pre-bake according to package directions.
- Place egg yolks in a small bowl and beat them together. Set aside.
- In a medium saucepan, whisk together the sugar, cornstarch, and salt. Add the egg yolks and mix until combined. Add the milk, lemon juice, and lemon zest. Bring the mixture to a boil over medium heat, stirring frequently. Boil for one minute, then remove from heat and stir in the butter and vanilla. Pour into the prepared pie crust.
- Make the meringue by beating the egg whites and cream of tartar in a medium glass or metal bowl, until soft peaks form (3-5 minutes). Slowly add sugar, continuing to beat until glossy, stiff peaks form (about 2 minutes).
- While the lemon filling is still warm, spread the meringue around the edge of the pie. Make sure the mixture attaches to the crust with no gaps. Add the remaining meringue to the center and use the back of a spoon to create small peaks all over the pie.
- Bake at 325°F for about 20 minutes, or until the meringue is golden brown.
Notes
- Nutrition per serving (1 slice): Calories: 273kcal, Carbohydrates: 46g, Protein: 6g, Fat: 8g, Saturated Fat: 4g, Polyunsaturated Fat: 1g, Monounsaturated Fat: 2g, Trans Fat: 0.1g, Cholesterol: 135mg, Sodium: 163mg, Potassium: 174mg, Fiber: 0.2g, Sugar: 40g, Vitamin A: 325IU, Vitamin C: 7mg, Calcium: 76mg, Iron: 0.4mg


Leave a Reply