My First Spatchcock Turkey
I tried spatchcocking a turkey years ago. I was so nervous. My kitchen shears felt tiny against that big bird.
But you know what? It worked. The turkey cooked faster and stayed juicy. I still laugh at that memory. It taught me to be brave in the kitchen.
Why We Flatten the Bird
Spatchcock just means removing the backbone. Then you press the turkey flat. This is the big secret.
A flat turkey cooks evenly. The dark meat and white meat finish together. No more dry breast while waiting for the thighs to cook. This matters because every bite should be perfect.
Your Flavor Blanket
That simple oil and spice mix is magic. Brush it everywhere. Get it under the skin if you can.
It makes a crispy, golden skin. Doesn’t that smell amazing? The vegetables underneath are not just for show. They steam and make a tasty base for gravy later. *Fun fact: The word “spatchcock” comes from an old phrase meaning “dispatch the cock,” or cook the chicken quickly!*
Listen to Your Oven
Every oven has its own personality. Mine runs a little hot. So I watch the turkey like a hawk.
If the skin browns too fast, I lay a little foil on it. The thermometer is your best friend. Trust the numbers, not just the clock. What’s one kitchen tool you couldn’t live without?
The Secret is in the Rest
This step is so important. Let the turkey sit after it comes out. I know it’s hard to wait!
But those 20 minutes let the juices settle back into the meat. If you cut it right away, all the juice runs onto the cutting board. Letting it rest matters because it keeps every slice moist. Do you have a favorite family trick for a juicy turkey?
Make It Your Own
This recipe is your starting point. You can change the spices. Add some garlic powder or paprika to the oil.
That backbone you cut out? Don’t throw it away! Simmer it with some water for a simple stock. Cooking is about making memories, not just following rules. What’s one holiday food you love to make with your family?
Ingredients:
| Ingredient | Amount | Notes |
|---|---|---|
| Turkey, completely thawed if previously frozen | 1 (12 to 13 pound) | |
| Olive or vegetable oil | 1/2 cup | |
| Poultry seasoning | 1 teaspoon | |
| Black pepper | 1 teaspoon | |
| Kosher salt | 1 tablespoon | |
| Carrots | 4 | |
| Onion | 1 large | |
| Celery ribs | 4 |
The Turkey Trick My Abuela Taught Me
Hello, my dear! Come sit. Let’s talk turkey. I used to worry about dry turkey every year. Then I learned this spatchcock trick. It just means flattening the bird. This helps it cook evenly and quickly. The skin gets wonderfully crispy. The meat stays so juicy. I still laugh at that funny word. Spatchcock! It sounds like a sneeze.
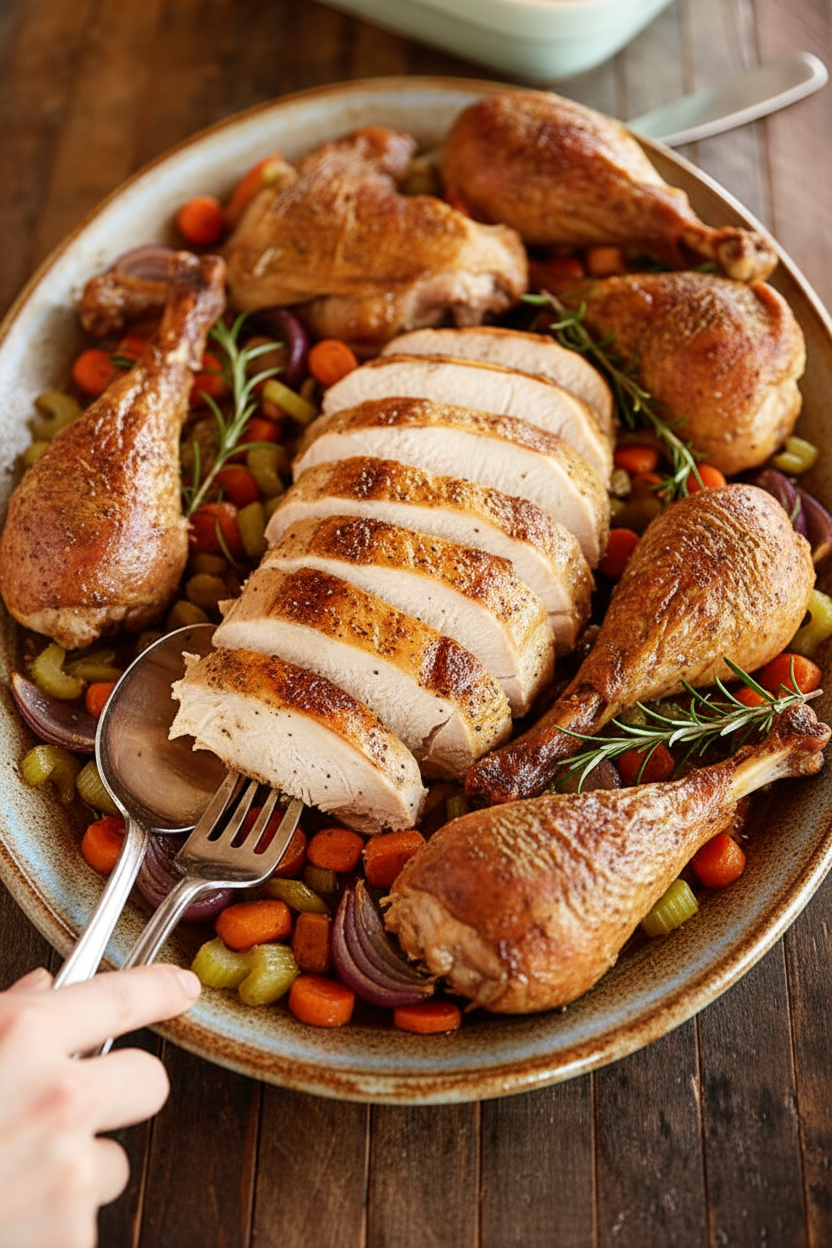
We start with our vegetables. Chop some carrots, onion, and celery. Don’t make them perfect. Just big, chunky pieces. Scatter them in your pan. They will catch all the lovely drippings. Doesn’t that smell amazing already? They make a tasty bed for our turkey.
Step 1: Get your turkey ready. Pat it very dry with paper towels. This helps the skin get crispy. Place it breast-side down on your board. Now, we cut out the backbone. Use strong kitchen shears. Start near the tail and cut up one side. (My hard-learned tip: save that backbone! It makes the best soup stock later).
Step 2: Flip the turkey over. Now, press down firmly on the breastbone. You will hear a little crackle. That’s okay! You are flattening it. This is the magic step. A flat turkey cooks so much faster. Place it right on top of your waiting vegetables.
Step 3: Make your simple oil rub. Mix oil, salt, pepper, and poultry seasoning. Brush it all over the turkey. Get it everywhere! I like to sneak some under the skin too. This makes the breast meat so flavorful. Tuck the wingtips under. This keeps them from burning. What’s your favorite herb for turkey? Share below!
Step 4: Let the turkey rest while the oven heats. Cook it hot and fast! Check it halfway and turn the pan. Use a thermometer. It’s done when the thigh reads 165°F. The breast will be perfect at 155°F. It will keep cooking outside the oven. Let it rest before you carve. This keeps all the juices inside.
Cook Time: 1 hour to 1 hour 20 minutes
Total Time: About 2 hours (plus resting)
Yield: A feast for 6-8 people
Category: Dinner, Holiday
Three Fun Twists for Your Bird
This recipe is like a blank canvas. You can paint it with so many flavors. Here are three ideas I love. They make it feel new every time.
Citrus & Herb: Add orange and lemon zest to the oil. Tuck fresh rosemary and thyme under the skin. So bright and sunny!
Smoky Maple: Use smoked paprika in the rub. Brush the turkey with a little real maple syrup halfway through cooking. It tastes like a cozy campfire.
Garlic Butter: Mix softened butter with five minced garlic cloves. Rub this under the skin and all over. It’s simple and always a crowd-pleaser.
Which one would you try first? Comment below!
Serving Your Masterpiece
That turkey will be the star. But it needs a good supporting cast. I love serving it right on that pan with the roasted vegetables. They are so sweet and tender. Add a big bowl of creamy mashed potatoes for the gravy. Some green beans with almonds are perfect for crunch.
What to drink? For the grown-ups, a glass of chilled apple cider or a light red wine is lovely. For everyone, sparkling apple juice with a cinnamon stick feels so festive. It looks pretty in the glass, too. Which would you choose tonight?
Keeping Your Turkey Tasty Later
Let’s talk about leftovers. They are the best part. First, let the turkey cool completely. Then, store the meat in airtight containers. It will keep in the fridge for about four days.
For the freezer, wrap portions tightly in foil. Then place them in a freezer bag. It will stay good for up to three months. Thaw it in the fridge overnight when you are ready.
To reheat, add a splash of broth or water. Cover it with foil and warm it in the oven. This keeps the meat from drying out. I once reheated turkey without any liquid. It was like eating sawdust. Learn from my mistake.
Batch cooking matters because it saves time and money. A big turkey can make many meals. Think of sandwiches, soups, and casseroles. Have you ever tried storing it this way? Share below!
Simple Fixes for Common Turkey Troubles
Sometimes cooking a turkey can be tricky. Here are three easy fixes. First, the skin is browning too fast. Just cover the dark spots with a little foil.
Second, the meat seems dry. You probably cooked it too long. A meat thermometer is your best friend. I remember when I just guessed. The turkey was overcooked.
Third, the turkey is not cooking evenly. Rotate your pan halfway through. This helps all sides get the same heat. Fun fact: Spatchcocking helps it cook evenly too!
Fixing these issues builds your cooking confidence. It also makes your food taste much better. Good flavor comes from careful cooking. Which of these problems have you run into before?
Your Turkey Questions, Answered
Q: Is this recipe gluten-free?
A: Yes, it is. Just check your poultry seasoning label to be sure.
Q: Can I make any part ahead?
A: You can chop the veggies a day early. Keep them in a bag in the fridge.
Q: What if I don’t have poultry seasoning?
A: Use dried thyme, sage, and a little paprika instead. It works great.
Q: Can I make a smaller turkey?
A: Absolutely. Just reduce the cook time. Keep using your thermometer.
Q: Any optional tips?
A: Let the turkey sit with the oil rub for an hour. It adds more flavor. Which tip will you try first?
From My Kitchen to Yours
I hope you love this recipe. It changed my holiday cooking forever. The table will be full of juicy, delicious turkey.
I would love to see your creation. Share a photo of your beautiful bird. It makes my day to see your family meals. Have you tried this recipe? Tag us on Pinterest!
Thank you for cooking with me today. Remember, the best meals are made with love.
Happy cooking!
—Lena Morales.
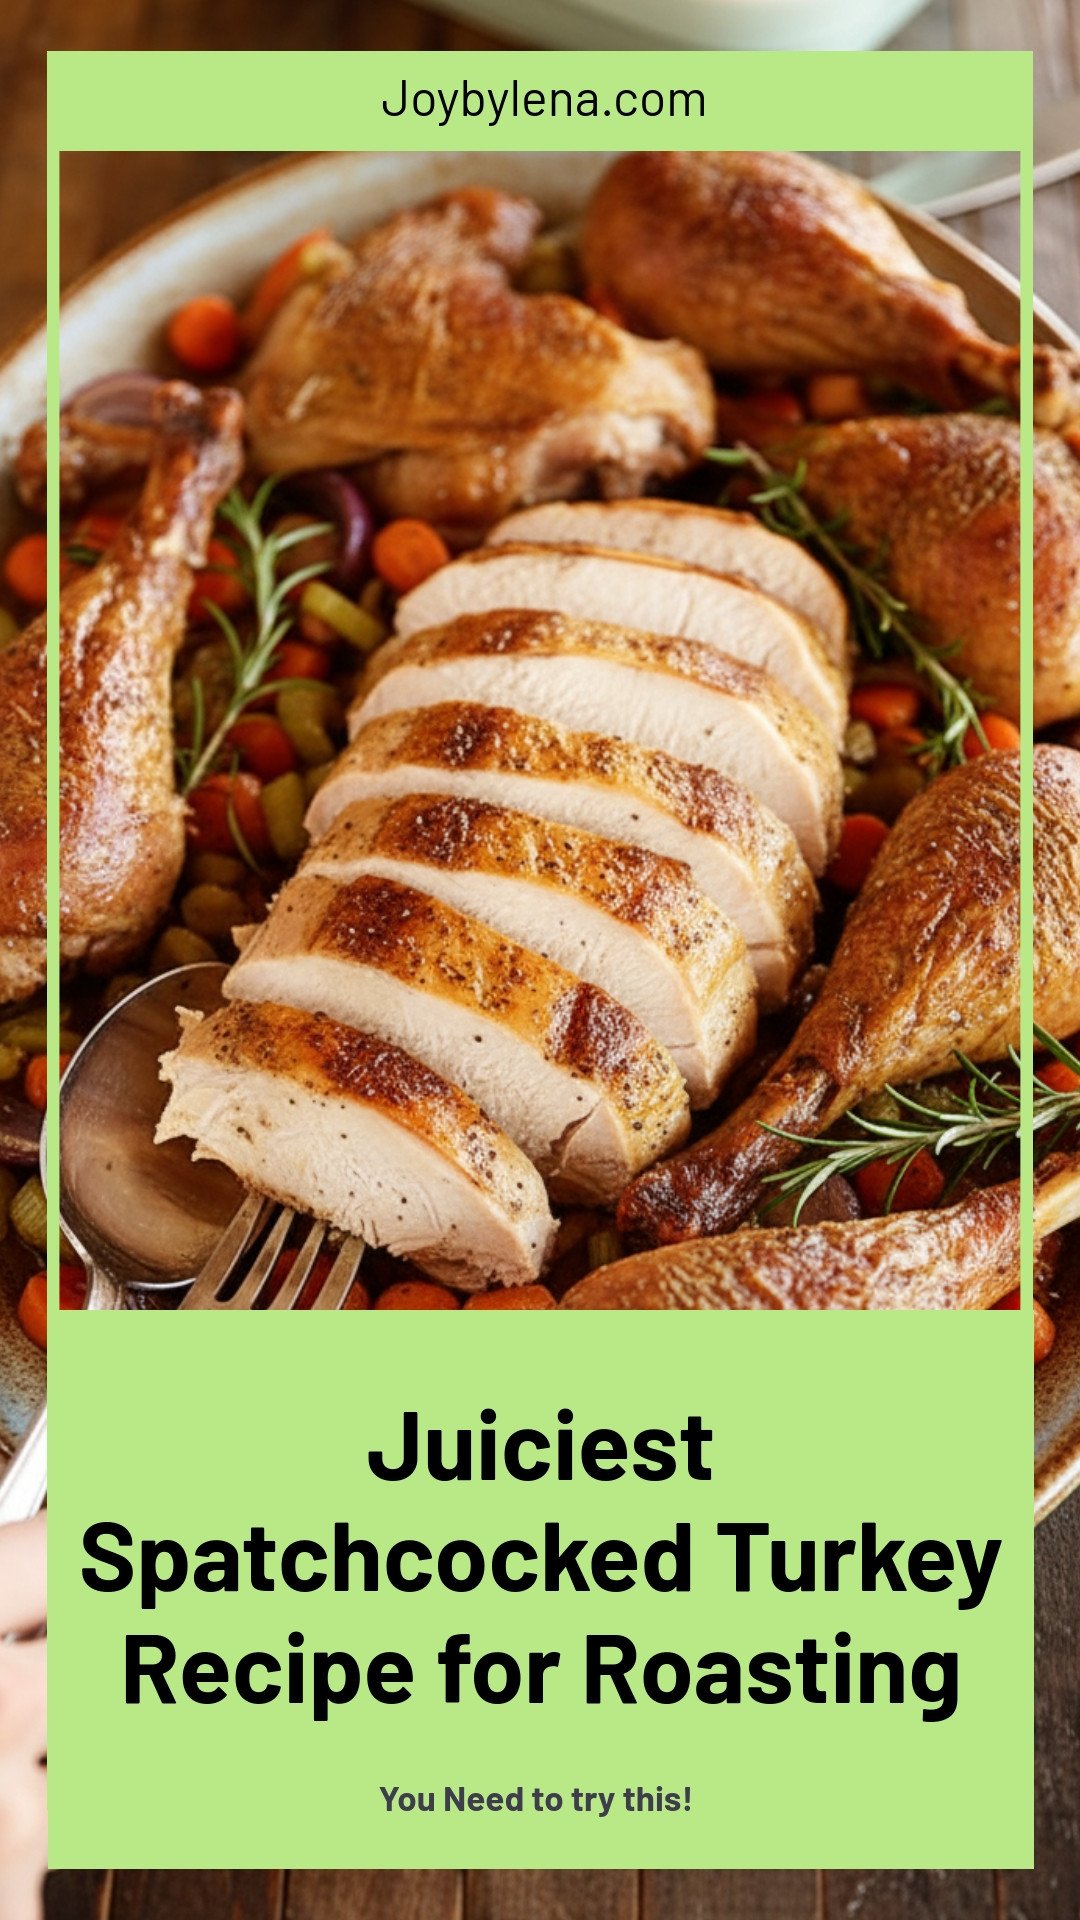

Juiciest Spatchcocked Turkey Recipe for Roasting
Description
This spatchcocked turkey recipe ensures a juicy, evenly roasted bird with crispy skin in a fraction of the usual time.
Ingredients
Instructions
- Line a large rimmed baking pan with aluminum foil and lightly spray it with nonstick cooking spray. Very coarsely chop the vegetables and scatter them over the pan. Set aside.
- Place the turkey on a large cutting board, breast side down. Pat the turkey dry with some paper towels. Use a large pair of sharp poultry shears to cut the backbone out of the turkey. Start at the tail and cut up one side of the back bone, then proceed to the other side. Flip the turkey over and place both hands firmly in the center of the breast and press down with considerable force to flatten the turkey. Place the turkey on top of the vegetables.
- In a medium bowl, whisk the oil, poultry seasoning, pepper, and salt together. Dry the turkey again with a few paper towels then liberally brush the entire turkey (including the inside) with the mixture. Tuck the wing tips under the turkey to keep them from burning.
- Preheat the oven to 450°F and allow the turkey to rest at room temperature for about 20 minutes while it preheats. Cook the turkey for 1 hour to 1 hour and 20 minutes (rotating the pan about halfway through cooking) or until the thickest part of the thigh reaches 165°F (the breast should read about 155°F) when tested with a meat thermometer.
- Allow the turkey to rest for 15 to 20 minutes to allow the juices to redistribute then carve as normal.
Notes
- If you find the turkey starting to burn, you can reduce the heat a bit or cover the darkest part with aluminum foil. The backbone can be saved to make stock for gravy.


Leave a Reply