The Magic of a Simple Crust
Let’s talk about pie crusts. Some people get scared of them. I used to be one of them. My first crust was a mess. It was tough and crumbly. I almost gave up.
Then I found this graham cracker crust. It changed everything. It is so simple. You just mix and press. No rolling pin needed. This matters because baking should be fun, not scary. Anyone can make this. What was your first baking adventure like? Did it go smoothly or was it a funny mess?
A Little History in Your Hand
Graham crackers have a funny story. A man named Sylvester Graham made them long ago. He was a preacher. He thought plain food was good for you. His crackers were not sweet at all.
Our version today is much tastier. We add sugar and butter. I still laugh at that. He might not approve of our pie crust. But I think he’d like the joy it brings. Fun fact: The original graham cracker was meant to stop people from having naughty thoughts! Isn’t that something?
Why the Butter Matters
Use unsalted butter. This is my big tip. Salted butter can make it too salty. You want the sweet, toasty flavor to shine. Melt the butter until it’s just liquid. Doesn’t that smell amazing?
When you mix it with the crumbs, magic happens. The butter coats every little piece. It acts like glue when it bakes. This matters. It gives you a crust that holds together. You can slice a perfect piece of pie. Do you have a favorite brand of butter for baking? I’d love to know.
The Pressing Party
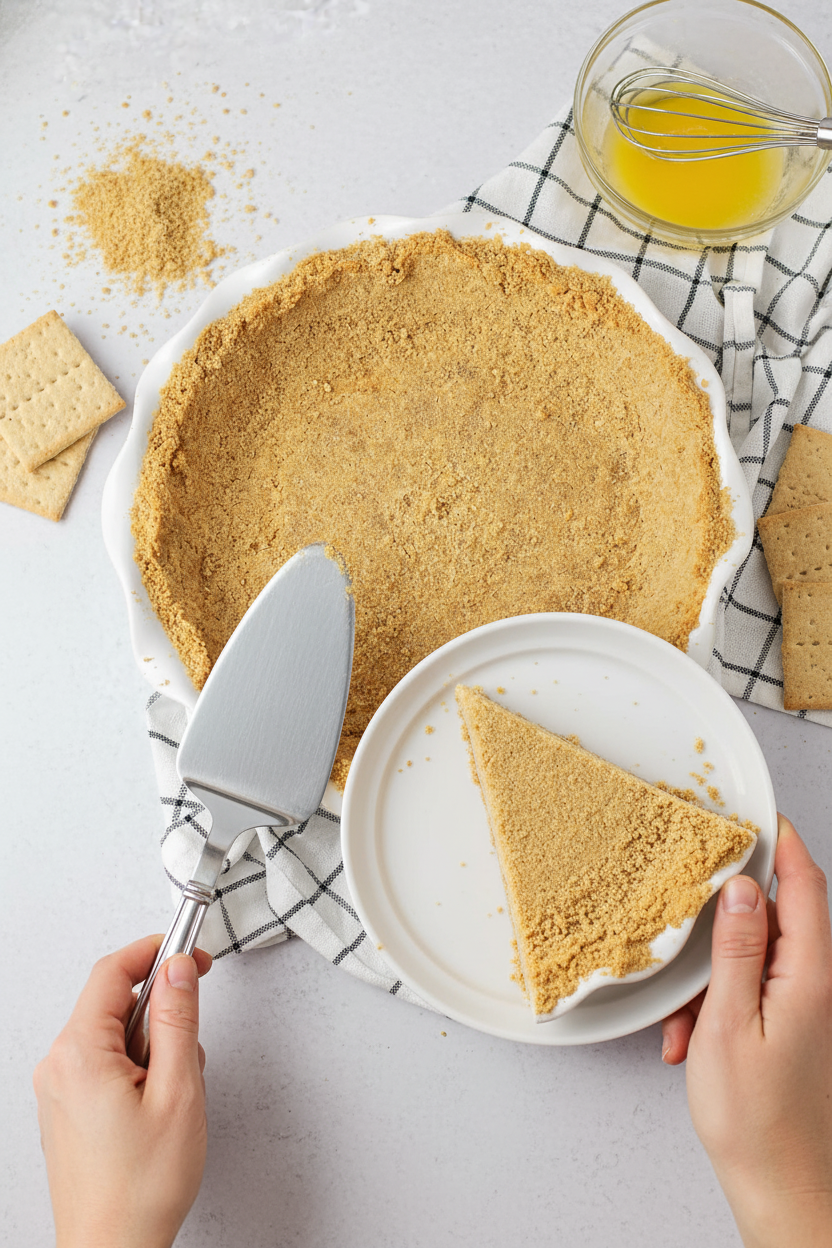
Now for the fun part. Dump your mix into the pie plate. Use your fingers to press. Start from the middle. Push the crumbs up the sides. Make it nice and even.
You can use a cup to help. The bottom of a flat cup works great. It presses it down smooth. I let my grandkids do this job. They love it. It’s like playing with edible sand. Do you press with your fingers or use a tool?
A Short Bake, A Long Wait
Pop it in the hot oven. It only needs 6 or 7 minutes. Watch it closely. You just want it to set. It will smell like toasted honey.
Here is the hard part. Let it cool completely. This takes about an hour. I know, it’s tough to wait. But if you fill it warm, the filling can get soggy. A cool, crisp crust makes your filling the star. That patience matters. It turns good into great. What’s your favorite pie to put in this crust? Lemon meringue is my classic.
Ingredients:
| Ingredient | Amount | Notes |
|---|---|---|
| Finely ground graham cracker crumbs | 1½ cups | |
| Sugar | ⅓ cup | |
| Unsalted butter, melted | 6 tablespoons |
My Favorite Graham Cracker Crust
Hello, my dear! Come sit. Let’s make a pie crust. This one is my go-to. It smells like honey and sunshine. I use it for my lemon icebox pie. My grandson Marco loves it. He always licks the spoon. I still laugh at that.
Making it is simple. You just need three things. The trick is in the pressing. Use your fingers and the bottom of a cup. This makes it nice and even. Doesn’t that smell amazing? It reminds me of summer picnics.
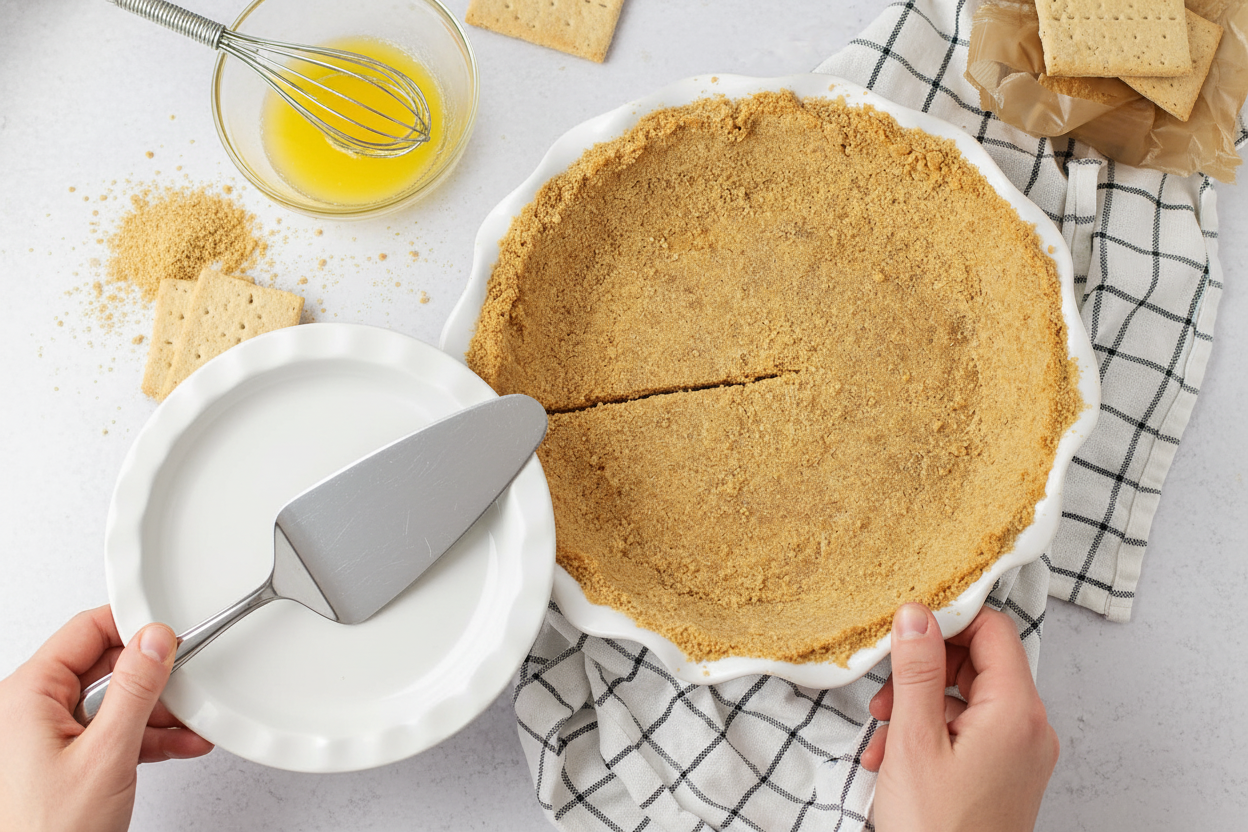
- Step 1: First, heat your oven to 375°F. Get out your pie plate. Now, mix the crumbs, sugar, and melted butter. Stir it all up in a bowl. Keep mixing until it looks like wet sand. (A hard-learned tip: Make sure your butter is just melted, not hot. Hot butter makes the crust greasy.)
- Step 2: Next, pour the crumbs into your pie plate. Press them down with your fingers. Start from the middle and go out to the sides. Then, use a flat-bottomed cup to press harder. This makes the crust firm. I use my old blue measuring cup for this.
- Step 3: Finally, bake the crust for 6 to 7 minutes. It will be lightly browned. Let it cool for a whole hour. This is the hardest part! Be patient. A warm crust will melt your filling.
What’s your dream pie filling? Share below!
Cook Time: 7 minutes
Total Time: 1 hour 15 minutes
Yield: 1 crust
Category: Dessert, Basics
Three Fun Twists to Try
This crust is like a blank canvas. You can play with it! Here are my favorite ideas. They make every pie special. Try one next time.
- Cookie Swap: Use chocolate wafer cookies instead of graham crackers. It’s so rich and dark. Perfect for a chocolate cream pie.
- Spiced-Up: Add a teaspoon of cinnamon to the crumbs. It smells like fall. Your pumpkin pie will taste even cozier.
- Nutty Buddy: Swap a quarter cup of crumbs for finely chopped pecans. It gives a lovely little crunch. My sister Addie taught me that.
Which one would you try first? Comment below!
Serving It Up Sweet
Once your crust is cool, fill it up! I love a no-bake lemon filling. Top it with whipped cream and lemon zest. Or try a simple chocolate pudding. Add fresh berries on the side. They look so pretty on the plate.
For drinks, a cold glass of milk is always right. It cuts the sweetness. For the grown-ups, a little sweet dessert wine is nice. It sips like honey. Which would you choose tonight?
Keeping Your Crust Perfect
Let’s talk about keeping that crust tasty. You can freeze the baked crust for a month. Just wrap it tightly in plastic wrap first. This keeps it fresh for a surprise dessert day.
I never reheat the whole crust. It can get soggy. If your filling needs baking, just add it to the cool crust. The oven will warm everything together nicely.
I once made three crusts at once. It was for my grandkids’ pie party. Batch cooking saves so much time later. This matters because it makes dessert easy on busy days.
Have you ever tried storing it this way? Share below!
Fixing Common Crust Troubles
Is your crust too crumbly? You might need a bit more butter. Press the mix firmly into the plate. This helps it stick together when you slice it.
Is the crust soggy? Make sure your butter was fully melted. I remember when mine wasn’t. The dry spots wouldn’t hold. This matters because good texture makes every bite better.
Does it stick to the plate? Try a light spray of oil first. Or use a piece of parchment paper to press it down. Fixing small problems builds your cooking confidence. You can do this!
Which of these problems have you run into before?
Your Crust Questions, Answered
Q: Can I make this gluten-free?
A: Yes! Use gluten-free graham crackers. Grind them into crumbs the same way.
Q: How far ahead can I make it?
A: You can bake it one day early. Keep it covered at room temperature.
Q: What can I use instead of sugar?
A: Brown sugar or coconut sugar work well. They add a nice, warm flavor.
Q: Can I double the recipe?
A: Absolutely. Double all the ingredients. Use a bigger pan or make two crusts.
Q: Any extra tips?
A: A flat-bottomed cup helps press the crumbs evenly. Fun fact: Graham crackers were originally a health food!
Which tip will you try first?
From My Kitchen to Yours
I hope you love making this simple crust. It is the start of so many wonderful desserts. I would love to see what you create with it.
Share a picture of your finished pie or cheesecake. Let’s build a sweet collection of kitchen stories together.
Have you tried this recipe? Tag us on Pinterest! I can’t wait to see. Happy cooking!
—Lena Morales.
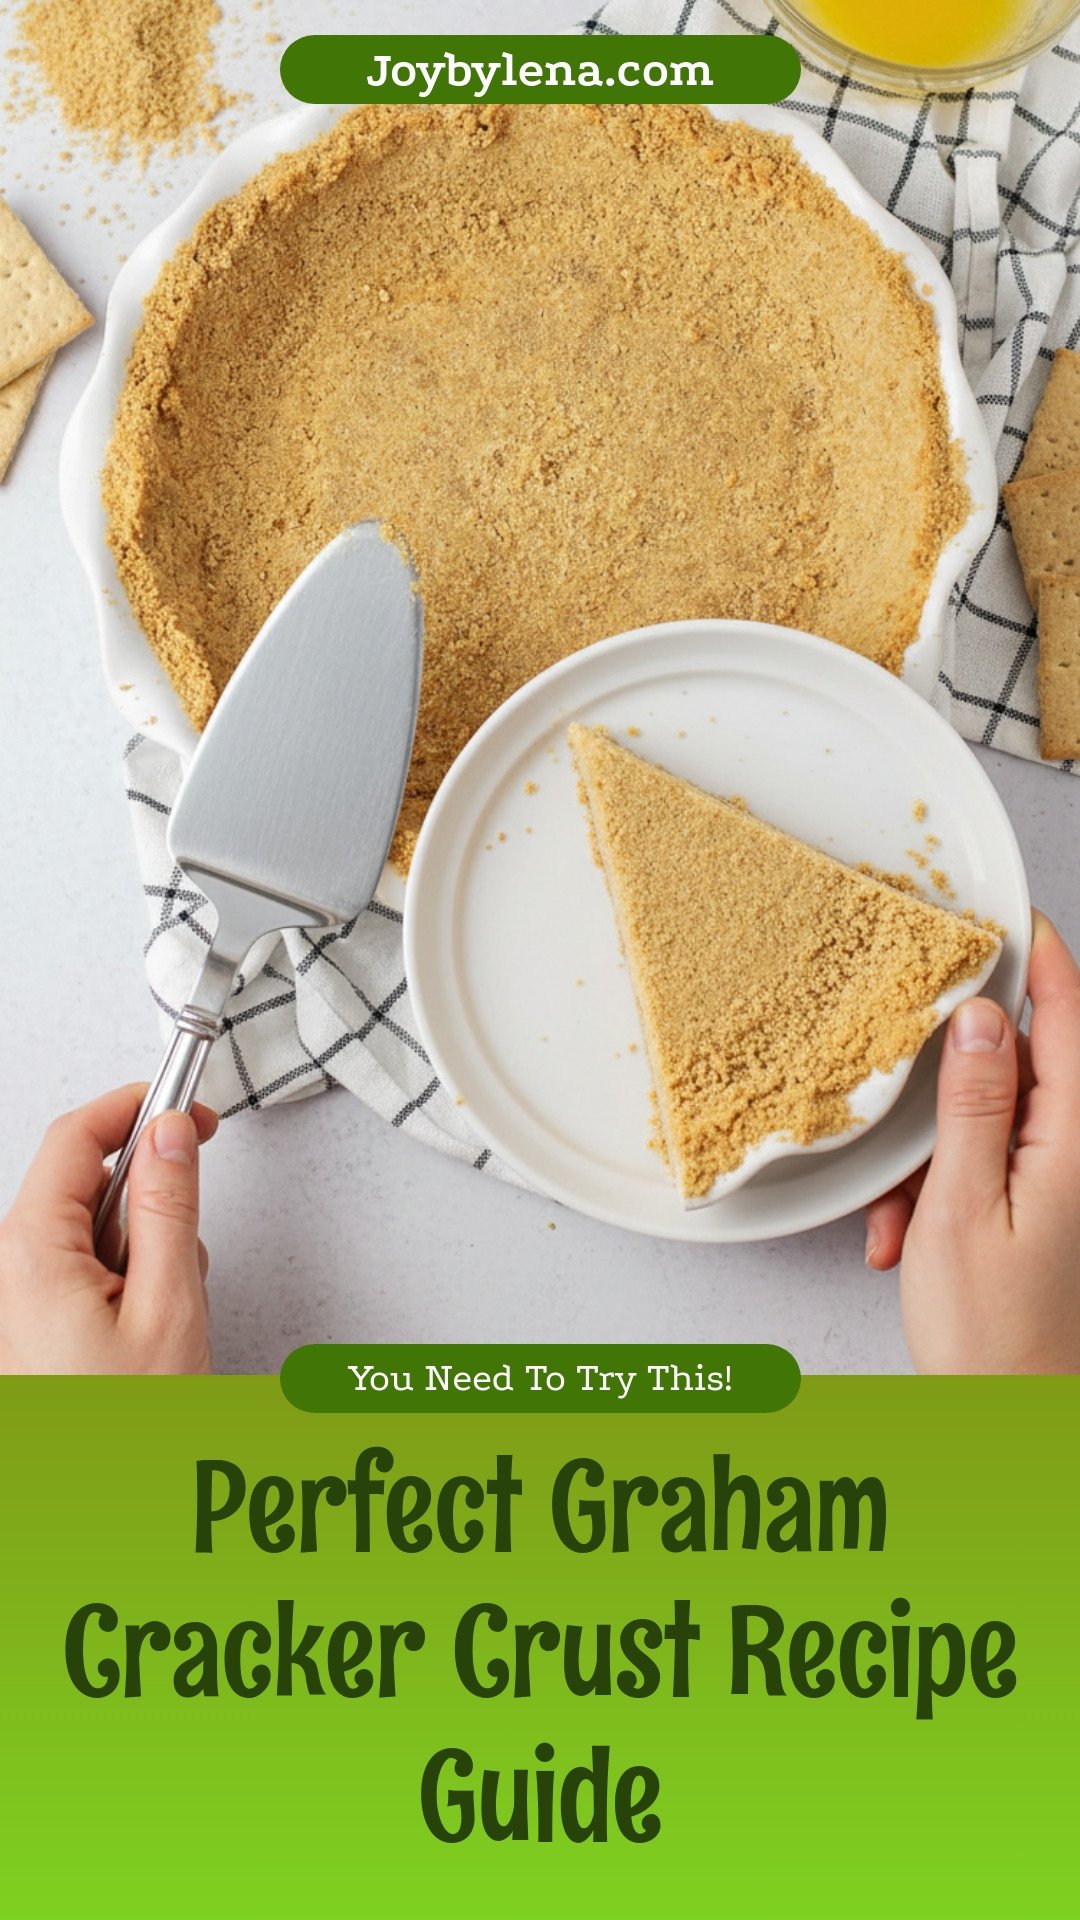
Perfect Graham Cracker Crust Recipe Guide
Description
The perfect, buttery, and sweet base for all your favorite pies and cheesecakes.
Ingredients
Instructions
- Preheat the oven to 375°F.
- In a medium bowl, mix graham cracker crumbs, sugar and melted butter until well blended.
- Press mixture evenly into a 9-inch pie plate. Bake for 6–7 minutes and let cool completely (about 1 hour) before filling.
Notes
- For a no-bake version, simply chill the pressed crust in the refrigerator for at least 1 hour before filling.


Leave a Reply