A Pan Full of Memories
I first made these chews for a school bake sale. My grandson Marco helped. He ate more peanuts than he put in the bowl. I still laugh at that.
This recipe is more than a sweet treat. It is about making something with your hands. Sharing it makes any day feel special. That matters more than a perfect bar.
Let’s Start with the Base
First, mix your cookie dough. It will be soft and a little sticky. That is okay. Press it into your greased pan. Use your fingers. It is fun to feel the dough.
Bake it until it is just set. Now, here comes the magic part. Sprinkle those marshmallows right on top. Back in the oven they go. Watch them puff up like little clouds. Doesn’t that smell amazing?
The Gooey Good Part
Next, melt the peanut butter chips with the syrup and butter. Stir it slow and steady on low heat. Fun fact: The corn syrup keeps everything soft and chewy, not hard.
Take it off the heat. Stir in the Rice Krispies and salted peanuts. Hear that snap, crackle, pop? Now spoon it over your marshmallow clouds. Try to cover them all. This layer is why everyone asks for the recipe.
Why This Works So Well
You get every texture in one bite. Soft marshmallow, chewy peanut butter, crunchy cereal, and salty nuts. That mix is the secret. It keeps your taste buds happy.
Using a cookie mix is a smart start. It lets you focus on the fun, gooey topping. This matters because cooking should be joy, not stress. What is your favorite “helper” ingredient to use?
Time to Share the Sweetness
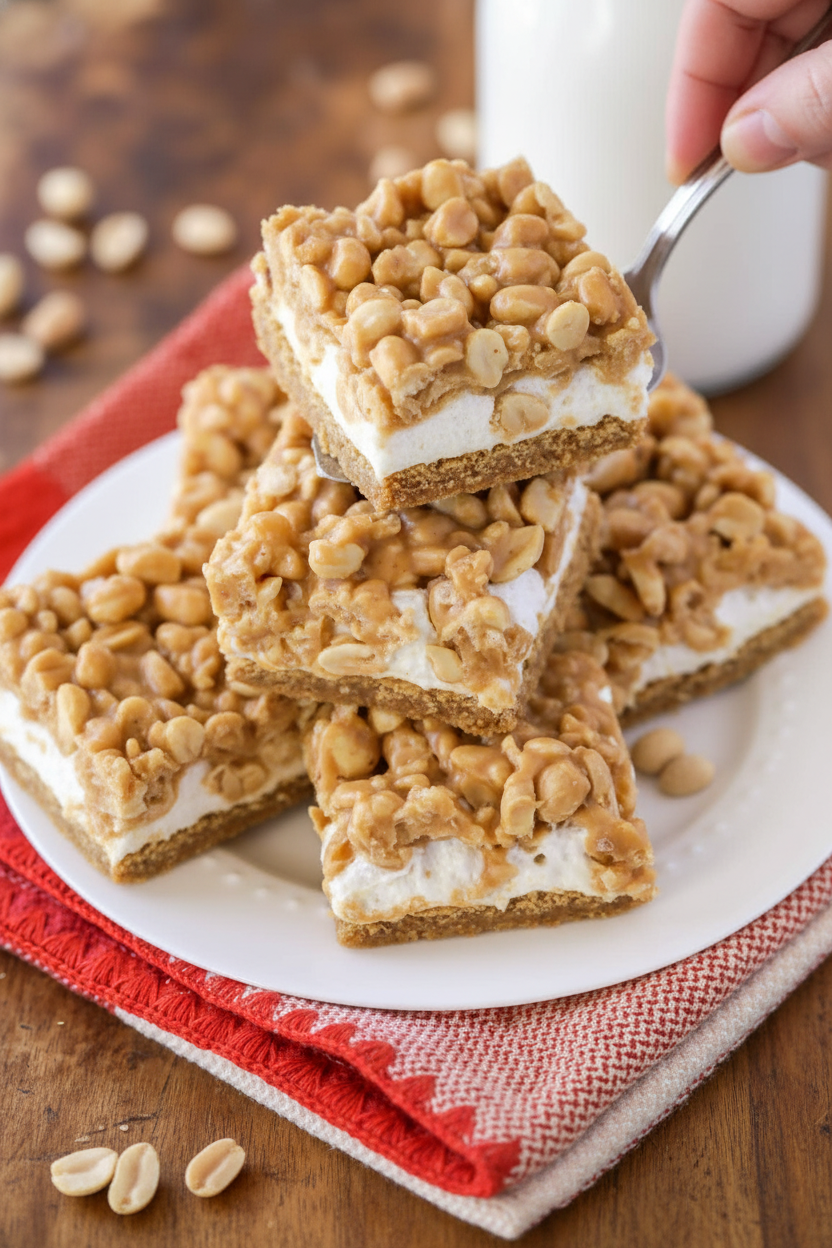
Let the pan cool completely. I know, the waiting is hard. But it makes for clean cuts. Then, slice them into bars. See all those layers you made?
Stack them on a plate. Share them with family, or a neighbor. Food tastes better when shared. Did you ever have a treat that became your family’s favorite? I would love to hear about it.
Your Turn in the Kitchen
Now you have the recipe. It is a forgiving one. If you like more peanuts, add a handful. If you love marshmallow, sprinkle a few extra. Make it yours.
That is the final lesson. Recipes are guides, not rules. Your kitchen, your rules. Will you make these for a special event, or just a Tuesday treat? Tell me your plan.
Ingredients:
| Ingredient | Amount | Notes |
|---|---|---|
| Betty Crocker peanut butter cookie mix | 1 pouch (1 lb. 1.5 oz) | |
| Vegetable oil | 3 tbsp | |
| Water | 1 tbsp | |
| Egg | 1 | |
| Miniature marshmallows | 3 cups | |
| Light corn syrup | 2/3 cup | |
| Butter | 1/4 cup | |
| Vanilla extract | 1 tbsp | |
| Peanut butter chips | 1 bag (10 oz.) | |
| Rice Krispies cereal | 2 cups | |
| Peanuts, salted | 2 cups |
My Gooey, Salty, Peanut Butter Dream Bars
Hello, my dear! Come sit. Let’s make my famous chewy bars. They are my grandson Mateo’s favorite. He always sneaks a piece before dinner. I still laugh at that. This recipe is a happy mix of cookie, marshmallow, and peanut crunch. Doesn’t that sound amazing? It’s simple, I promise. We just take it one sweet step at a time.
Step 1: Make the Cookie Base
First, let’s make our cookie base. Heat your oven to 350 degrees. Grease your 9×13 pan well. Now, mix that pouch of peanut butter cookie mix with the oil, water, and one egg. Stir until it becomes a soft dough. Press it firmly into the pan. This is your foundation. Press it nice and even.
Step 2: Bake and Add Marshmallows
Bake that cookie base for about 12 to 14 minutes. You’ll know it’s ready when it looks set. Now, here comes the magic! Take it out and quickly sprinkle all those tiny marshmallows on top. Put the whole pan right back in the oven. Watch them puff up like little clouds! It only takes a minute or two. (My hard-learned tip: Don’t walk away here! Marshmallows can go from puffy to burnt very fast.)
Step 3: Make the Peanut Butter Topping
While that bakes, let’s make the topping. In a big pot, mix the corn syrup, butter, vanilla, and peanut butter chips. Cook it on low heat. Stir it constantly until everything is melted and smooth. It will smell like a peanut butter dream. I love this part. What’s your favorite sweet smell in the kitchen? Share below!
Step 4: Add the Crunch
Take the pot off the heat. Now, stir in the Rice Krispies and all those salted peanuts. Listen to the snap, crackle, pop! It’s a fun sound. Now, spoon this crunchy mix over your puffy marshmallow layer. Try to cover all the white fluffy bits. Gently press it down.
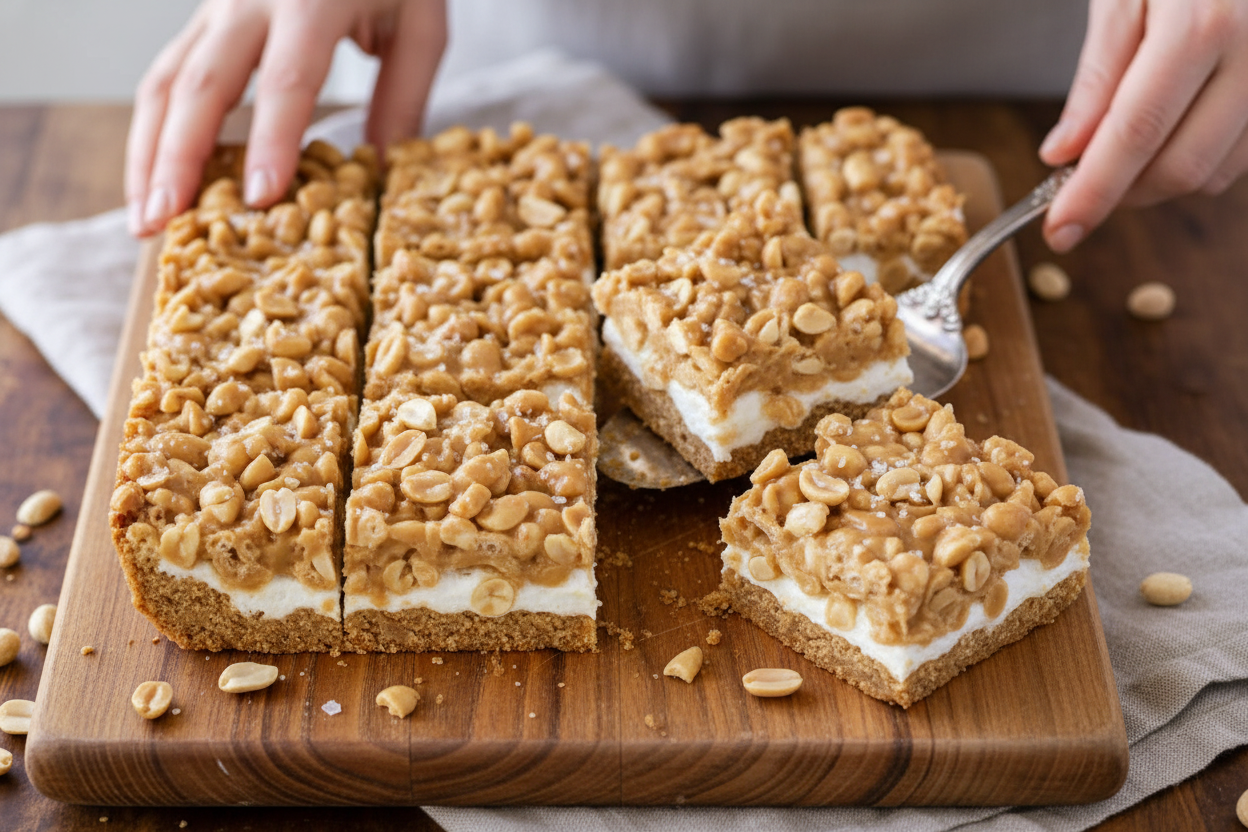
Step 5: Cool and Cut
The hardest part is waiting. Let the pan cool on the counter until set. Or, if you’re impatient like me, pop it in the fridge for 30 minutes. Then, cut into bars. I like big squares. You made these! Aren’t you proud?
Cook Time: About 20 minutes
Total Time: About 1 hour (with cooling)
Yield: 24 big bars
Category: Dessert, Snack
Three Fun Twists to Try
I love this recipe just as it is. But sometimes, it’s fun to play. Here are three easy twists. They make the bars feel new again.
- Chocolate Drizzle: Melt some chocolate chips. Drizzle it over the cooled bars. It looks so pretty.
- Pretzel Crunch: Swap one cup of peanuts for crushed salty pretzels. Sweet and salty is the best.
- Berry Surprise: Add a half cup of dried cranberries to the topping. They add a little tart pop.
Which one would you try first? Comment below!
Serving Them Up With Style
These bars are a full treat on their own. But for a special touch, try this. Serve one on a small plate with a scoop of vanilla ice cream. The warm bar makes the ice cream melt a little. It’s heavenly. Or, pack them in a lunchbox with some apple slices. The fresh fruit is a nice balance.
For a drink, a cold glass of milk is always perfect. For the grown-ups, a cup of strong coffee is wonderful. The bitter coffee tastes great with the sweet peanut butter. Which would you choose tonight?
Keeping Your Bars Fresh & Chewy
Let’s talk about keeping these bars perfect. First, cool them completely. Then, store them in a sealed container. They stay chewy for 5 days at room temperature. You can also freeze them for 3 months. Just wrap each bar in plastic wrap first. This keeps them from sticking together.
I love making a double batch. It saves so much time later. I freeze half for a future treat. My grandkids love finding them in my freezer. It makes a busy day feel special. Fun fact: Freezing actually helps keep the marshmallow layer soft!
Storing food well matters. It shows care for your ingredients and your time. Nothing is sadder than a stale, dried-out bar. Good storage means a ready smile for anyone who visits. Have you ever tried storing it this way? Share below!
Simple Fixes for Common Hiccups
Sometimes, our treats need a little help. Here are easy fixes. First, if your marshmallows won’t melt, just bake a bit longer. I once took the pan out too soon. The topping didn’t stick well. Patience is your friend here.
Second, is your topping too thick to spread? Your heat might be too high. Cook it on low and stir a lot. This keeps it smooth. Third, are the bars too hard to cut? Use a sharp knife. Wipe it clean between cuts.
Knowing these fixes builds your confidence. You become a kitchen problem-solver. It also ensures every bite is delicious, just as intended. Which of these problems have you run into before?
Your Quick Questions, Answered
Q: Can I make this gluten-free? A: Yes! Use a gluten-free cookie mix and cereal. Check all labels carefully.
Q: Can I make it ahead? A: Absolutely. Make the bars up to two days before. Store them as I mentioned above.
Q: What if I don’t have peanut butter chips? A: You can use chocolate chips instead. It will be a different, but tasty, twist.
Q: Can I halve the recipe? A: Sure. Use an 8×8 pan. Just watch the baking time, it may be less.
Q: Any optional tips? A: A pinch of sea salt on top is lovely. It makes the sweet flavors pop. Which tip will you try first?
From My Kitchen to Yours
I hope you love making these chewy bars. They are full of happy, sticky memories for me. I would love to see your creations. Sharing food is how we share joy.
Please show me your beautiful bars. Have you tried this recipe? Tag us on Pinterest! You can find me at @LenasCozyKitchen. I always look for your photos. Thank you for cooking with me today.
Happy cooking!
—Lena Morales.
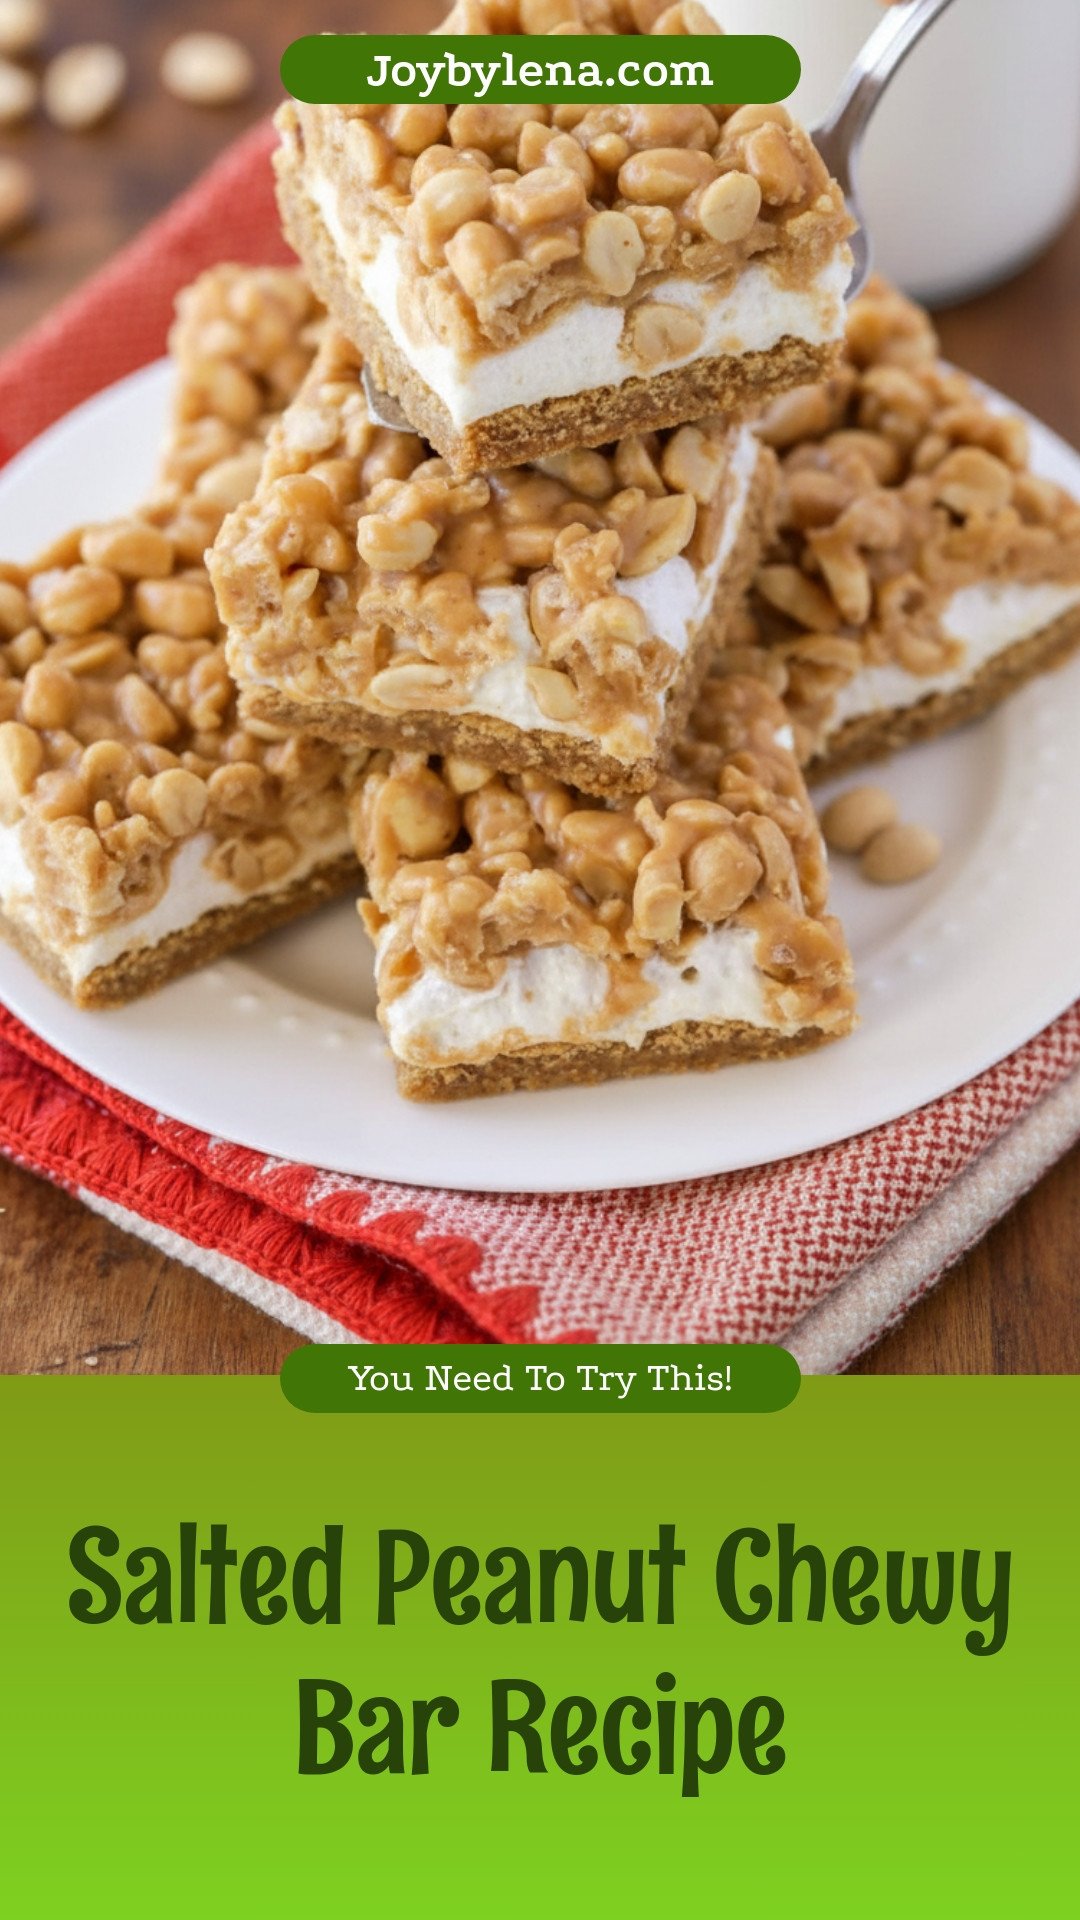
Salted Peanut Chews: Salted Peanut Chewy Bar Recipe
Description
These irresistible bars feature a chewy peanut butter cookie base, a gooey marshmallow layer, and a crunchy topping of peanut butter chips, cereal, and salted peanuts.
Ingredients
Instructions
- Preheat oven to 350 degrees F (175 degrees C). Grease a 9×13 inch pan and set aside.
- In a large bowl, mix cookie mix, oil, water, and egg until combined and a soft dough forms. Press this mixture evenly into the bottom of the greased pan.
- Bake for 12 – 14 minutes or until set. Remove from oven and immediately sprinkle the marshmallows evenly over the hot crust. Return to the oven for 1 – 2 minutes, or until marshmallows puff up.
- While the crust bakes, combine corn syrup, butter, vanilla, and peanut butter chips in a large pot. Cook over low heat, stirring constantly, until everything is combined and the chips are melted. Remove from heat.
- Stir the Rice Krispies and salted peanuts into the melted peanut butter chip mixture until well coated.
- Immediately spoon the cereal and nut mixture evenly over the marshmallow layer, pressing gently to cover completely.
- Let cool completely at room temperature until set, or refrigerate for about 30 minutes to speed up setting. Cut into bars.
Notes
- For clean cuts, use a sharp knife and wipe it clean between slices. Store bars in an airtight container at room temperature for up to 5 days.


Leave a Reply