My First Spooky Kitchen Mess
Let me tell you about my first batch of these ghosts. I was so excited. I dipped the cookie and the almond bark was too thick. It looked like a little snowman, not a ghost! I still laugh at that.
But you know what? My grandkids loved them anyway. They called them “friendly blobs.” This matters because cooking is about fun, not perfection. Have you ever had a kitchen mess turn out great?
Why These Little Ghosts Matter
These are more than just cookies. They are a tiny celebration. Making them together slows the world down for a minute. You talk. You laugh.
That time together is the real treat. The cookie is just a sweet bonus. This matters, especially now. We need little pockets of simple joy.
How to Make Your Ghost Family
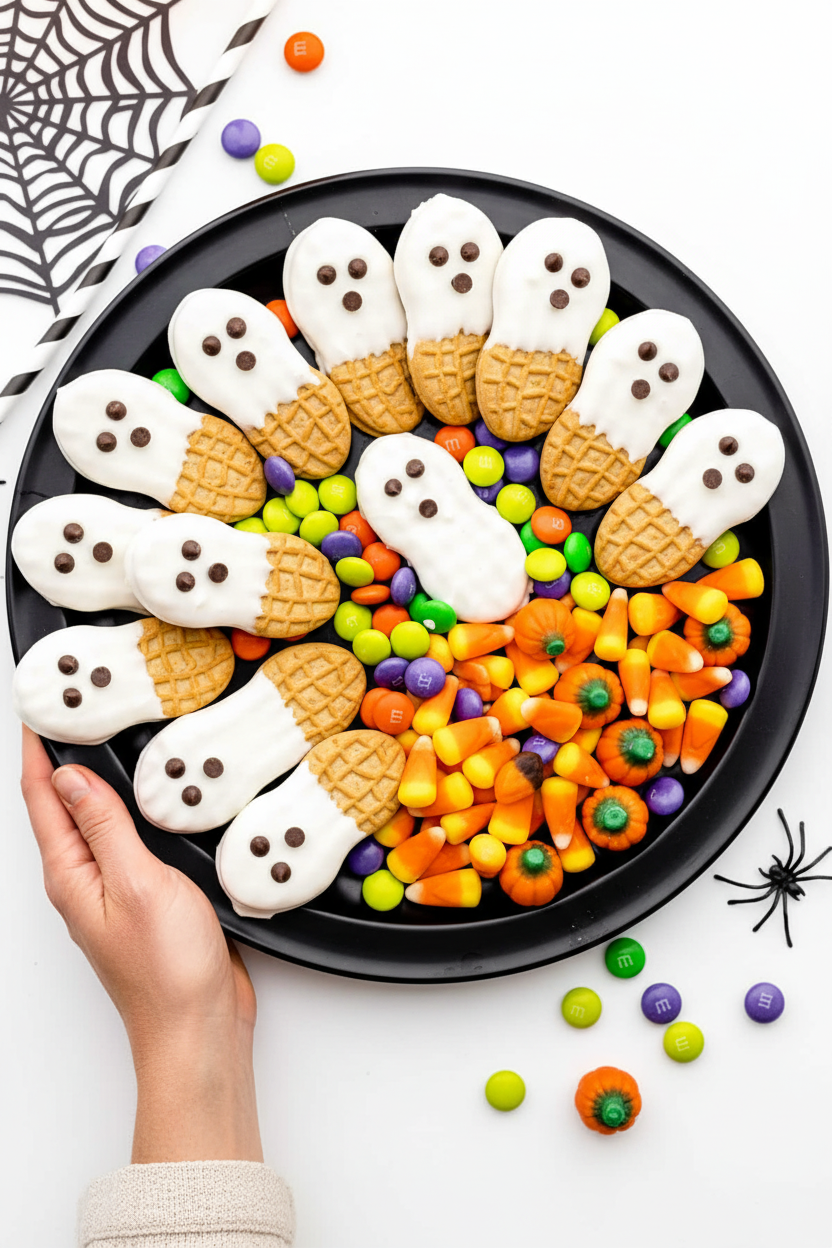
First, melt your almond bark. Doesn’t that smell amazing? Let it get nice and smooth. Now, dip your Nutter Butter cookie. You can dip just half, or the whole thing.
Lift it out with a fork. Let the extra coating drip off. Place it on wax paper. Now for the best part: the face! Two mini chips for eyes. One chip upside down for a surprised little mouth.
A Sweet Little Secret
Here is a fun fact for you. That white almond bark? It’s sometimes called “candy coating.” It hardens perfectly so your ghosts keep their shape. It’s magic for treats like this.
Let them set on the counter. Or pop them in the fridge to speed things up. The hard shell with the soft cookie inside is so good. What is your favorite cookie to decorate?
Your Turn in the Kitchen
I hope you try these. They are so simple. You can make a whole spooky family in no time. Let your imagination play. Maybe give some ghosts a smile with more chips.
Will you make these for a party or just for fun? Tell me if you have a better name than “friendly blobs”! I would love to hear your stories. Share them with someone you love. That’s the best recipe of all.
Ingredients:
| Ingredient | Amount | Notes |
|---|---|---|
| Nutter Butter cookies | 1 family-sized package | |
| White almond bark | 12 oz | |
| Mini chocolate chips | As needed | For decoration |
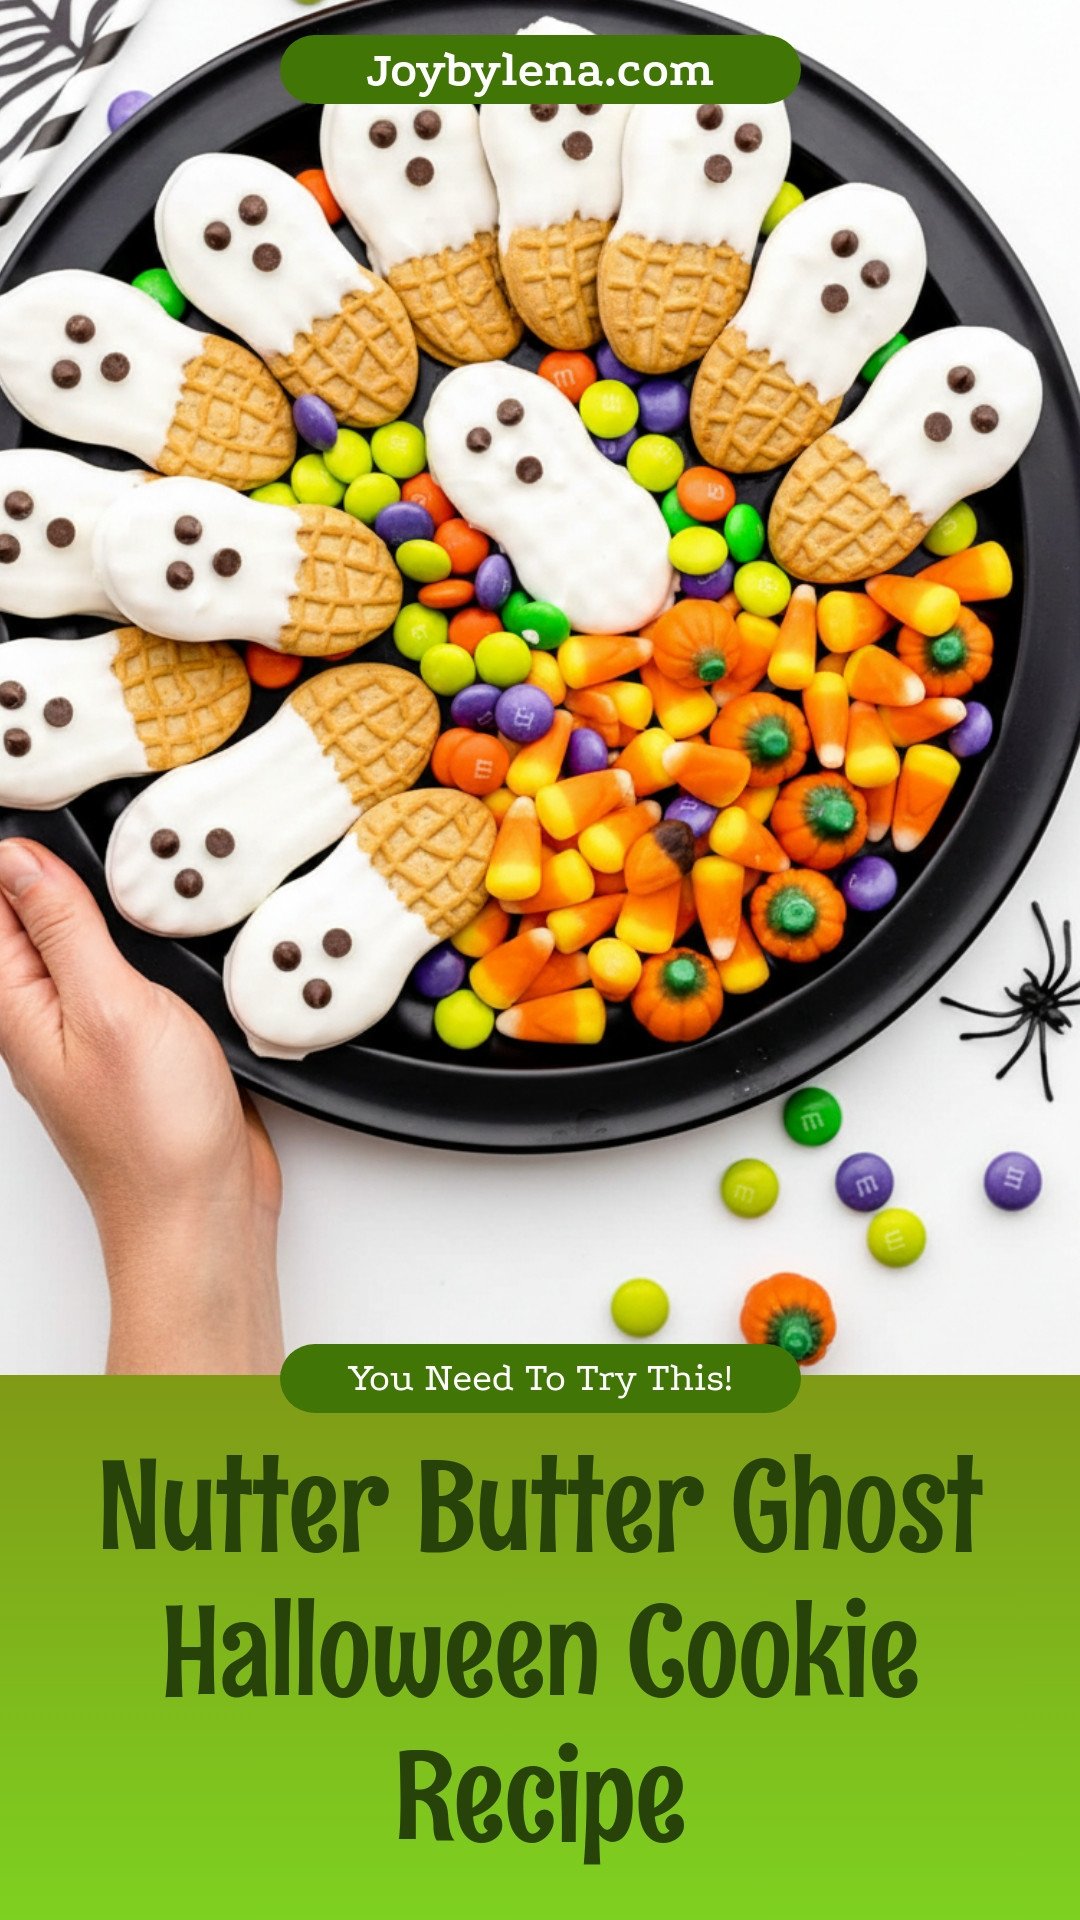
Spooky, Sweet, and So Simple: Nutter Butter Ghosts
Hello, my dear! Come sit at the table. Let’s make some silly ghost cookies. They are perfect for a Halloween laugh. I remember my grandson, Mateo, making these. He got chocolate chips everywhere! I still laugh at that.
These little ghosts are not scary at all. They are sweet and crunchy. You just need three simple things. Doesn’t that sound easy? Let’s get our hands a little messy. It’s the most fun part.
Step 1: First, melt your white almond bark. Follow the instructions on the package. Do it slowly so it doesn’t burn. Stir it gently until it’s completely smooth. It will look like a sweet, white pond. (Hard-learned tip: Use a deep, narrow bowl for dipping. It’s much easier!)
Step 2: Now, take a Nutter Butter cookie. Dip it into the melted almond bark. You can cover the whole cookie or just part. Use a fork to lift it out. Let the extra coating drip back into the bowl. Place it on a baking sheet with wax paper.
Step 3: This is the magic! Give your ghost a face. Press two mini chocolate chips for eyes. Then, take one more chip. Turn it upside down for a little “O” mouth. It looks so surprised! Do you make funny faces on your cookies? Share below!
Step 4: Let your ghosts rest. You can leave them on the counter. Or, pop the tray in the fridge to speed things up. The coating will get nice and hard. Then they are ready to haunt a plate! Doesn’t that smell amazing?
Cook Time: 15 minutes
Total Time: 30 minutes
Yield: About 24 cookies
Category: Dessert, Snack
Three Fun Twists for Your Ghostly Crew
You can dress up these ghosts for any party. Try one of these fun ideas. They are all so simple.
Pink Princess Ghosts: Use pink candy melts instead of white. Add tiny sprinkle crowns for a royal touch.
Zombie Ghosts: Use a tiny bit of green food coloring in the coating. Make messy, drippy faces with black icing.
Cookie Monster Ghosts: Use blue candy coating. Press on mini chocolate chip “eyes” and a broken cookie piece for a mouth.
Which one would you try first? Comment below!
Serving Your Spooky Sweets
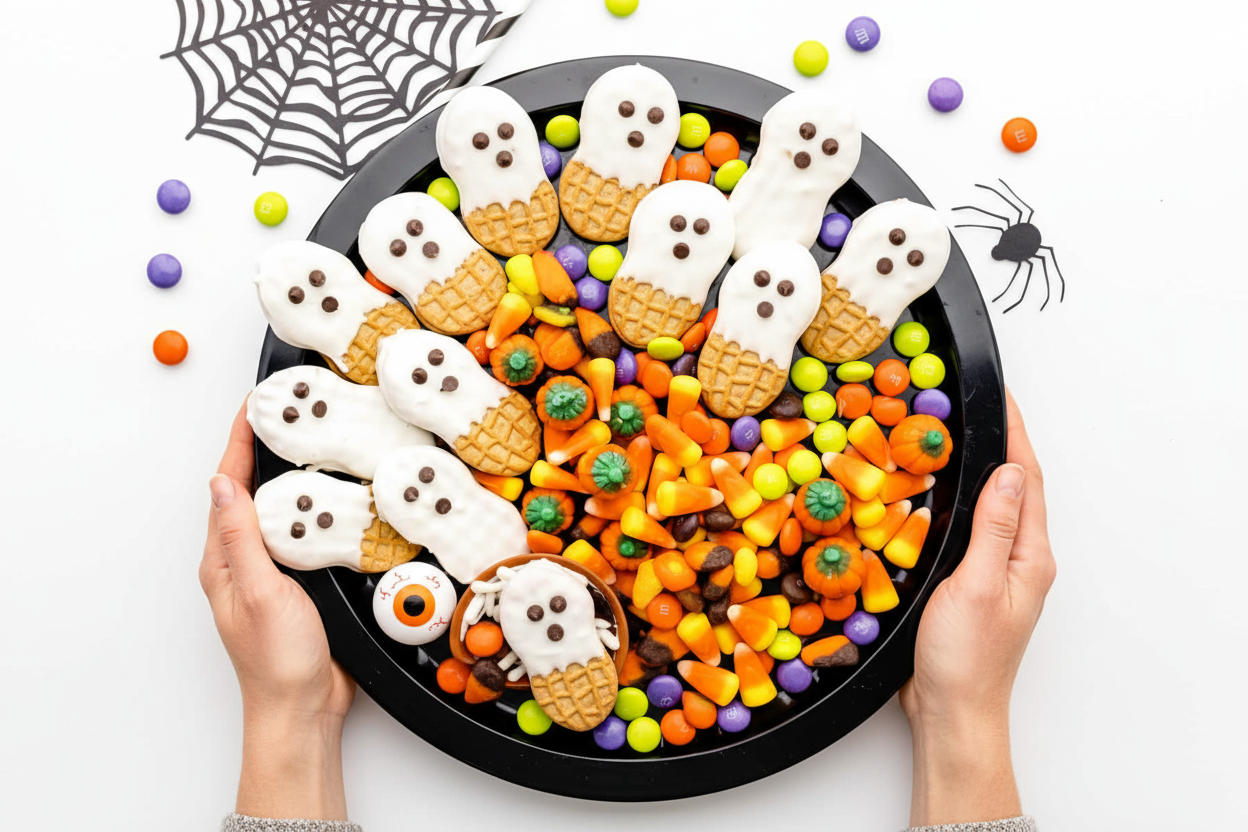
Place your ghosts on a dark plate. It makes them really pop! Scatter some autumn leaves or candy corn around them. You could even make a little graveyard scene with crushed cookie “dirt.”
For drinks, a cold glass of milk is always perfect. For the grown-ups, a sip of creamy coffee liqueur over ice is lovely. It pairs so well with peanut butter. Which would you choose tonight?
Keeping Your Cookie Ghosts Happy
Let’s talk about storing these little spooks. They like a cool, dry spot. A sealed container at room temperature is perfect for a week. Want to keep them longer? Freeze them! Just lay them flat on a tray first. Once frozen, pop them into a bag. This keeps them from sticking together. I once forgot a batch in the freezer for a month. They were still delicious and spooky! Storing food well means less waste. It also means a sweet treat is always ready for you. Have you ever tried storing cookies this way? Share below!
Friendly Fixes for Cookie Troubles
Even grandmas have kitchen hiccups. Here are three common ones. First, if your coating is too thick, add a tiny bit of vegetable oil. This makes it flow like a smooth white sheet. Second, chocolate chips won’t stick? Your coating needs to be wetter. Dip the chip in a little extra bark first. I remember when my first ghost had a wobbly eye. We just laughed and ate it! Fixing small problems builds your kitchen confidence. It also makes your food look as good as it tastes. Which of these problems have you run into before?
Fun fact: Almond bark is sometimes called candy coating. It sets firm and shiny, perfect for decorating!
Your Quick Questions, Answered
Q: Can I make these gluten-free?
A: Yes! Use your favorite gluten-free peanut-shaped cookies.
Q: How far ahead can I make them?
A: You can make them up to three days before your party.
Q: What if I don’t have almond bark?
A: White chocolate chips work. Just add that bit of oil to thin them.
Q: Can I double the recipe?
A: Absolutely. Just melt your bark in batches so it doesn’t harden.
Q: Any extra tips?
A: Let kids place the eyes and mouths. It’s the most fun part! Which tip will you try first?
From My Kitchen to Yours
I hope you have a spook-tacular time making these. Cooking is about sharing joy and silly ghosts. I would love to see your creations. Please share a picture of your cookie family. Have you tried this recipe? Tag us on Pinterest! Your photos always make my day. Thank you for spending time in my kitchen today.
Happy cooking!
—Lena Morales.
Nutter Butter Ghosts: Nutter Butter Ghost Halloween Cookie Recipe
Description
These adorable and spooky Nutter Butter Ghosts are the perfect no-bake Halloween treat. Simple to make with just three ingredients!
Ingredients
Instructions
- Melt the almond bark per package instructions.
- Dip the cookie part way into the melted almond bark. Or place the whole cookie into the melted almond bark and use a fork to lift the cookie out allowing the almond bark to drip off.
- Place the coated cookie onto a baking sheet pan lined with wax paper or parchment paper.
- For the eyes, place two mini chocolate chips. For the mouth, place one chip turned upside down onto the front of the cookie.
- Sit at room temperature or chill in the refrigerator to allow the almond bark to harden.
Notes
- Store in an airtight container at room temperature for up to one week.


Leave a Reply