My Favorite Chocolate Mistake
I once ran out of regular chocolate chips. I only had white ones. So I used them in my chocolate dough. What a happy accident! The cookies looked like a starry night. I still laugh at that.
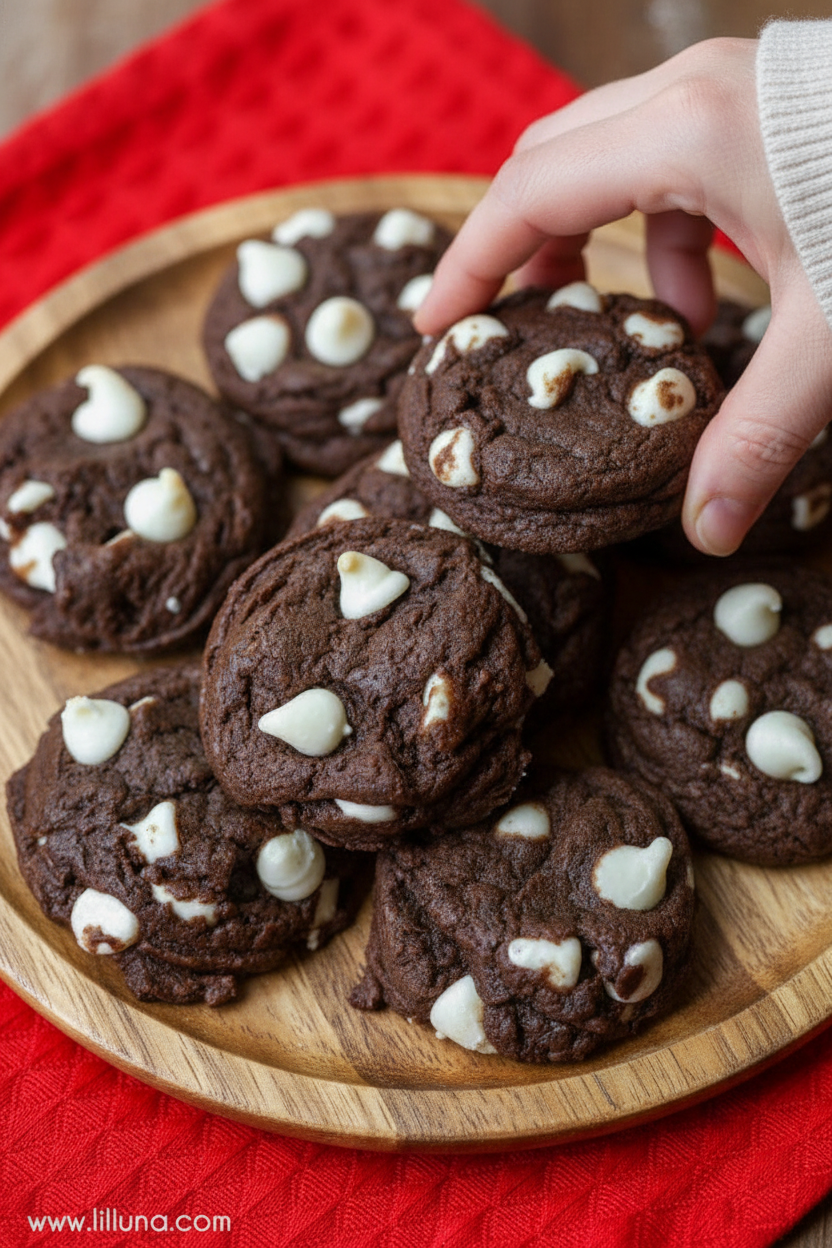
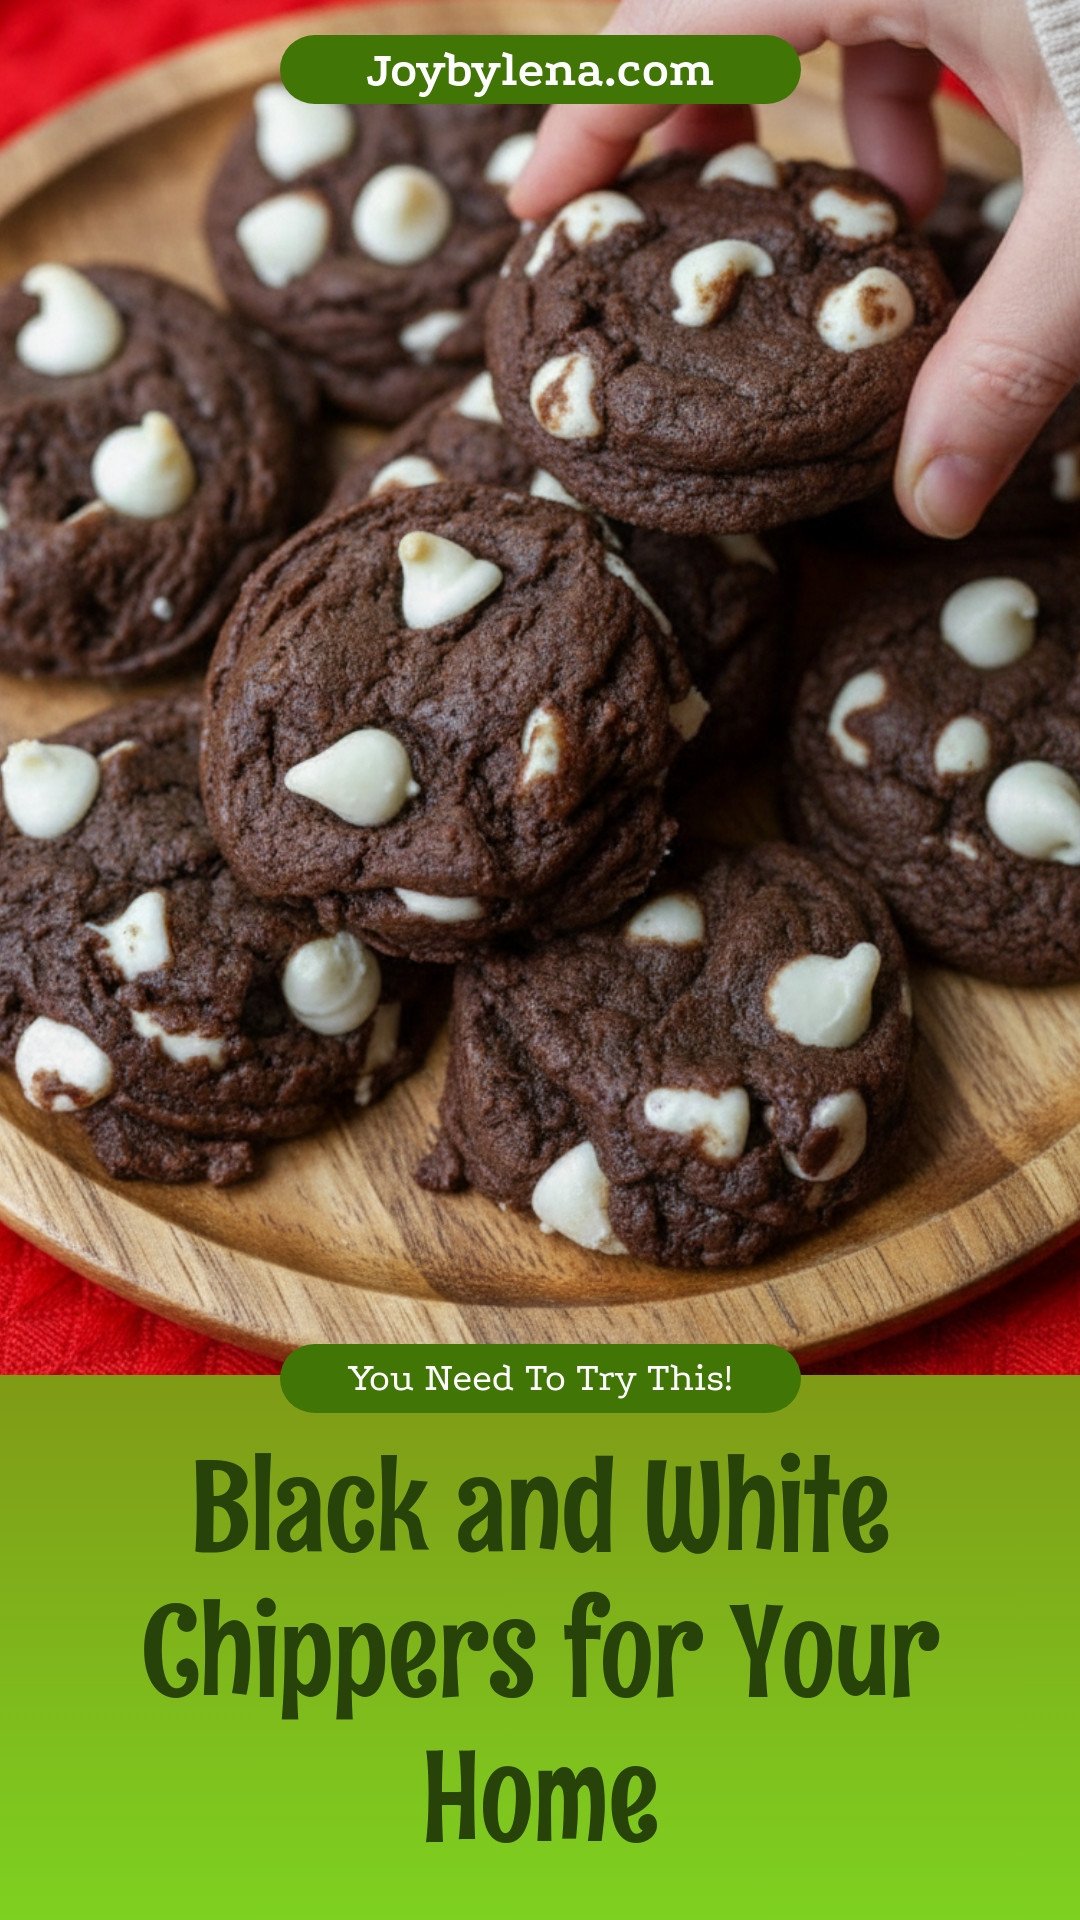
That is why these are called Black and White Chippers. The dark cookie is rich. The white chips are sweet and creamy. They are perfect together. Doesn’t that smell amazing while they bake?
Why Creaming Matters
Let’s talk about the first step. You cream the shortening and sugar. This means you mix them until fluffy. It looks like pale clouds. This step puts tiny air bubbles in your dough.
Why does this matter? Those little air pockets make your cookies tender. They help the cookies rise just right. So don’t rush this part. Good baking is about patience. What’s your favorite part of baking? Is it mixing, or is it eating?
A Little Kitchen Science
You mix the dry ingredients separately. Flour, cocoa, salt, and baking soda. This is very important. It makes sure the baking soda is spread evenly through the flour.
Why does this matter? Even mixing means every bite rises the same. No bitter spots of baking soda! Your cookies will be perfectly soft. *Fun fact: The baking soda reacts with the cocoa. This makes the cookies puff up in the hot oven.
The Sweetest Part
Now for the best part. You fold in the white chocolate chips. “Folding” is gentle. You use a big spoon and turn the dough over. You don’t stir hard.
This keeps the chips whole. You want little pockets of melted white chocolate. They are like sweet surprises. Do you like more or fewer chips in your cookie? I always add the full cup and a half!
Watch Them Closely
These cookies bake fast. Only 6 to 7 minutes. They might look a little soft in the middle. That is okay. Take them out anyway.
They will finish cooking on the hot baking sheet. This keeps them chewy. If you bake them too long, they get crunchy. Let them cool for a few minutes. Then, enjoy the warm, melty chips. What is your perfect cookie: chewy or crispy? Tell me your secret!
Ingredients:
| Ingredient | Amount | Notes |
|---|---|---|
| Shortening | 1/2 cup | |
| Sugar | 3/4 cup | |
| Egg | 1 | |
| Milk | 1/4 cup | |
| Vanilla extract | 1 tsp | |
| All purpose flour | 1 3/4 cups | |
| Baking cocoa | 1/2 cup | |
| Salt | 1/2 tsp | |
| Baking soda | 1/2 tsp | |
| White chocolate chips | 1 – 1 1/2 cups |
Black and White Chippers: My Favorite Cookie Story
Hello, my dear. Come sit at the counter. Let’s bake my Black and White Chippers. They tell a funny little story. I first made these for my grandson, Mateo. He couldn’t decide between chocolate or white chocolate cookies. So I said, “Why not both?” His eyes got so wide. I still laugh at that.
These cookies are soft and full of love. They mix dark cocoa with sweet white chips. Doesn’t that smell amazing? Baking is like sharing a secret. Today, I’ll share mine with you. Let’s begin.
- Step 1: First, heat your oven to 350 degrees. Get out your big mixing bowl. Put the shortening and sugar inside. Mix them until they look fluffy and light. This makes the cookie soft. I use my old hand mixer for this. It hums a happy song.
- Step 2: Now, beat in the egg, milk, and vanilla. It might look a little curdled. That’s perfectly fine. It will all come together. My tip? Use real vanilla. It smells like my abuela’s kitchen. (A hard-learned tip: scrape the bowl sides with a spatula. Don’t let good batter hide!).
- Step 3: Grab another bowl for the dry things. Whisk the flour, cocoa, salt, and baking soda. Cocoa powder likes to puff up in a cloud. Can you guess what makes the cookies dark? It’s the baking cocoa! Share below! Now, slowly add this to your wet mix. Stir until just combined.
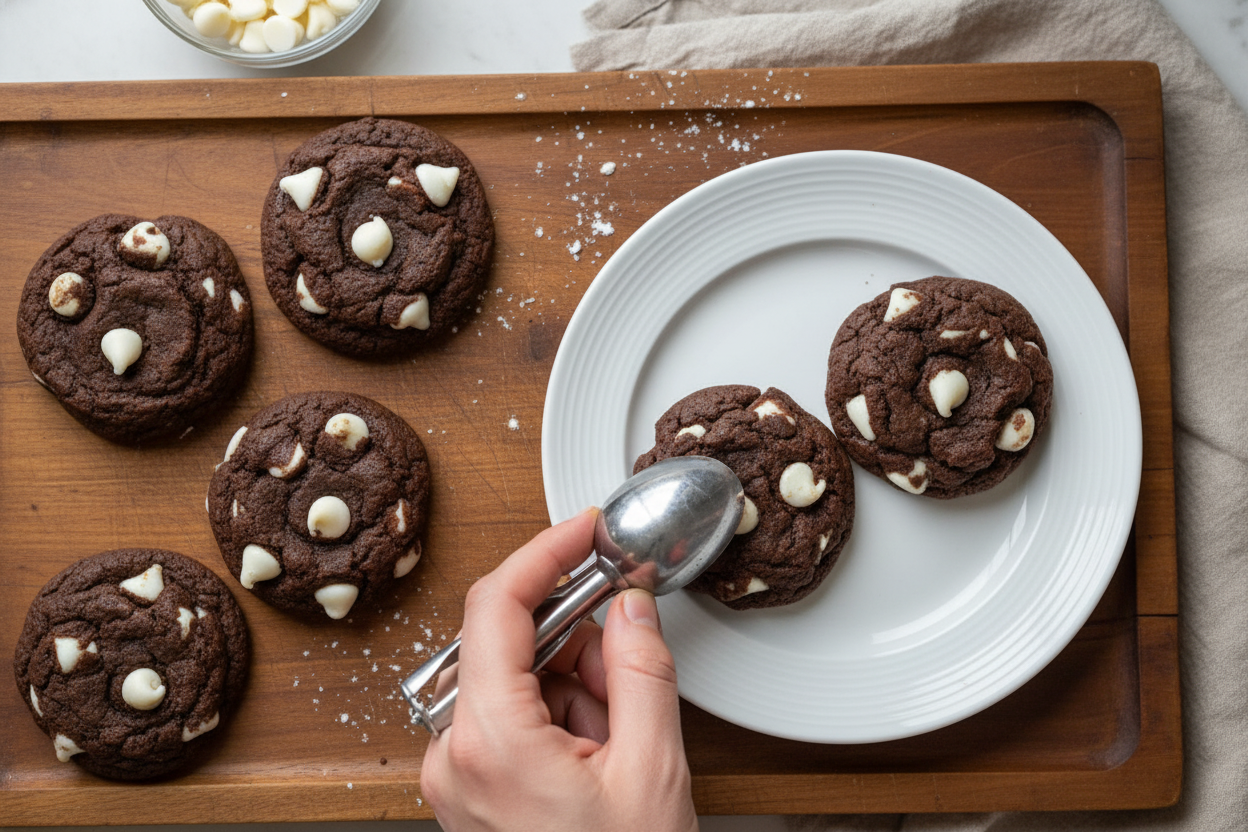
- Step 4: Here’s the best part. Gently fold in the white chocolate chips. Use a big spoon. Be kind to the dough. I always sneak a few chips for myself. No one will know. Drop little mounds onto your baking sheet. A small scoop keeps them all the same size.
- Step 5: Bake for just 6 to 7 minutes. They will look soft in the middle. That’s good! Let them cool on the sheet. They will firm up as they wait. Waiting is the hardest part, I know. But a warm cookie is a beautiful thing.
Cook Time: 7 minutes per batch
Total Time: 25 minutes
Yield: About 3 dozen cookies
Category: Dessert, Cookies
Three Fun Twists to Try
Once you know the recipe, you can play. I love changing things up. It keeps my family guessing. Here are three of my favorite twists. They are all simple and delicious.
- Peppermint Sparkle: Add 1/2 teaspoon peppermint extract with the vanilla. Top baked cookies with crushed candy canes. Perfect for December!
- Berry Surprise: Swap white chips for dried cranberries or cherries. The tart fruit with rich chocolate is wonderful.
- Nutty Buddy: Fold in 1/2 cup of chopped toasted pecans. It adds a lovely crunch. My husband Carlos loves this one.
Which one would you try first? Comment below!
Serving Them Up With Style
These cookies are stars on their own. But a little presentation is fun. Stack them high on a vintage plate. Place a few in a small paper bag for a friend. That’s a gift from the heart.
For a real treat, crumble one over vanilla ice cream. The warm and cold mix is magic. Pair them with a glass of cold milk. That’s the classic way. For the grown-ups, a small cup of espresso is nice. The bitter coffee loves the sweet chocolate.
Which would you choose tonight? A cold glass of milk or a strong espresso? I think I can guess.
Keeping Your Chippers Happy
Let’s talk about keeping these cookies tasty. First, cool them completely. Then store them in a tin at room temperature. They will stay soft for about five days. You can also freeze the dough or baked cookies. For dough, scoop it onto a tray and freeze solid. Then pop the frozen balls into a bag. Bake straight from the freezer, adding a minute or two. I once forgot a batch in the freezer for a month. They baked up perfectly for a surprise guest!
Batch cooking matters for busy families. A ready-to-bake treat saves the day. It means you always have something sweet to share. Have you ever tried storing cookie dough this way? Share below!
Cookie Troubles? Easy Fixes!
Sometimes cookies spread too thin. Your shortening might be too warm. Chill your dough for 30 minutes before baking. This makes a thicker, chewier cookie. Other times, cookies taste dry. You may have measured the flour wrong. Spoon flour into your cup, then level it off. Don’t pack it down. I remember when my first batch was dry as dust. I learned the spoon-and-level trick that day.
Your cocoa can make cookies bitter. Use a regular baking cocoa, not a dark one. This keeps the flavor friendly for kids. Getting these details right builds your confidence. It also makes sure every bite is full of joy. Which of these problems have you run into before?
Your Quick Cookie Questions
Q: Can I make these gluten-free? A: Yes! Use a good gluten-free flour blend. Add 1/4 teaspoon xanthan gum if your blend doesn’t have it.
Q: Can I make the dough ahead? A: Absolutely. It keeps in the fridge for three days. The flavor gets even better.
Q: What can I use instead of white chips? A: Try dark chocolate chips or chopped nuts. Butterscotch chips are a fun swap too.
Q: Can I double this recipe? A: You sure can. Just mix in a very large bowl. *Fun fact: Doubling is how I feed my whole book club!*
Q: Any optional tips? A: Sprinkle a little sea salt on top before baking. It makes the sweet chocolate taste amazing. Which tip will you try first?
Bake, Share, and Enjoy
I hope you love baking these black and white chippers. They always remind me of my grandson’s messy, happy face. The kitchen is the heart of the home. Sharing food made with love fills it with joy. I would be so thrilled to see your creations. Have you tried this recipe? Tag us on Pinterest! You can find me at Lena’s Cozy Kitchen. I can’t wait to see your cookie stories.
Happy cooking!
—Lena Morales.
Black and White Chippers: Black and White Chippers for Your Home
Description
Experience the delightful contrast of dark chocolate and sweet white chocolate in these easy-to-make cookies.
Ingredients
Instructions
- PREP. Preheat oven to 350 degrees.
- WET INGREDIENTS. Cream shortening and sugar until light and fluffy.
- DRY INGREDIENTS. Beat in the egg, milk and vanilla. In a separate bowl, combine flour, cocoa, salt and baking soda; gradually add dry mixture to shortening and mix well. Fold in white chocolate chips.
- BAKE. Use mini cookie scoop to place onto an ungreased baking sheet. Bake at 350° for 6-7 minutes. Let cool and ENJOY!


Leave a Reply