My First Cinnamon Bear
Let me tell you about my first cinnamon bear. I was eight years old. My abuelita gave me one from her apron pocket.
It was spicy and sweet all at once. My eyes got wide. I was hooked. I still laugh at that memory. It feels like a warm hug.
Why We Dip Them
This recipe is simple. But it does something special. The cool candy coating meets the spicy bear. It creates a perfect bite.
This matters because food is about balance. A little heat needs a little sweet. Life is like that too, don’t you think? What’s your favorite sweet-and-spicy combo?
Let’s Get Making
First, line a baking sheet. Parchment paper is your friend here. It stops everything from sticking. Trust me on this.
Melt your candy coating on LOW heat. Stir it a lot. Be patient. Doesn’t that smell amazing? Fun fact: Candy coating is sometimes called “candy melts.” It sets hard and shiny.
The Fun Part
Now, grab a bear by its foot. Dip it up to its neck. Give it a little tap on the pot. This shakes off extra chocolate.
Lay it on your paper to dry. Let them set completely. This part matters. Rushing means messy paws. Do you like white or chocolate coating better?
A Treat to Share
Once dry, put them in a tin. They keep for two weeks. But they never last that long in my house. My grandkids find them fast.
Making food for others is an act of love. It says, “I was thinking of you.” That’s the real recipe. Who will you share your first batch with?
Ingredients:
| Ingredient | Amount | Notes |
|---|---|---|
| Cinnamon bears | 24 | |
| Candy coating (white or chocolate) | 16 oz |
My Sweet & Spice Chocolate Bears
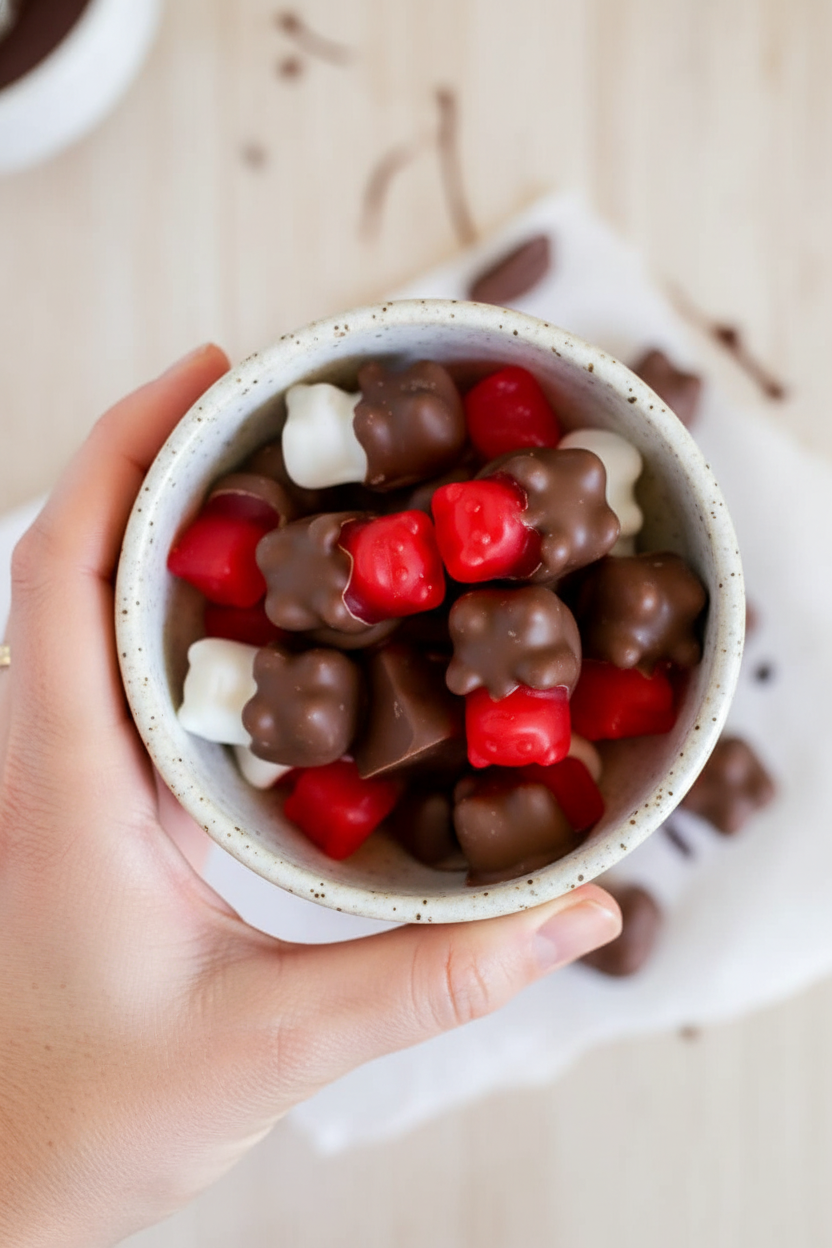
Hello, my dear! Come sit with me. I want to tell you about a silly candy I make. It mixes spicy cinnamon with sweet chocolate. My grandson calls them “teddy bear swimsuits.” I still laugh at that. They are so simple and fun. We can make them together right now. Doesn’t that sound like a good time?
You just need two things. Soft cinnamon bears and candy coating. I like the white coating best. It looks like a little bear wearing a chocolate coat. But you can use milk chocolate too. It’s all about what makes you smile. Now, let’s get our paws sticky!
Step 1: First, line a baking sheet with parchment paper. This is our parking spot for the bears. Trust me, you need this paper. Once, I didn’t use it. The chocolate stuck to the pan. We had to eat them with a spoon! (My hard-learned tip: always use the parchment paper.)
Step 2: Now, melt the candy coating. Use a small pot on the lowest heat. Stir it constantly. It melts slowly, like an ice cube in your hand. Don’t rush it or it might burn. When it’s all smooth, take the pot off the heat. Doesn’t that smell amazing?
Step 3: Time for the fun part! Grab a bear by its foot. Gently dip it into the chocolate. Only go up to its neck. We want to see its cute little face! Tap your wrist lightly on the pot’s edge. This shakes off extra chocolate. Do you think milk or dark chocolate goes better with cinnamon? Share below!
Step 4: Place your bear on the parchment paper. Let all the bears rest there. They need to dry completely. This takes a little patience. I use this time to wash the pot. Once they’re dry, store them in a tight container. They’ll stay happy for two weeks. If you can wait that long!
Cook Time: 15 minutes
Total Time: 30 minutes
Yield: 24 pieces
Category: Dessert, Candy
Let’s Get Creative!
These little bears love to dress up. Here are some fun twists for your next batch. They are so easy to try.
Sparkly Bears: Sprinkle a little edible glitter on the wet chocolate. They will shine like they’re at a party.
Half & Half Bears: Dip just half the bear in white coating. Dip the other half in chocolate coating. It’s a two-tone treat!
Nutty Bears: Roll the chocolatey bear in crushed peanuts right after dipping. It adds a nice little crunch.
Which one would you try first? Comment below!
Serving with a Smile
These candies are perfect for sharing. Put a few in a tiny paper cupcake liner. It looks so fancy on a plate. You can also stick them on top of a scoop of vanilla ice cream. The warm spice is wonderful with the cold cream.
For a drink, I love a cold glass of milk with them. It’s the classic choice. For the grown-ups, a little sip of coffee liqueur is nice. The coffee flavor loves chocolate and cinnamon. Which would you choose tonight?
Keeping Your Chocolate Bears Happy
Let’s talk about storing your treats. First, always use an airtight container. This keeps them fresh and chewy. I keep mine in a cool, dark cupboard. They last about two weeks there.
You can freeze them, too. Just lay them flat on a tray first. Once frozen, pop them into a freezer bag. They will keep for months. Thaw them right in the bag.
I once left a batch on the counter uncovered. They got stale and sad by morning. Now I always use a lid! Storing food well saves money and time. It means you always have a sweet bite ready. Have you ever tried storing it this way? Share below!
Fixing Little Kitchen Hiccups
Sometimes the candy coating gets too thick. Just add a tiny bit of vegetable oil. Stir it in gently until it flows smoothly. This makes dipping so much easier.
Is your chocolate not sticking well? Make sure your bears are dry. I remember using damp ones once. The chocolate slid right off! Pat them with a paper towel first.
The last issue is a messy workspace. Lay out your parchment paper before you start. Have a spoon and fork ready for dipping. A tidy space makes cooking fun, not stressful. Fixing small problems builds your kitchen confidence. It also makes your food taste better. Which of these problems have you run into before?
Your Quick Questions, Answered
Q: Is this gluten-free? A: Yes, if your candy coating and bears are gluten-free. Always check the labels.
Q: Can I make these ahead? A: Absolutely! They are perfect for making a day or two before a party.
Q: What can I use instead of candy coating? A: You can use real chocolate chips. Just add a teaspoon of oil when melting.
Q: Can I double the recipe? A: You sure can. Just use a bigger pot for melting.
Q: Any fun extra tips? A: Try sprinkling a little sea salt on top before the chocolate sets. It makes the sweet flavor pop! Which tip will you try first?
From My Kitchen to Yours
I hope you love making these sweet, spicy bears. It’s a simple joy to share with friends. Cooking is about making memories, not just food.
I would love to see your creations. Show me your chocolate-dipped masterpieces. Have you tried this recipe? Tag us on Pinterest! You can find me at @LenasCozyKitchen. Thank you for cooking with me today.
Happy cooking!
—Lena Morales.
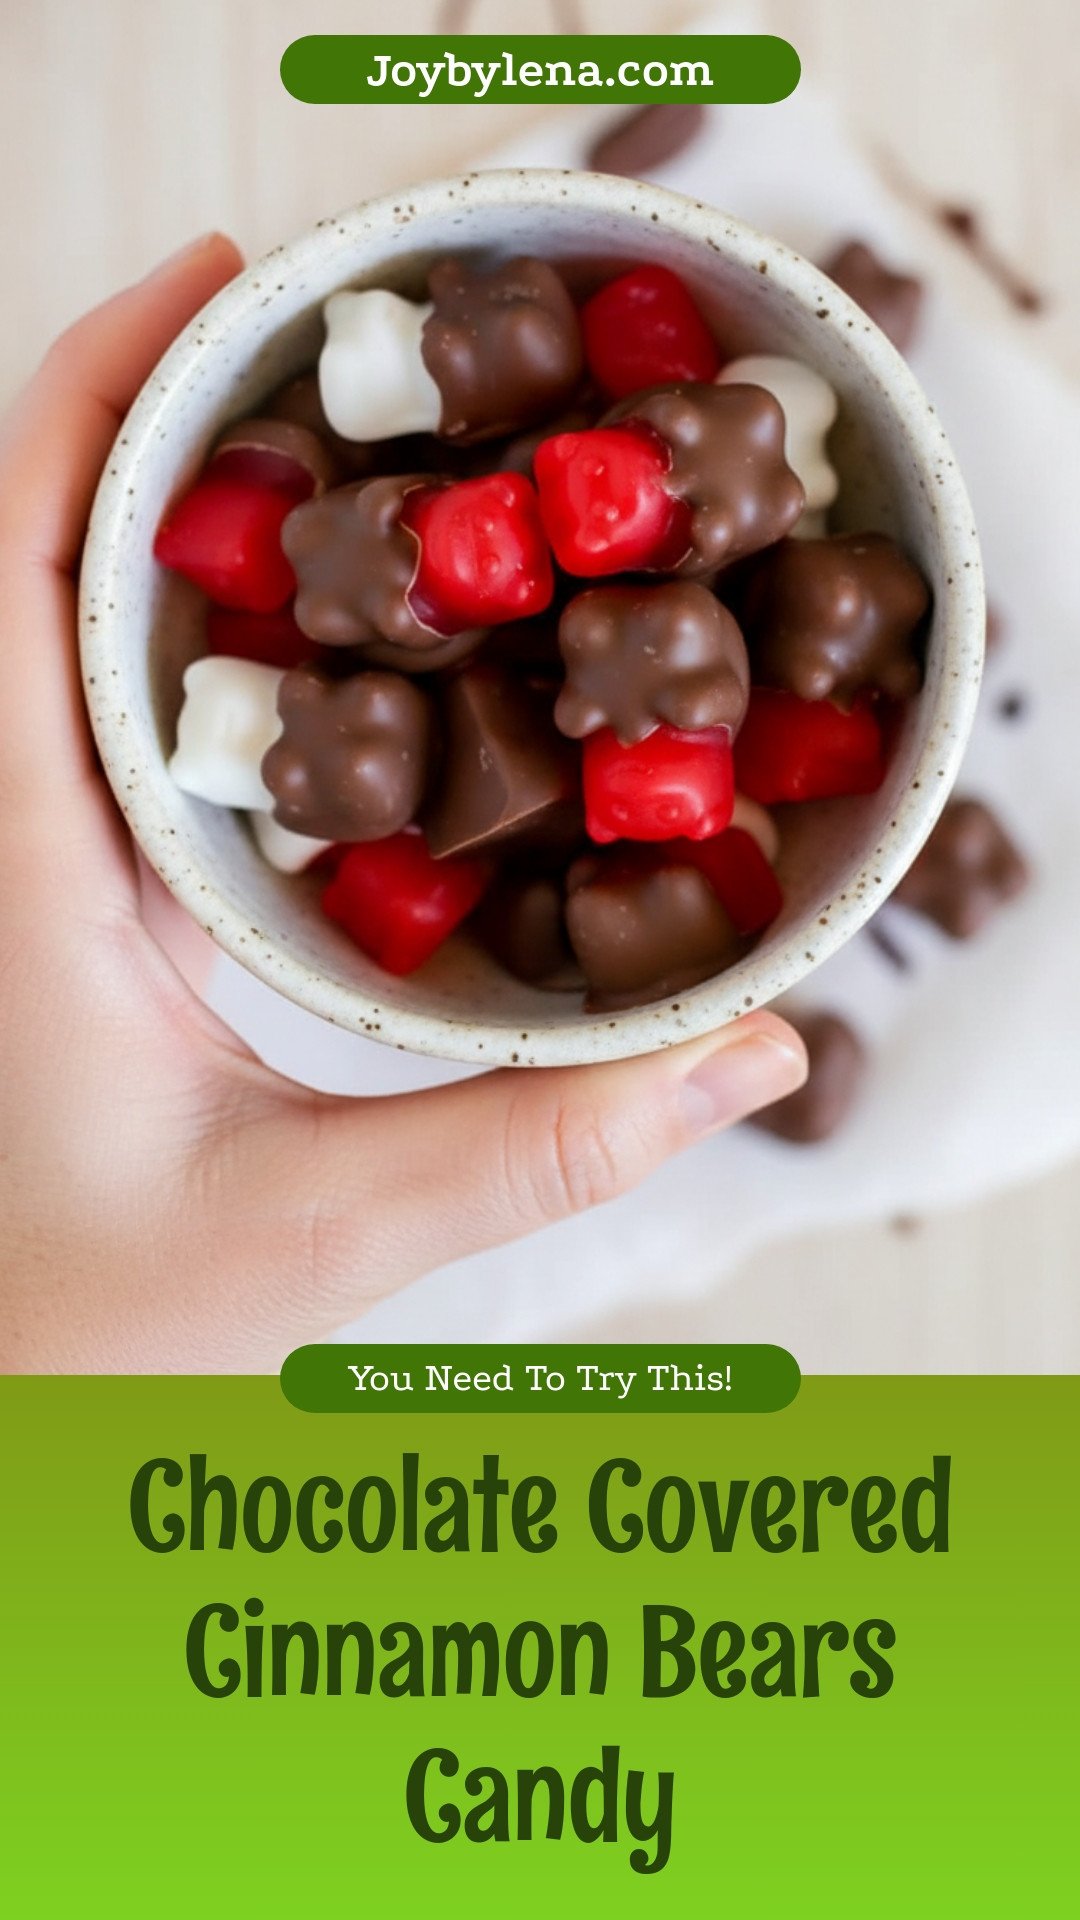

Chocolate Covered Cinnamon Bears Candy
Description
A simple and sweet treat featuring chewy cinnamon bears dipped in smooth candy coating.
Ingredients
Instructions
- Line baking sheet with parchment paper and set aside.
- In a sauce pan over LOW heat melt the candy coating making sure to stir constantly. Remove from heat.
- Grab cinnamon bear by the end and dip in the chocolate until it comes to the neck. Tap on side of pot to remove any excess chocolate.
- Place the chocolate covered cinnamon bear on a piece of parchment paper and let set.
- Allow them to cool and dry completely. Store in an airtight container for up to 2 weeks.
Notes
- Nutrition (per serving): Calories: 111 kcal, Carbohydrates: 14 g, Fat: 5 g, Saturated Fat: 5 g, Sodium: 5 mg, Sugar: 14 g


Leave a Reply