My First Batch Was a Mess
I first made these bars for my grandson’s birthday. I was in a big hurry. I forgot to soften the butter first. I still laugh at that. My mixer sounded like it was groaning.
So, let your butter sit out first. This matters because soft butter mixes smoothly. Your arms won’t get tired from stirring. Have you ever had a baking mishap like that? Tell me about it.
Why We Cream Butter and Sugar
Mixing the soft butter and brown sugar is key. You are not just mixing. You are filling the dough with tiny air pockets. Doesn’t that smell amazing? It smells like caramel.
This step matters for texture. It makes your bars light, not dense. It’s a small act of love. Fun fact: Brown sugar gets its color from molasses. That’s why it tastes so rich.
The Heart of the Recipe
Now, add the peanut butter and eggs. The vanilla goes in, too. This is where the magic happens. The dough becomes shiny and thick. It looks good enough to eat right now.
Use a big bowl. Trust me on this. The flour will fly everywhere if your bowl is too small. Do you like creamy or crunchy peanut butter better for baking? I’m team creamy.
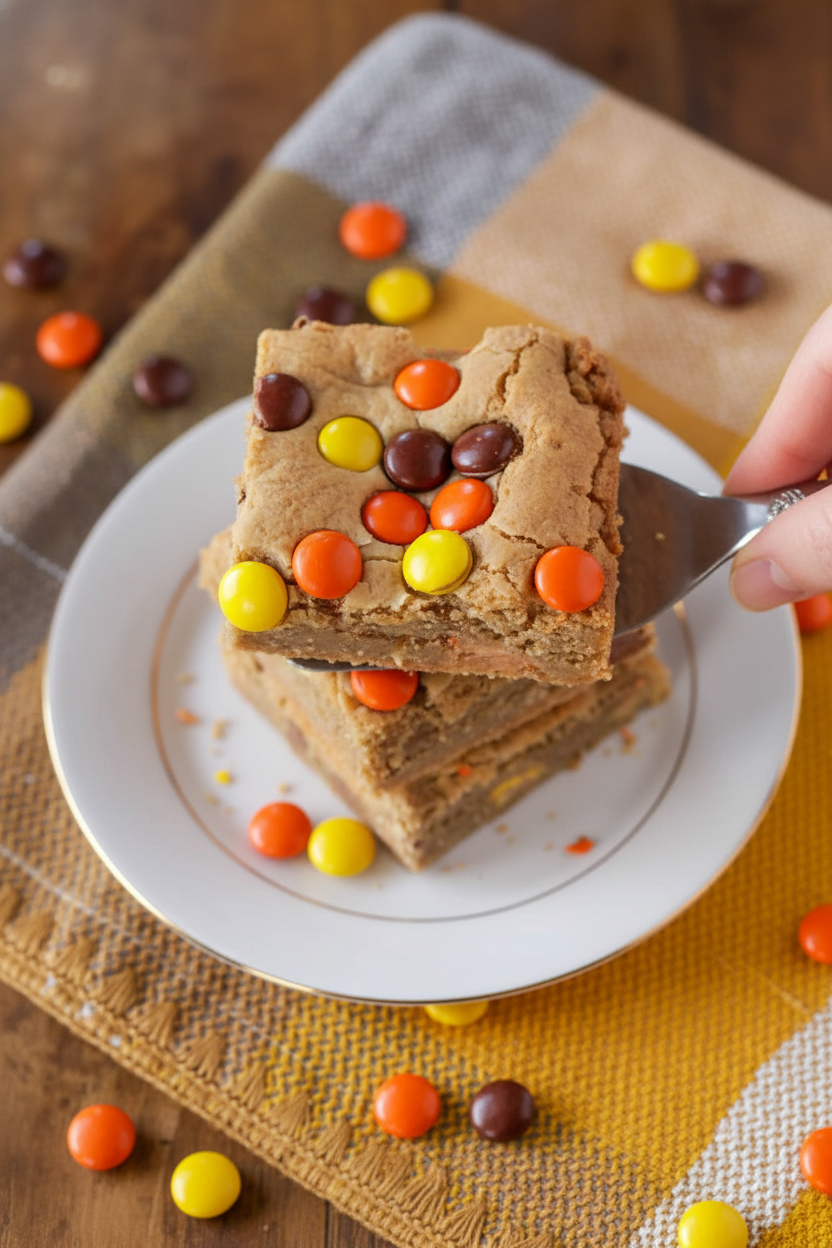
The Best Part: Mix-Ins!
Here comes the fun. Gently stir in the Reese’s Pieces and chocolate chips. The colors are so cheerful. It’s like a party in your bowl. I always sneak a few pieces.
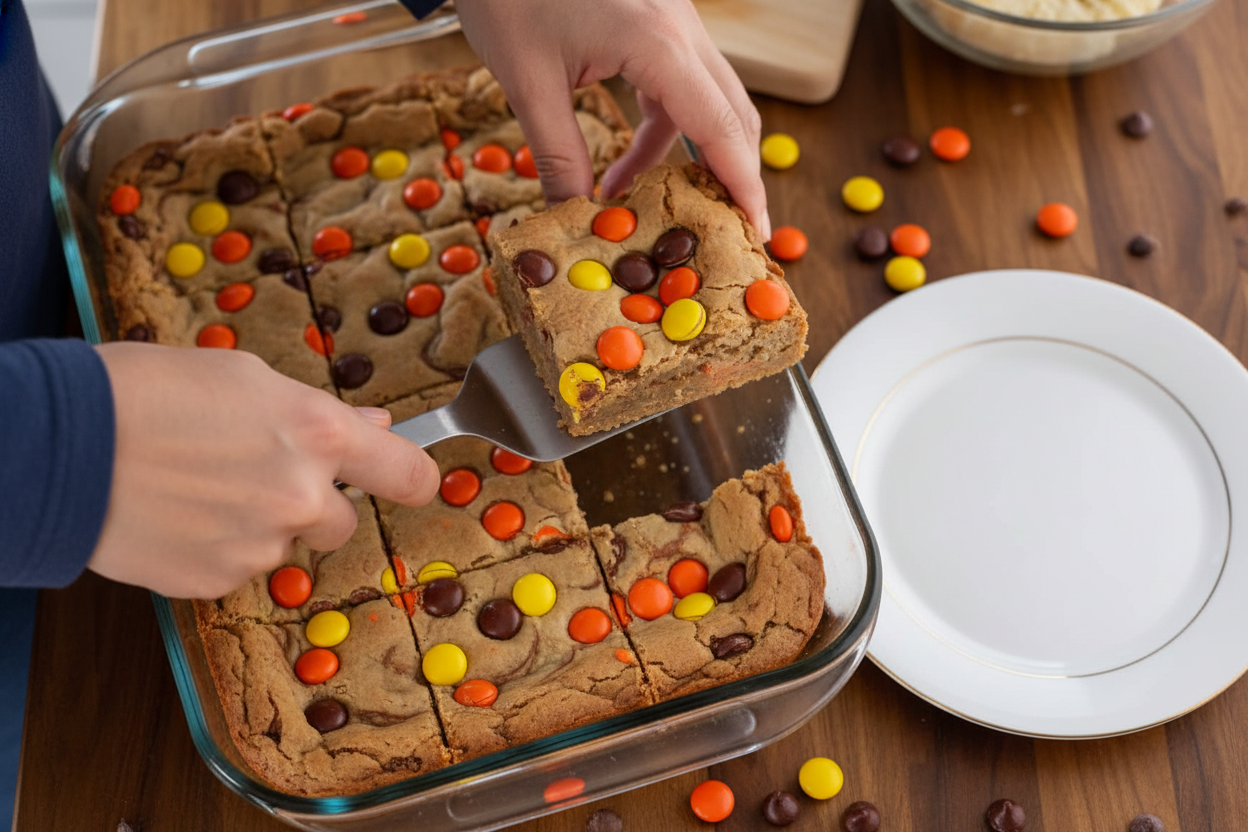
Spreading the dough in the pan is easy. Just pat it down with your fingers. Make it even so every piece bakes the same. Your kitchen will smell wonderful soon.
A Lesson in Patience
Bake them until just done. The toothpick test never lies. Now, the hardest part. You must let the pan cool. I know, it’s so tempting to cut them hot.
Waiting matters. It lets the bars set up. If you cut too soon, they will crumble. It teaches us that good things take a little time. What’s your favorite treat to bake when you need comfort?
Ingredients:
| Ingredient | Amount | Notes |
|---|---|---|
| Butter, softened | 1/2 cup | |
| Brown sugar | 2 cups | |
| Creamy peanut butter | 1/2 cup | |
| Eggs | 2 large | |
| Vanilla extract | 1 tbsp | |
| All-purpose flour | 2 1/8 cups | |
| Baking powder | 1 tsp | |
| Salt | 1/2 tsp | |
| Reese’s Pieces | 3/4 cup | |
| Chocolate chips | 1/2 cup |
My Favorite Candy Bar Bake
Hello, my dear! Come sit. Let’s bake something sweet. I’m thinking of my grandson, Miguel. He always begged for these bars. The kitchen would smell like a peanut butter dream. Doesn’t that smell amazing? We’d eat them warm, with the chocolate all melty. I still laugh at that. His face was always covered in crumbs. Today, I’ll share our secret recipe with you. It’s simple and full of joy. Just like a good kitchen memory should be.
Step 1: Grab your big mixing bowl. Put the soft butter and brown sugar inside. Mix them until they become friends. It will look like wet sand. Now, spoon in that creamy peanut butter. Stir it all together. This is the sweet, sticky heart of the bars.
Step 2: Crack in the two eggs. Add the vanilla extract too. Vanilla makes everything taste like home. Stir it very well. Your arm might get a little tired! In another bowl, mix the flour, baking powder, and salt. This is the dry team.
Step 3: Pour the dry team into the wet team. Stir gently. Don’t over-mix it! We want tender bars, not tough ones. (A hard-learned tip: too much stirring makes them chewy in a bad way). Now, the best part! Gently fold in the Reese’s Pieces and chocolate chips.
Step 4: Grease your 9×13 pan well. Use butter or a little spray. Spread the thick batter evenly. This takes patience. Use a spoon to push it into the corners. Quick quiz: What makes the bars rise, the baking powder or the vanilla? Share below! Now, into the oven it goes.
Step 5: Bake at 350 degrees for about 30 minutes. Your nose will know when it’s almost done. The edges will turn golden. To be sure, poke the center with a toothpick. If it comes out clean, they’re perfect! Let them cool in the pan. This is the hardest part, waiting.
Cook Time: 30 minutes
Total Time: 45 minutes
Yield: 12 bars
Category: Dessert, Candy
Three Fun Twists to Try
You can always change a recipe. It’s like telling a new story. Here are three fun ideas for next time. Pretzel Crunch: Swap half the candy for crushed salty pretzels. Breakfast Bar: Use only peanut butter chips, and add 1/2 cup of oats. Cookie Swirl: Drop spoonfuls of strawberry jam on the batter before baking. Swirl it with a knife. Which one would you try first? Comment below!
Serving Them Up Right
A warm bar is a happy bar. Serve it plain, or get fancy. A scoop of vanilla ice cream on top is heavenly. For a party, cut them into tiny squares. A little sprinkle of sea salt makes the flavors pop. For drinks, cold milk is the classic choice. For the grown-ups, a glass of creamy bourbon or coffee liqueur is nice. Which would you choose tonight?
Keeping Your Bars Fresh and Tasty
Let’s talk about keeping these bars yummy. First, cool them completely. Then, cover the pan tightly. They stay fresh on the counter for three days. For longer storage, the fridge is your friend. They will last a week there in an airtight container.
You can freeze them too! Wrap individual bars in plastic wrap. Then, pop them all into a freezer bag. They keep for three months. Thaw at room temperature when you want one. I once froze a whole batch for my grandson’s visit. He was so happy to have a ready-made treat!
Why does this matter? Good storage saves your hard work. It also means a sweet snack is always ready. Batch cooking these bars is a smart move. It fills your cookie jar for days. Have you ever tried storing it this way? Share below!
Simple Fixes for Common Baking Hiccups
Baking can have little problems. Do not worry. I have simple fixes. First, if your bars are too crumbly, you may have over-baked them. Check them at 25 minutes next time. I remember when I first made them too dry. We just enjoyed them with a glass of cold milk!
Second, if the batter seems too thick, that is okay. It is meant to be very thick. Just press it evenly into your pan. Third, if the top browns too fast, cover it with foil. This stops it from burning while the center cooks.
Why does this matter? Knowing these fixes builds your confidence. You become a fearless baker. It also ensures every batch is soft and delicious. Which of these problems have you run into before?
Your Quick Questions, Answered
Q: Can I make these gluten-free? A: Yes! Use your favorite gluten-free flour blend. The results are just as good.
Q: Can I make them ahead? A: Absolutely. The dough can be made a day early. Keep it covered in the fridge.
Q: What can I swap for Reese’s Pieces? A: Use more chocolate chips. Or try chopped peanuts for extra crunch.
Q: Can I double the recipe? A: You can. Just use two pans. Do not crowd one pan.
Q: Any optional tips? A: Sprinkle sea salt on top before baking. It makes the chocolate taste even richer! Which tip will you try first?
From My Kitchen to Yours
I hope you love making these bars. They bring such joy. Baking is about sharing love and sweet moments. I would love to see your creation. Show me your kitchen masterpiece.
Have you tried this recipe? Tag us on Pinterest! Use our handle @GrandmasKitchenCorner. Seeing your photos makes my day. Thank you for baking with me today.
Happy cooking!
—Lena Morales.
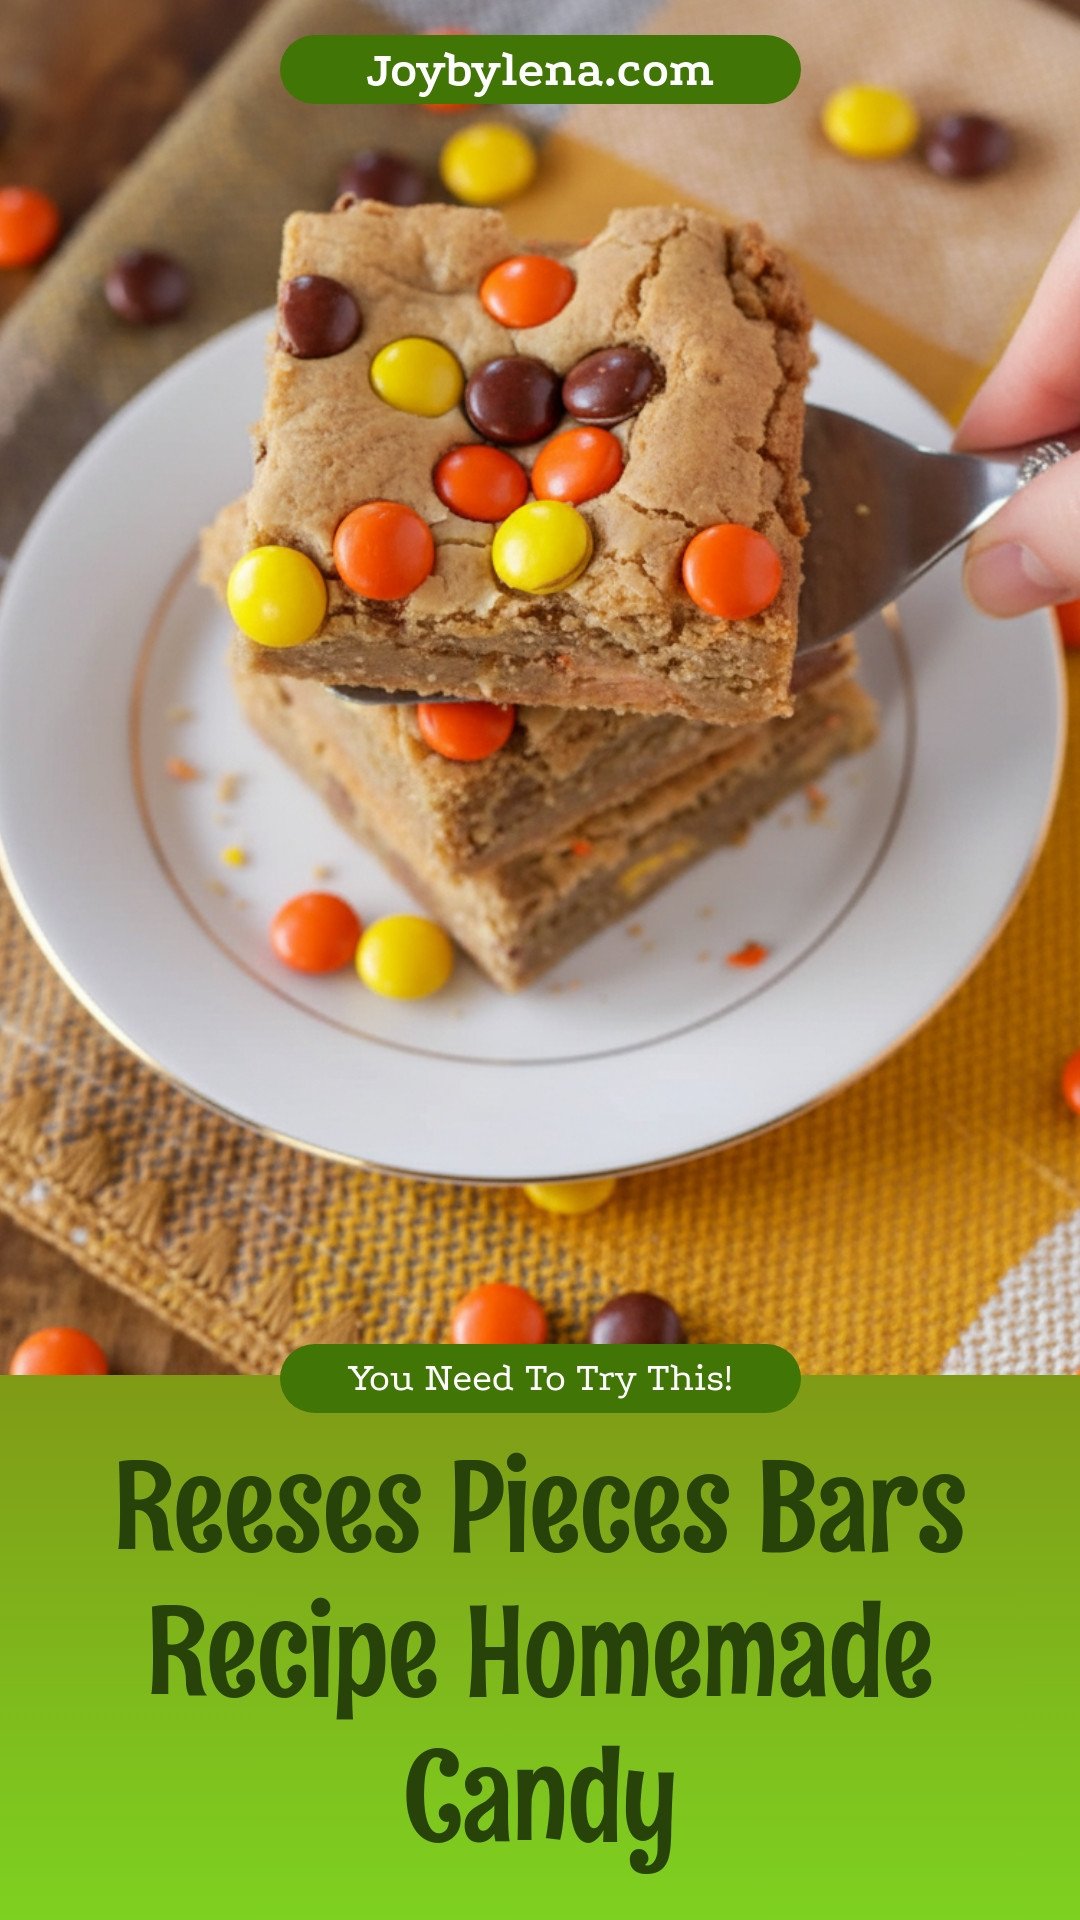
Reeses Pieces Bars: Reeses Pieces Bars Recipe Homemade Candy
Description
Experience the perfect blend of chewy cookie bar, creamy peanut butter, and crunchy candy with these homemade Reeses Pieces Bars.
Ingredients
Instructions
- In a large bowl, combine butter and brown sugar. Add the peanut butter and stir to combine. Mix in the eggs and vanilla. Stir well.
- In a separate bowl, combine all dry ingredients. Stir into the batter.
- Pour in the Reeses pieces and chocolate chips. Gently mix.
- Evenly spread batter into a greased 9×13 pan.
- Bake at 350 for about 30 min or until an inserted toothpick comes out clean. Allow to cool.
Notes
- Nutrition per serving: Calories: 462kcal | Carbohydrates: 67g | Protein: 8g | Fat: 19g | Saturated Fat: 9g | Trans Fat: 1g | Cholesterol: 52mg | Sodium: 265mg | Potassium: 233mg | Fiber: 2g | Sugar: 48g | Vitamin A: 298IU | Vitamin C: 1mg | Calcium: 77mg | Iron: 2mg


Leave a Reply