My First Danish Disaster
Let me tell you about my first time. I was so nervous. I forgot to thaw the puff pastry.
I tried to roll it out anyway. It cracked into a hundred pieces. I still laugh at that. Now I know to be patient. Good things need a little time to wake up. That’s our first “why this matters.” Rushing rarely helps in baking or in life.
The Magic of Puff Pastry
That box in your freezer is pure magic. Inside are hundreds of tiny layers. They are separated by little bits of cold butter.
When the heat hits, the butter melts. The water in it turns to steam. That steam pushes the layers apart. Doesn’t that smell amazing? You get a thousand flaky layers without any hard work. Fun fact: That’s called “laminated” dough. It’s like edible paper art!
Why We Fold the Corners
You might wonder why we fold the corners. It’s not just to make a pretty shape. It creates a little wall. This wall holds our creamy filling right where it belongs.
It keeps everything cozy and contained. No messy spills on your baking sheet. This is our second “why this matters.” Small steps make a big difference. They turn a simple square into a special treat. Do you like the cherry topping or just the cream cheese best?
The Heart of the Danish
That creamy center is the heart of it all. The lemon juice is my secret. Just a teaspoon. It’s not for a strong lemon taste.
It brightens the rich cream cheese. It makes the flavor sing. Always taste your filling before you dollop it. Does it make you smile? If yes, it’s perfect. What’s your favorite filling to bake with?
Your Turn in the Kitchen
Now, the best part. You get to make them. Remember the egg wash. It gives the pastry a beautiful golden shine. A little sugar dusting adds a sweet crunch.
Watch them puff up in the oven. It’s like a little show. Let them cool a bit before you take a bite. The filling is very hot. Share them with someone you love. Tell me, who will you share your first batch with?
Ingredients:
| Ingredient | Amount | Notes |
|---|---|---|
| Egg | 1 large | Plus 1 egg yolk and 1 tsp water for egg wash |
| Cream cheese | 8 ounces | Softened |
| Sugar | 3 tablespoons | Plus extra for dusting |
| Lemon juice | 1 teaspoon | |
| Vanilla extract | 1/4 teaspoon | |
| Puff pastry sheets | 1 (17.3 ounce) package | Frozen, thawed |
| Cherry pie filling | 1 can | Optional |
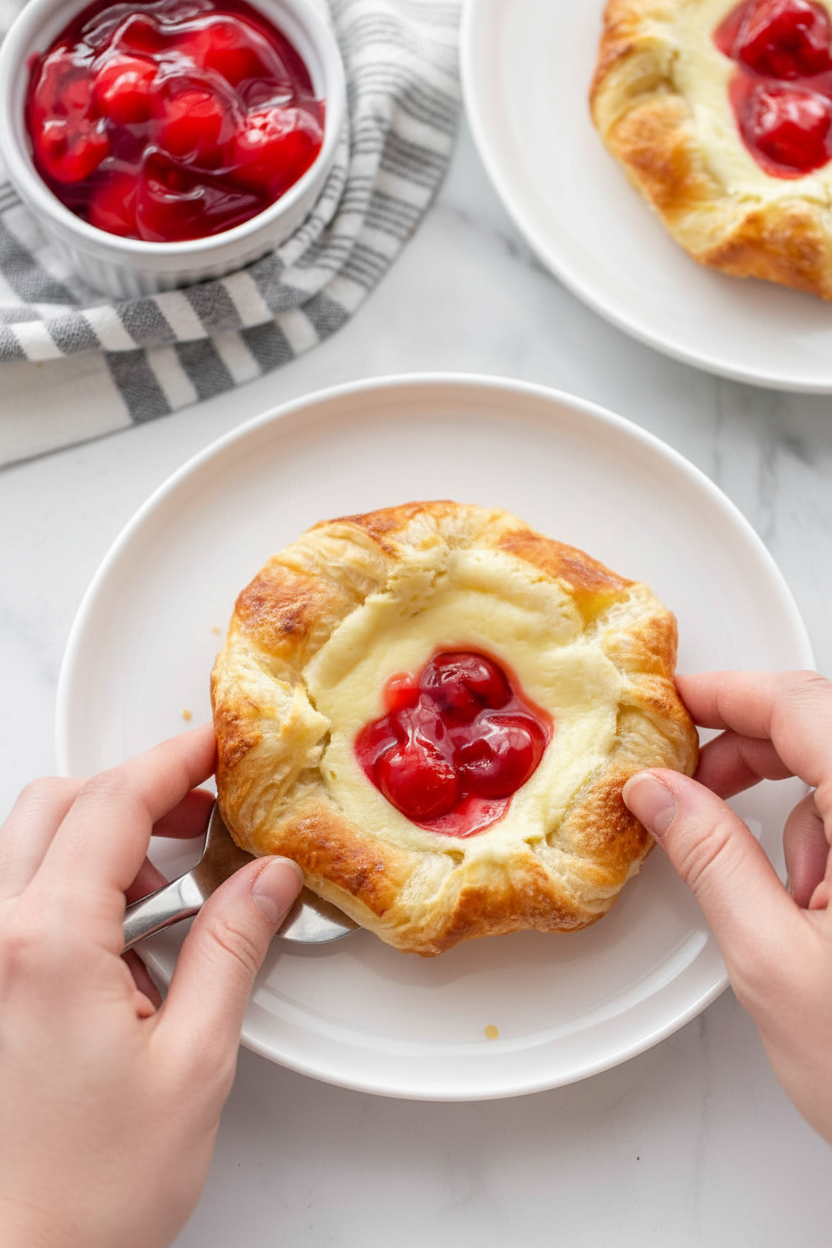
My Easy Cherry Danish for a Sunny Morning
Good morning, sweetie. Let’s make something special. This recipe reminds me of my Abuela’s kitchen. She always had a little treat ready. These danishes look fancy but are so simple. We use store-bought puff pastry. It’s our little secret. Doesn’t that smell amazing when it bakes?
Here is how we make them. Follow these steps and you’ll be a star.
- Step 1: First, line your baking sheets. Turn your oven to 400°F. Now, crack one whole egg into a bowl. Add a teaspoon of water and beat it. This is our egg wash. It makes the pastry shiny and golden. I still laugh at the time I used the whole egg in the filling by mistake. What a mess!
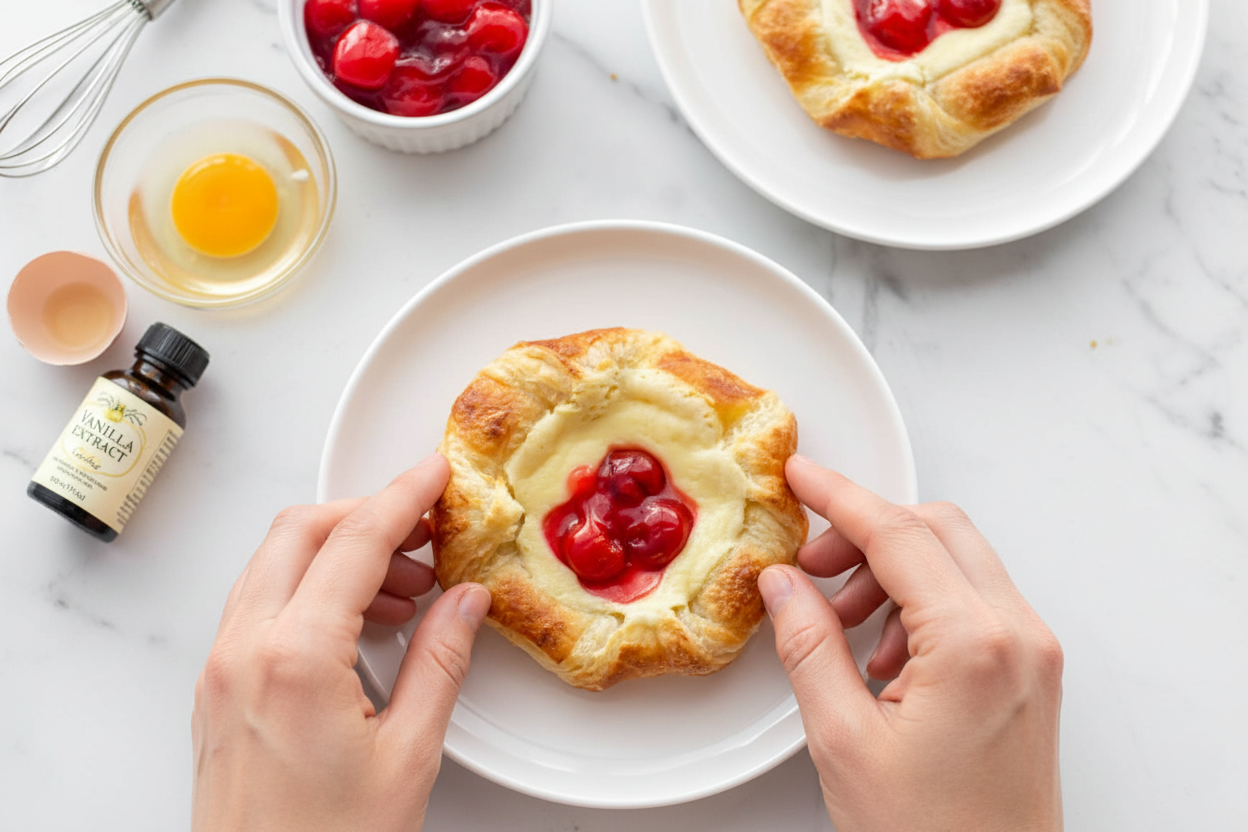
- Step 2: Let’s make the creamy filling. Put the egg yolk, soft cream cheese, sugar, lemon juice, and vanilla in a bowl. Mix it with a mixer until it’s smooth. (Hard-learned tip: Make sure the cream cheese is soft. Otherwise, you’ll get lumpy filling!). Taste a tiny bit. Isn’t it dreamy?
- Step 3: Unfold the puff pastry sheets on the counter. Cut each sheet into four squares. I use a pizza cutter. Now, fold each corner of the square inward. This makes an octagon shape. It looks so pretty, like a little star. Place them on your baking sheet.
- Step 4: Add a big dollop of cream cheese to each pastry center. Don’t spread it! Now, the fun part. Spoon some cherry pie filling on top if you like. The red looks so cheerful. Do you prefer cherries or just the cream? Share below!
- Step 5: Almost done. Brush the egg wash on the exposed pastry edges. Sprinkle a little sugar over them. This gives a sweet, tiny crunch. Bake for 15-17 minutes. Watch until they are puffed and golden. Let them cool a bit before eating. The filling is very hot!
Cook Time: 15-17 minutes
Total Time: 35 minutes
Yield: 8 danishes
Category: Breakfast, Pastry
Three Fun Twists to Make It Your Own
You can change this recipe so easily. Here are my favorite ideas. They are all delicious.
- Blueberry Lemon: Use blueberry pie filling. Add a bit of lemon zest to the cream cheese. So fresh and bright.
- Chocolate Chip: Skip the fruit. Mix mini chocolate chips into the cream cheese filling. My grandson requests this every time.
- Apple Cinnamon: Use a spoonful of apple butter. Sprinkle cinnamon sugar on the pastry edges before baking. It smells like fall.
Which one would you try first? Comment below!
Serving Your Beautiful Danish
These are perfect just warm from the oven. But let’s make it a real occasion. Place two danishes on a pretty plate. Dust them with powdered sugar. It looks like snow. Add some fresh berries on the side. Maybe a dollop of whipped cream, too.
What to drink? A cold glass of milk is always perfect. For the grown-ups, a hot cup of coffee with cream is lovely. The bitter coffee tastes great with the sweet pastry. Which would you choose tonight?
Keeping Your Danish Delicious
Let’s talk about keeping your danishes fresh. They are best eaten the day you bake them. But I know life gets busy. You can store them in the fridge for two days. Just cover them loosely with foil.
For longer storage, freeze them. Place cooled danishes on a tray in the freezer for one hour. Then wrap each one tightly in plastic. They will keep for one month. This is my batch-cook secret for easy mornings.
I once reheated one straight from the freezer. The pastry got soggy. Now I always thaw it first. To reheat, warm it in a 300°F oven for 5-10 minutes. This brings back the flaky crunch.
Having a ready-made treat matters. It turns a rushed day into a special moment. Have you ever tried storing it this way? Share below!
Simple Fixes for Common Hiccups
Sometimes our baking has little problems. Here are easy fixes. First, if your pastry is soggy, your oven might be too cool. Use an oven thermometer to check. A hot oven makes the pastry puff.
Second, the filling might leak and burn. I remember when this happened to me. The trick is to keep the cream cheese in a tall dollop. Do not spread it flat. This keeps it contained.
Third, the pastry might not turn golden. The egg wash is key for that. Make sure to brush it on all the exposed edges. A little sugar dusting helps too. It creates a lovely, sweet sparkle.
Fixing small issues builds your cooking confidence. It also makes the flavor and texture just right. Which of these problems have you run into before?
Your Quick Questions, Answered
Q: Can I make this gluten-free?
A: Yes! Use a gluten-free puff pastry sheet. Check the freezer section of your store.
Q: Can I prepare these ahead?
A: Absolutely. Assemble them the night before. Keep them covered in the fridge. Bake in the morning.
Q: What can I use instead of cherries?
A: Try blueberry pie filling or raspberry jam. A spoonful of lemon curd is also wonderful.
Q: Can I make a smaller batch?
A: Of course. Just use one pastry sheet. Cut it into four squares. Halve the filling recipe.
Q: Is the cherry topping needed?
A: No, it’s optional. The cream cheese filling is delicious all on its own. *Fun fact: the lemon juice in the filling keeps it tasting bright.* Which tip will you try first?
From My Kitchen to Yours
I hope you love making these danishes. I love imagining families sharing them. The smell of baking pastry is pure happiness. It fills the whole house with warmth.
I would be so delighted to see your creations. Please share your photos with me. Have you tried this recipe? Tag us on Pinterest! You can find me at @LenasCozyKitchen. Thank you for baking with me today.
Happy cooking!
—Lena Morales.
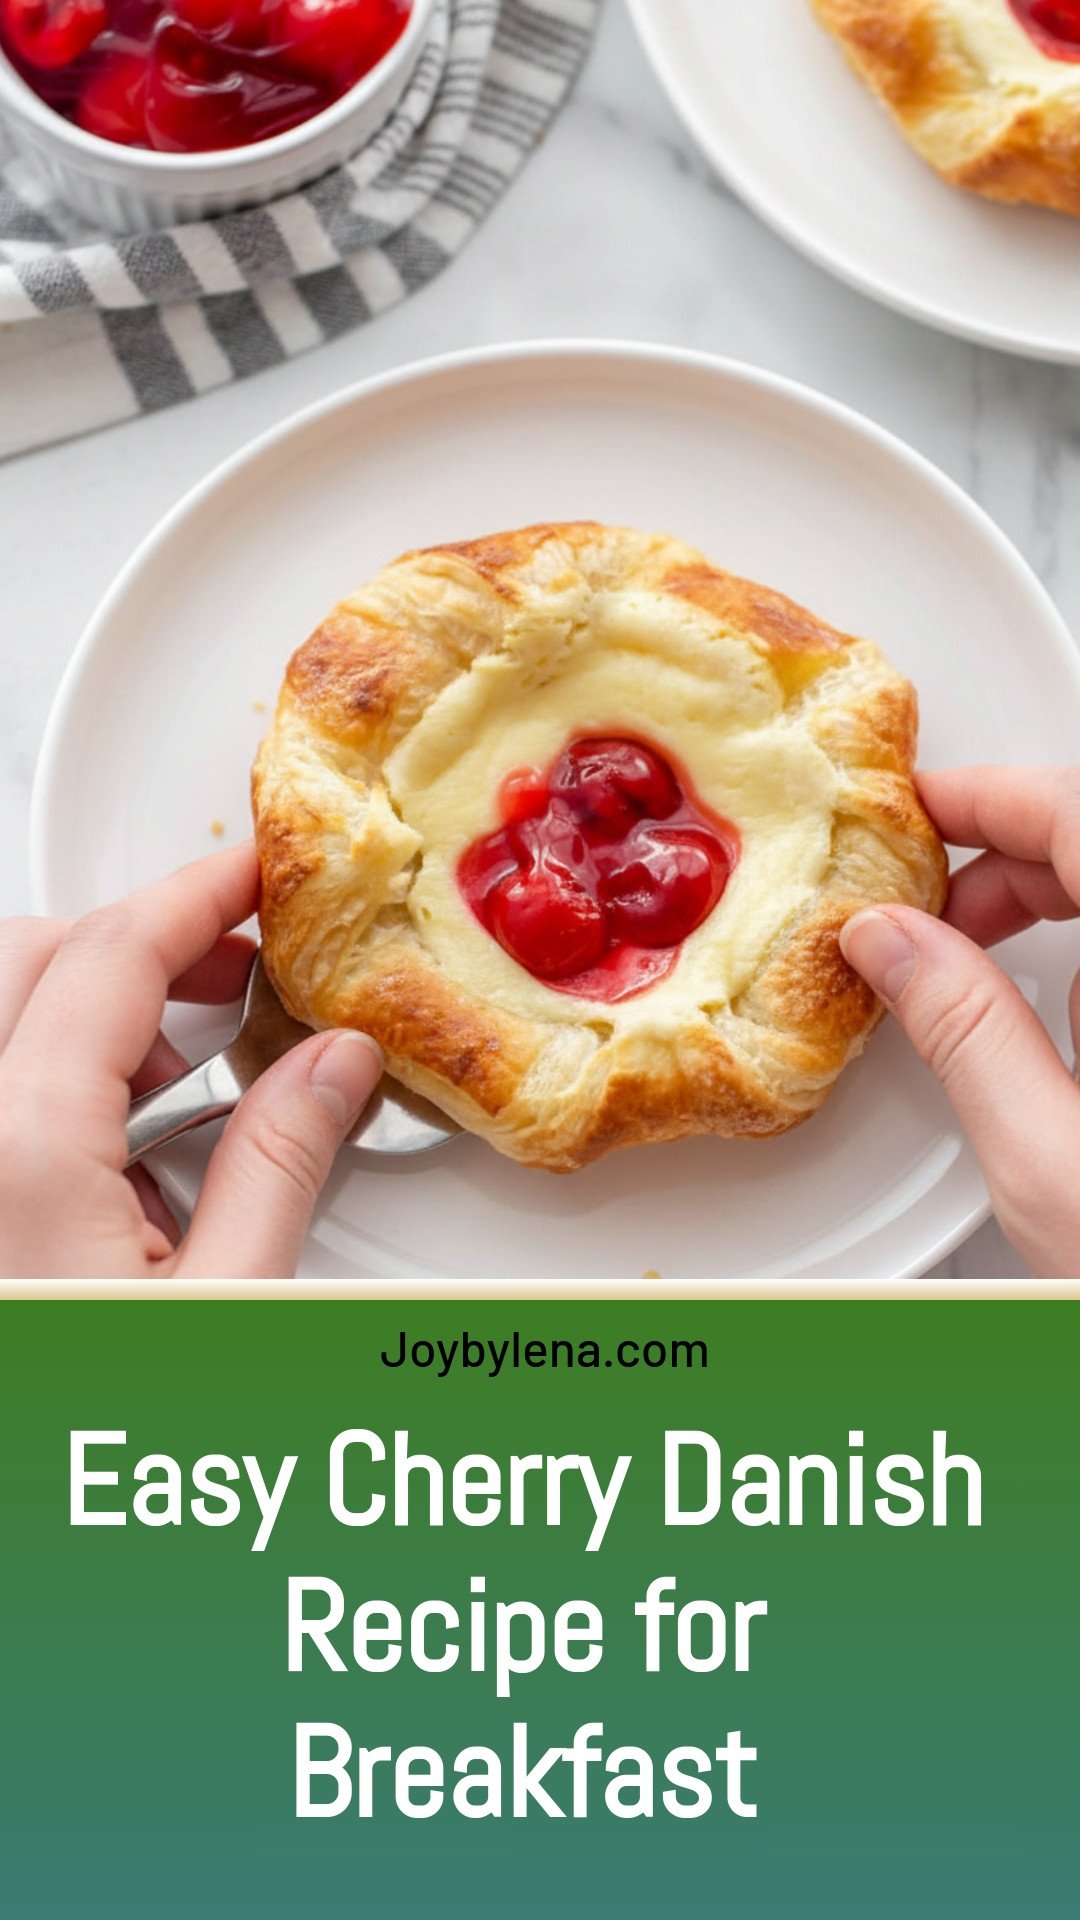
Cherry Danish: Easy Cherry Danish Recipe for Breakfast
Description
Enjoy a flaky, buttery pastry filled with sweet cream cheese and topped with optional cherries. This easy cherry danish recipe is perfect for a special breakfast or brunch.
Ingredients
Instructions
- PREP. Prepare two baking sheets by lining them with parchment paper. Heat oven to 400°F.
- EGG WASH. Crack the whole egg into a small bowl. Add the water and beat together. Set aside.
- CREAM FILLING. In a medium bowl, add egg yolk, cream cheese, sugar, lemon juice and vanilla. Mix the ingredients together using an electric mixer on medium high speed.
- PUFF PASTRY. On a clean surface, spread out both puff pastry sheets. Cut each sheet into 4 even squares (a pizza cutter works great for this). Make the squares into octagons by folding over each corner about 1 inch. Add each pastry to the baking sheet.
- FILL. Add a dollop of the cream cheese mixture into the center of each danish. (about 2 tbsp each). Keep the cream cheese in a dollop shape. Don’t spread it out.
- Optional Cherry topping: Spoon cherry pie filling on top of the dollop of cream cheese.
- BRUSH. Dip a pastry brush into the egg/water mixture. Brush the top of the exposed puff pasty with the mixture. Add a dusting of sugar over the exposed pastry.
- BAKE. Bake for 15-27 minutes until the pastry is an even golden brown. Serve your cherry danish after it has cooled.
Notes
- Nutritional information is an estimate and may vary based on specific ingredients used. The optional cherry pie filling will increase sugar content.


Leave a Reply