My First Cookie Cup Disaster
I tried making cookie cups years ago. I did not make an indent in the dough. The cookies baked into little balls. We had to scoop out the middle with a spoon. I still laugh at that.
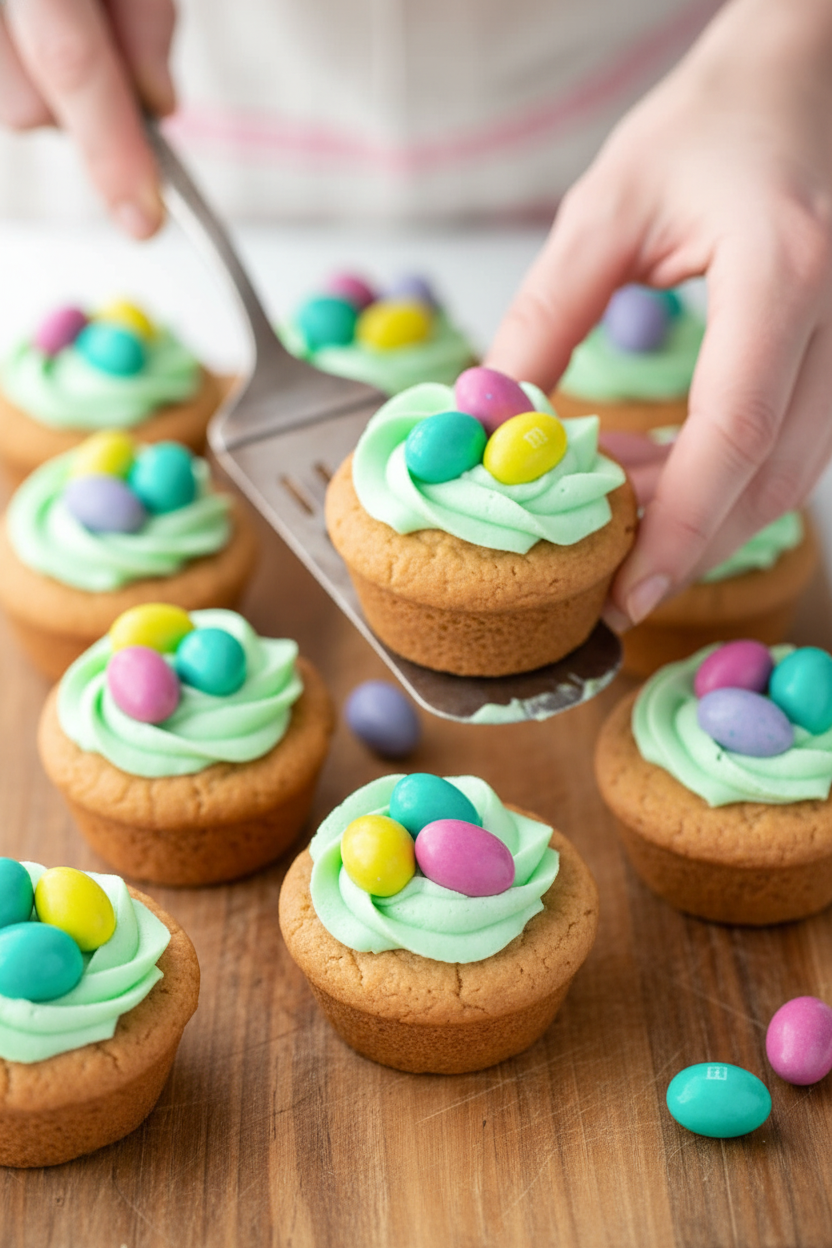
That’s why step five is so important. The tart press makes a little nest. This gives the frosting a home. It turns a cookie into a tiny basket. Have you ever had a funny baking fail? I would love to hear it.
Why Peanut Butter is the Secret
This recipe uses a whole cup of peanut butter. It makes the cookie soft and rich. It also holds everything together. The smell while baking is pure comfort. Doesn’t that smell amazing?
This matters because texture is everything. A good cookie cup must be sturdy. It needs to hold the frosting without breaking. The peanut butter gives it strength and flavor. It’s the quiet hero of the recipe.
The Joy of Coloring Frosting
Making the buttercream is my favorite part. I start with the white mixture. Then I add the food coloring. Watching it swirl into a pastel color is magic. It feels like painting with food.
Fun fact: Long ago, food coloring came from plants and crushed bugs! Today we have little bottles. What color will you choose? I am a fan of soft yellow, like a baby chick. It just feels like spring.
More Than Just a Sweet Treat
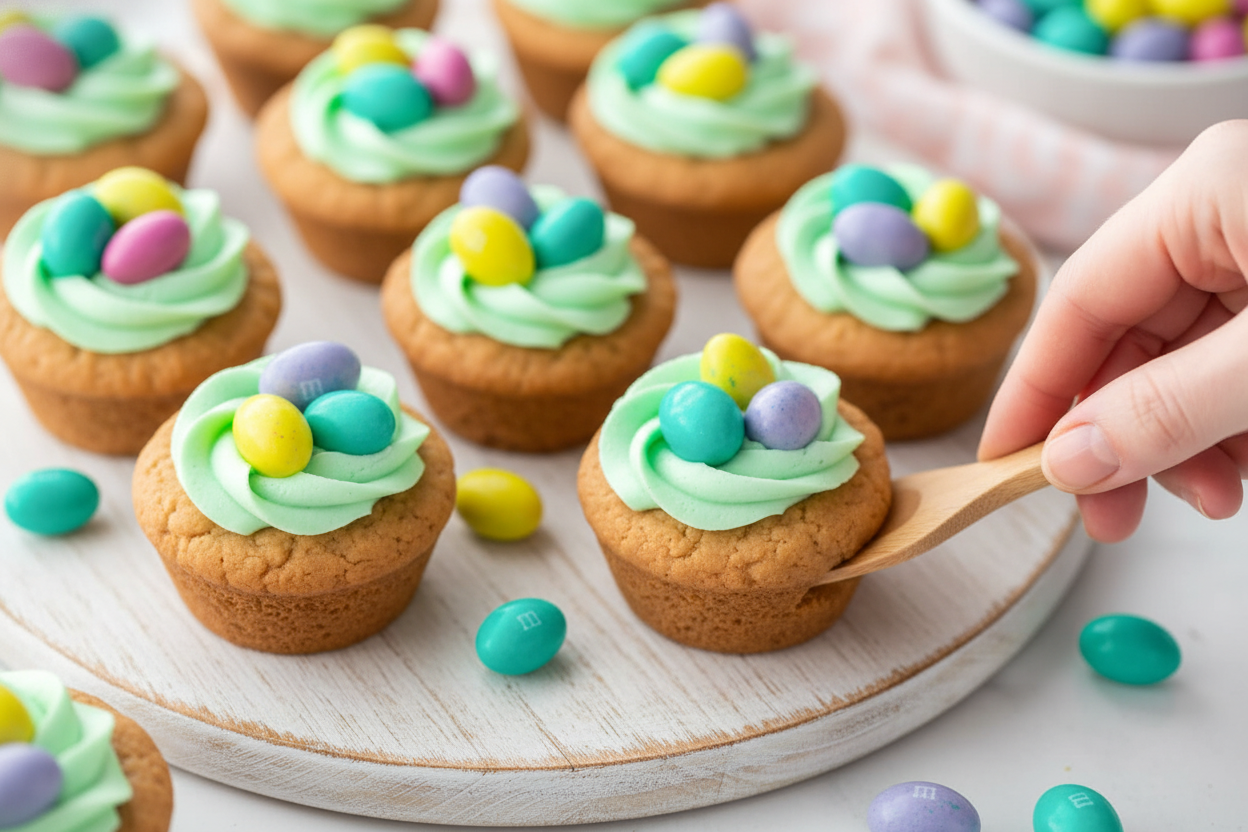
These are not just cookies. They are little edible baskets. You fill them with care. You top them with colorful candy. This turns baking into a craft. It is so satisfying to see them lined up.
This matters because food is about sharing joy. Making something pretty shows you care. It says, “I made this for you.” Do you prefer baking or decorating? I think both are wonderful.
Letting Them Cool is Key
The recipe says “let cool completely.” I know it is hard to wait. But trust your grandma Lena. If you frost a warm cookie, the frosting will melt. It will become a sweet, messy puddle.
Use this waiting time wisely. Wash your bowls. Pick out your M&Ms. The wait makes the first bite better. Patience is a secret ingredient in every good baker’s kitchen.
Ingredients:
| Ingredient | Amount | Notes |
|---|---|---|
| Sugar | 1 cup | For the cookie dough |
| Brown sugar | 1 cup | For the cookie dough |
| Shortening | 1 cup | For the cookie dough |
| Creamy peanut butter | 1 cup | For the cookie dough |
| Salt | 1 teaspoon | For the cookie dough |
| Vanilla extract | 1 teaspoon | For the cookie dough |
| Eggs | 2 | For the cookie dough |
| Milk | ¼ cup | For the cookie dough |
| All-purpose flour | 3½ cups | For the cookie dough |
| Baking soda | 2 teaspoons | For the cookie dough |
| Unsalted butter | ½ cup | For the buttercream frosting |
| Powdered sugar | 3-4 cups | For the buttercream frosting |
| Milk | ¼ cup | For the buttercream frosting |
| Vanilla extract | 1 teaspoon | For the buttercream frosting |
| Food coloring | As desired | For the buttercream frosting |
| Peanut butter M&Ms | For decoration | For topping |
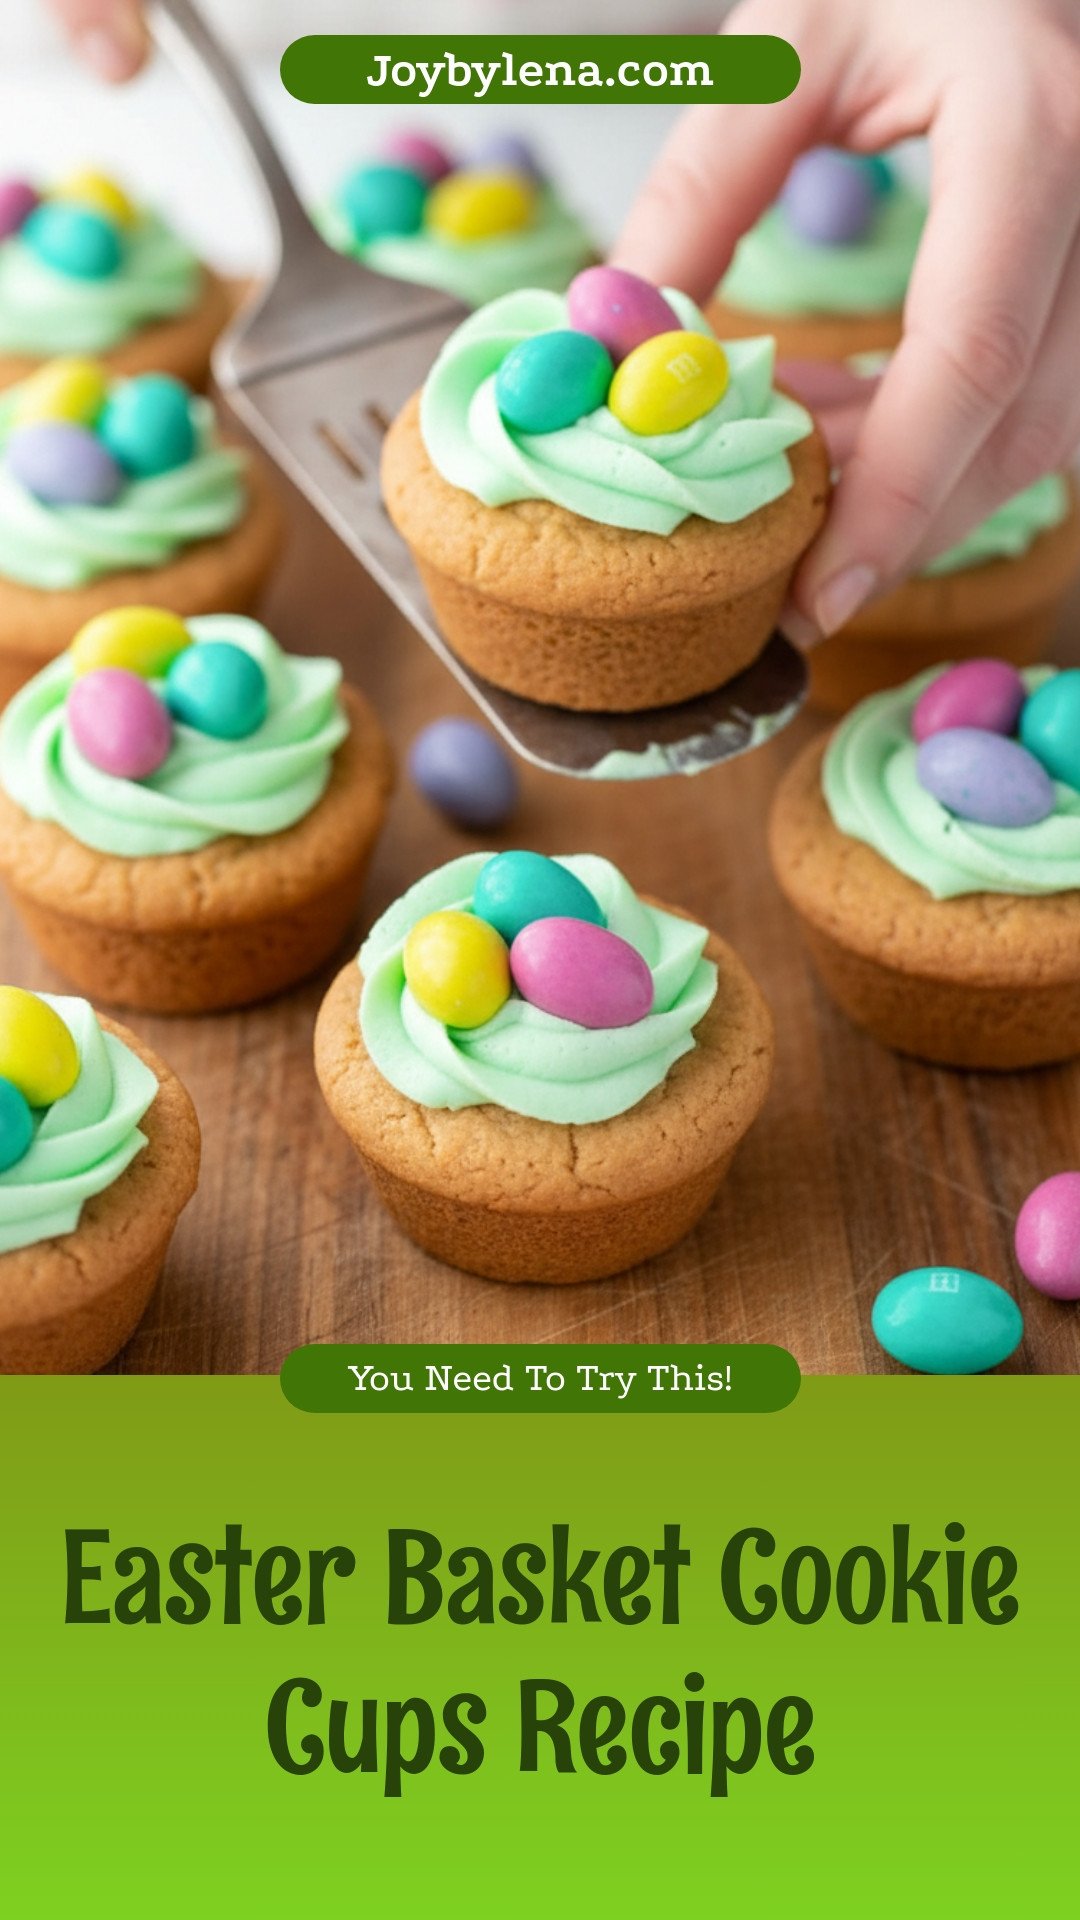
My Easter Basket Cookie Cups: A Sweet Little Story
Hello, my dear! Come sit. Let’s make something joyful. These cookie cups remind me of spring. I first made them for my grandson, Mateo. He loved hiding his Easter treats inside. I still laugh at that. His little hands were so careful. Now, let’s create our own sweet baskets. Doesn’t that smell amazing? The peanut butter and sugar together is magic. I promise, it’s easier than it looks.
Step 1: Grab your big mixing bowl. Put in both sugars, the shortening, and peanut butter. Add the salt and vanilla, too. Mix it all until it becomes one happy family. It will look a bit like sandy dough. That’s just perfect. (A hard-learned tip: make sure your shortening is at room temperature. It mixes so much better!)
Step 2: Crack in your two eggs. Pour in the milk. Now mix again. Watch it turn creamy and smooth. This is my favorite part. It feels like you’re making clouds. Well, peanut butter clouds! See how the color changes? It gets lighter. That’s how you know it’s ready.
Step 3: Time for the flour and baking soda. Gently fold them in. Don’t stir too hard. We want a soft dough, not a tough one. The dough will be thick and perfect for holding. Can you guess what makes the cookies rise? The baking soda does! Share below!
Step 4: Grease your muffin tin well. Use a big cookie scoop for the dough. Place one scoop in each cup. Now, find a small jar or a tart press. Press it into the dough to make a nest. This makes the cup shape. They will look funny now, but wait!
Step 5: Bake them at 350°F. They need about 10-12 minutes. They will puff up like little hats in the oven. Don’t worry! They will sink down into perfect cups as they cool. Let them cool completely in the tin. Patience is the secret ingredient here.
Step 6: For the frosting, beat the soft butter first. Add some milk, vanilla, and two cups of powdered sugar. Mix for five minutes. It should be fluffy. Now add more sugar and your favorite food coloring. I love a soft pastel green. Pipe or spoon it into your cool cookie cups. Top with peanut butter M&Ms. You made a basket!
Cook Time: 12 minutes
Total Time: 1 hour
Yield: About 24 cookie cups
Category: Dessert, Cookies
Three Fun Twists to Try
You can change this recipe for any season. It’s so fun to play with. Here are my favorite ideas. Chocolate Nest: Use chocolate chip cookie dough instead. Fill with chocolate frosting and candy eggs. Berry Garden: Skip the peanut butter. Use vanilla dough. Fill with pink frosting and fresh raspberries. Sunflower Surprise: Keep the peanut butter dough. Use yellow frosting. Place chocolate chips in a circle to look like seeds. Which one would you try first? Comment below!
Serving Them Up With Style
These are perfect for a party plate. Line them up on a bright platter. Scatter some green coconut “grass” around them. You could also serve them with a scoop of vanilla ice cream. The warm cookie and cold cream is heaven. For a drink, a cold glass of milk is always best. Grown-ups might like a sweet cream sherry with theirs. It’s a nice, gentle sip. Which would you choose tonight?
Keeping Your Cookie Cups Fresh and Happy
Let’s talk about keeping these treats yummy. First, cool them completely. Warm cookies get soggy in a container. I store mine in a tin with a tight lid. They stay perfect for four days.
You can freeze them too. Wrap each cookie cup in plastic wrap. Then pop them all in a freezer bag. They keep for a month. Thaw them on the counter for an hour.
I once frosted cookies before freezing. Big mistake! The frosting wept. Now I freeze the plain cups and frost later. Batch cooking saves big holiday time. It means more fun with family. Have you ever tried storing it this way? Share below!
Fixing Little Cookie Cup Troubles
Sometimes baking has hiccups. Here are easy fixes. First, if your dough is too sticky, add a little flour. Just a tablespoon at a time. This helps the dough hold its cup shape.
Second, if the cups puff up too much, press them down. Use a spoon right when they come from the oven. I remember when my first batch looked like muffins! It builds confidence to know the fix.
Third, if your frosting is too thin, add more sugar. Too thick? Add a teaspoon of milk. Getting the texture right makes the flavor shine. It feels like a real win. Which of these problems have you run into before?
Your Quick Cookie Cup Questions
Q: Can I make these gluten-free? A: Yes! Use your favorite gluten-free flour blend. The results are just as good.
Q: Can I make the dough ahead? A: Absolutely. Mix it, wrap it well, and refrigerate for two days.
Q: What can I use instead of shortening? A: Butter works, but the cup shape may spread more. Fun fact: Shortening helps cookies keep their shape better than butter!
Q: Can I halve the recipe? A: You can. Just halve every ingredient. It’s great for a small batch.
Q: Any fun topping ideas? A: Try mini chocolate eggs or colorful sprinkles. Use what you love. Which tip will you try first?
From My Kitchen to Yours
I hope you love making these cookie cups. They always bring smiles to my table. Baking is about sharing joy and sweet memories. I would love to see your creations.
Show me your beautiful Easter baskets. Share a picture of your family enjoying them. Have you tried this recipe? Tag us on Pinterest! Your photos make my day. Thank you for baking with me.
Happy cooking!
—Lena Morales.
Easter Basket Cookie Cups: Easter Basket Cookie Cups Recipe
Description
These adorable and delicious Easter Basket Cookie Cups combine a soft peanut butter cookie cup with creamy buttercream frosting and festive peanut butter M&Ms.
Ingredients
Buttercream Frosting
Instructions
- In a mixing bowl, combine sugars, shortening, peanut butter, salt, and vanilla. Mix well.
- Add eggs and milk, and mix until creamy.
- Fold in flour and baking soda.
- With a large cookie scoop, place dough in the cup of a greased muffin tin.
- Using a tart press or something similar make an indent into each scoop. This will help mold the dough into the muffin cup.
- Bake at 350°F for 10-12 minutes. They will rise when baking and will set down once taken out of the oven.
- Let cool completely.
- Combine butter, milk, vanilla, and 2 cups powdered sugar in a large bowl. Mix till smooth and creamy, about 5 minutes.
- Then add the remaining powdered sugar and food coloring of your choice.
- Pipe your frosting into your cookie cups and top with Peanut Butter M&Ms.
Notes
- Nutrition per serving: Calories: 373kcal | Carbohydrates: 48g | Protein: 5g | Fat: 18g | Saturated Fat: 5g | Cholesterol: 24mg | Sodium: 262mg | Potassium: 113mg | Fiber: 1g | Sugar: 33g | Vitamin A: 145IU | Calcium: 24mg | Iron: 1.2mg


Leave a Reply