The Day I Ran Out of Butter
Let me tell you about my first big cake disaster. I was making a birthday cake for my grandson. I had the cake layers all baked and cooled. Then I opened the fridge. I only had one tiny stick of butter left. My heart sank. I needed a whole lot more for the frosting.
That’s when I remembered my friend Maria’s trick. She always used shortening with her butter. I tried it. It worked like a magic trick. The frosting was still creamy and sweet. It held its shape perfectly. That little moment of panic taught me a great lesson. Sometimes a shortcut is just a smarter path.
Why Two Fats Are Better Than One
You might wonder why we use both butter and shortening. Butter gives us that rich, delicious taste we all love. Shortening doesn’t have much flavor. But it is a superhero for structure. It makes the frosting stable.
This matters because a stable frosting won’t melt as fast. It’s perfect for piping pretty flowers or writing “Happy Birthday.” Using both means you get the best of both worlds. Taste and strength. Have you ever had frosting melt off a cake in the sun? What did you do?
The Secret in the Pinch of Salt
Never, ever forget the tiny pinch of salt. I know it seems odd for frosting. But trust your kitchen grandma. Salt is not there to make things salty. It is there to make things taste more like themselves.
It balances all that sweet powdered sugar. It makes the vanilla and almond flavors sing. Without it, frosting can taste just flat and too sweet. That small pinch makes a huge difference. It turns good frosting into great frosting. Fun fact: A tiny bit of salt can even make chocolate taste more chocolatey!
A Splash of This, A Drop of That
Now, let’s talk about the flavorings. I use both almond and vanilla extract. The vanilla is warm and familiar. The almond is like a soft, sweet whisper. Together, they are a beautiful duet. It tastes special, not just plain.
This is your chance to be an artist. You can use any extracts you like. Maybe try a bit of lemon or orange. What two flavors would you love to mix together in a frosting? Tell me your idea. I love trying new combinations.
Getting the Consistency Just Right
The final step is the most important. Look at your frosting. Is it too thick and crumbly? This happens sometimes. Don’t worry. Just add a few drops of milk or water. Mix it in. Add one drop at a time.
You want it smooth and spreadable. For writing or piping, it should be a bit thicker. It should hold a soft peak. This control matters. It means you are the boss of your frosting. It will do what you want it to do. Do you prefer to spread frosting smoothly or pipe it into fun shapes?
Ingredients:
| Ingredient | Amount | Notes |
|---|---|---|
| Unsalted butter | 1/2 cup | room temperature |
| Vegetable shortening | 1/2 cup | |
| Salt | 1 pinch | |
| Powdered sugar | 4 cups | |
| Almond extract | 1 teaspoon | |
| Vanilla extract | 1/2 teaspoon |
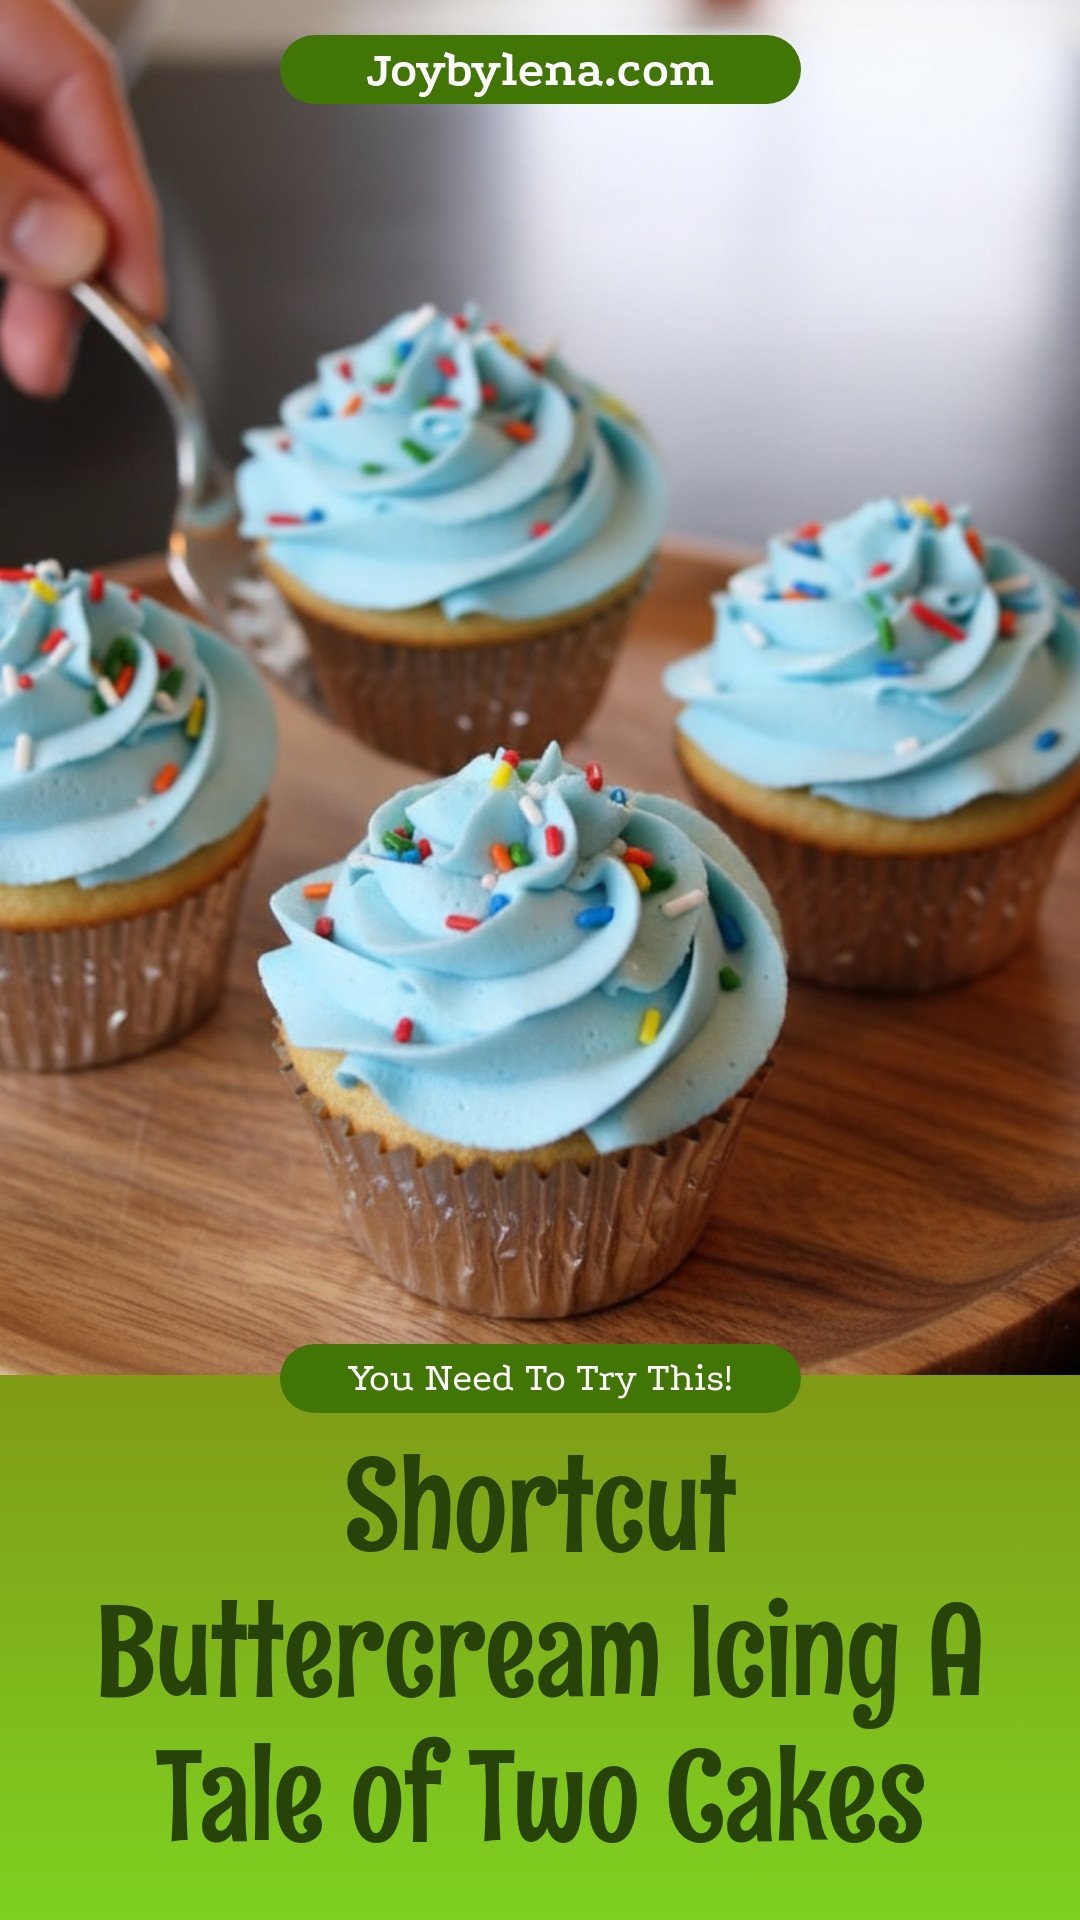
Shortcut Buttercream Icing: A Tale of Two Cakes
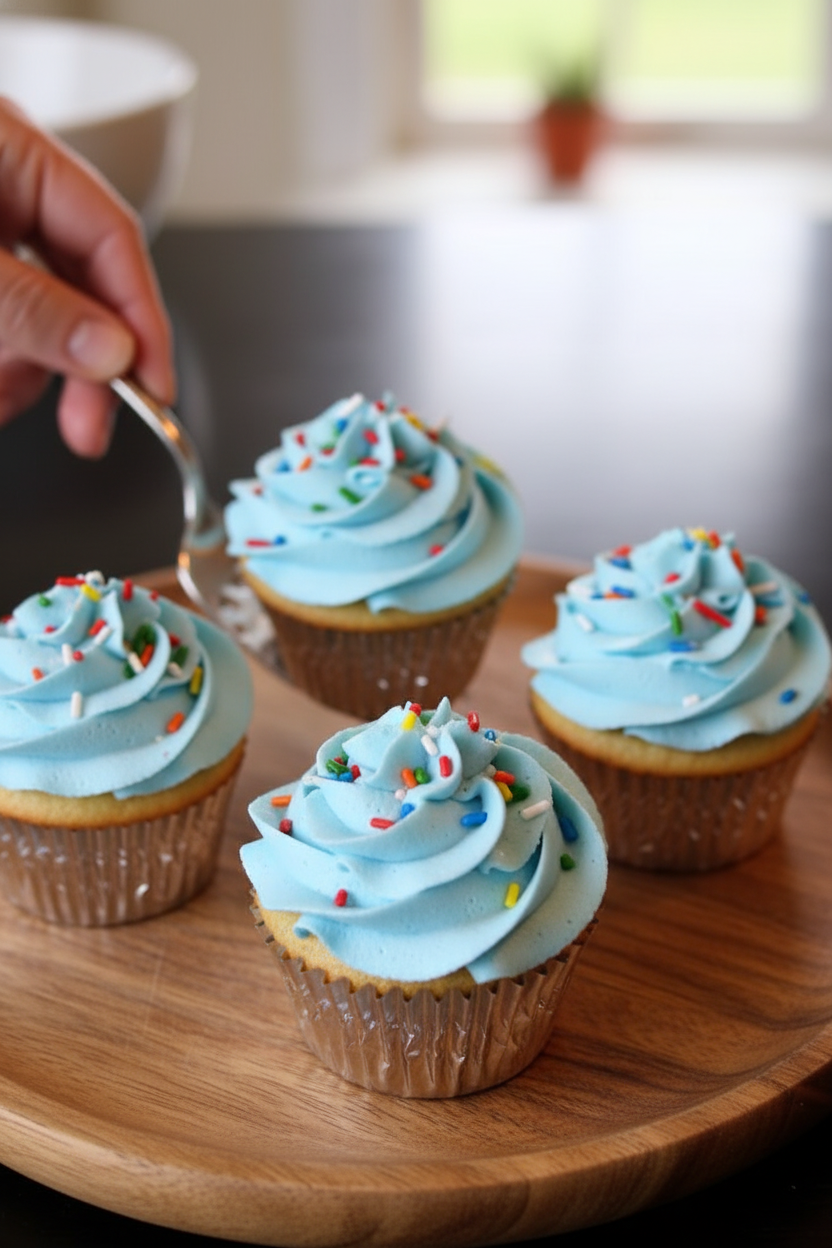
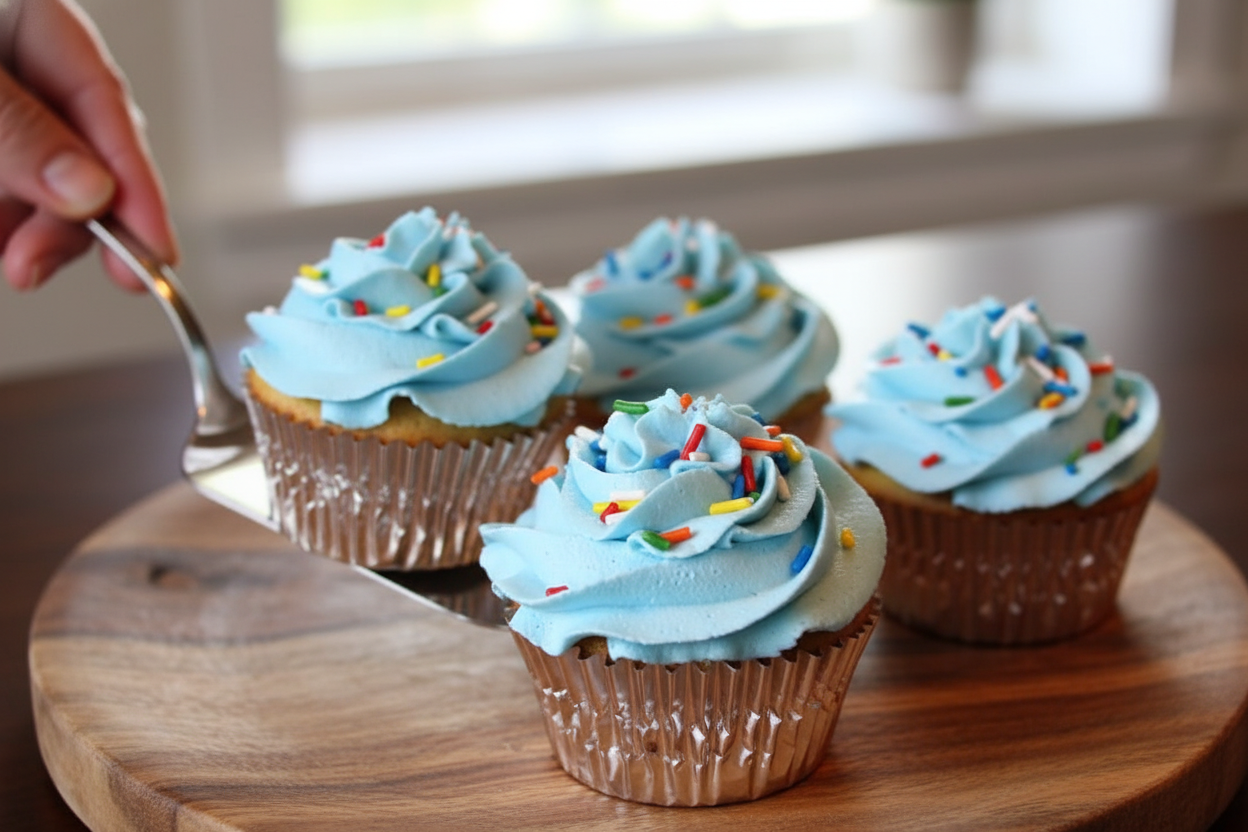
Hello, my dear. Come sit. Let me tell you about my two favorite cakes. One was my wedding cake, all fancy and tall. The other was my grandson’s first birthday cake. It was lopsided! But both tasted wonderful because of this icing. It’s simple and always works. It reminds me that love, not perfection, is the secret ingredient.
We call this a “shortcut” icing because it’s so easy. You just mix everything in one bowl. The shortening keeps it smooth, even on a hot day. I learned that from my friend Margie fifty years ago. Doesn’t that smell amazing when you add the extracts? It smells like a happy kitchen.
Now, let’s make some magic together. Here is exactly what you do.
- Step 1: Get your butter nice and soft. Put it in a big bowl with the shortening and a tiny pinch of salt. Mix them on medium until it looks like fluffy clouds. This should take about two minutes. I still laugh at my first try. I used cold butter! My mixer danced across the counter.
- Step 2: Now, add the powdered sugar. Do this slowly, just one cup at a time. Mix on low speed at first. Why? So you don’t get a sugar snowstorm all over your kitchen! (My hard-learned tip: cover the bowl with a clean towel for the first cup). Once it’s all in, let the mixer run for a full minute. It gets beautifully smooth.
- Step 3: Time for the best part! Pour in the almond and vanilla extracts. Mix them in well. This is also when you can add color. I prefer gel colors. They make pretty pinks and blues without thinning the icing. What color would make your cake extra special? Share below!
- Step 4: Look at your icing. Is it too thick for spreading? If you want to pipe flowers or write a name, add a few drops of milk or water. Just add one drop, then mix. You can always add more. And there you have it! Sweet, fluffy icing ready for your cake.
Cook Time: 15 minutes
Total Time: 15 minutes
Yield: Enough for one 2-layer cake or 24 cupcakes
Category: Dessert, Frosting
Three Sweet Twists to Try
This icing is like a blank canvas. You can change it so easily! Here are three of my favorite ways to play with the flavor. Each one tells a different story. I hope you try one soon.
- Lemon Sunshine: Use lemon extract instead of almond. Add a little yellow gel color. It’s perfect for a springtime cupcake.
- Chocolate Dream: Add three tablespoons of cocoa powder with the sugar. Use all vanilla extract. It’s rich and chocolatey.
- Berry Swirl: Mix in two tablespoons of seedless strawberry jam. You get a lovely pink color and a fruity taste.
Which one would you try first? Comment below!
Serving It Up With Style
Of course, this icing is for cakes and cupcakes. But let me share some other ideas. Try it between two vanilla wafers for a tiny sandwich. Or spread it on graham crackers for a quick treat. For a pretty cake, sprinkle on some rainbow sprinkles or chocolate shavings.
What to drink with a slice? A cold glass of milk is always my first choice. It’s the classic partner. For the grown-ups, a little cup of strong coffee is lovely. The bitter coffee and sweet icing are a perfect match.
Which would you choose tonight?
Keeping Your Icing Happy
Let’s talk about storing this sweet buttercream. You can keep it in the fridge for one week. Just put it in a sealed container. It will get very firm in the cold. Let it sit on the counter to soften before you use it again.
You can also freeze it for three months. I freeze mine in a tub. I once forgot a batch in the back of the freezer. Three months later, it was still perfect for cupcakes. Thaw it overnight in the fridge.
Why does this matter? Good storage saves time and money. You can make a big batch for future cakes. This makes spontaneous baking so much easier. Have you ever tried storing it this way? Share below!
Buttercream Troubles & Easy Fixes
Sometimes icing can be tricky. Here are three common problems. First, icing too runny? Your butter was likely too warm. Chill the whole bowl for 15 minutes. Then mix it again.
Second, icing too thick or crumbly? This is very common. Just add a teaspoon of milk or water. Mix and check the consistency. Add more drops until it’s smooth.
Third, icing tastes too sweet? The salt is your secret friend. A good pinch balances the sugar. I remember when my grandson said it was “just right” after I added salt. Fixing small issues builds your kitchen confidence. It also makes the flavor perfect. Which of these problems have you run into before?
Your Icing Questions, Answered
Q: Can I make this gluten-free? A: Yes! Powdered sugar is usually gluten-free. Just check the label to be sure.
Q: How far ahead can I make it? A: You can make it up to three days ahead. Keep it covered in the fridge.
Q: What if I don’t have almond extract? A: Use all vanilla extract instead. You will need two teaspoons total.
Q: Can I double the recipe? A: Absolutely. Just use a very large bowl. Your mixer will thank you.
Q: Any special tip? A: A fun fact: gel food coloring gives bright colors without thinning your icing. Which tip will you try first?
From My Kitchen to Yours
I hope you love this simple icing. It has topped many birthday cakes in my house. I would love to see what you create with it. Your baking stories make my day.
Please share your beautiful cakes with me. Have you tried this recipe? Tag us on Pinterest! You can find me at @LenasKitchen. I always look for your photos.
Happy cooking!
—Lena Morales.
Shortcut Buttercream Icing A Tale of Two Cakes
Description
A simple and versatile buttercream icing perfect for frosting cakes, cupcakes, or piping decorations.
Ingredients
Instructions
- Combine butter, shortening, and a pinch of salt together using stand or hand mixer.
- Once combined, slowly add powdered sugar 1 cup at a time until combined.
- Add flavorings and mix well. This is also the time to add coloring if you’d like. I prefer gel colors like the ones shown below.
- If the mixture is too thick, or if you’re using this icing for piping or writing, you might want to add a few drops of water or milk until you get the right consistency.
Notes
- For piping intricate designs, use a stiffer consistency. For spreading, a slightly softer consistency is easier to work with.


Leave a Reply