My Kitchen Helper
My grandson Leo helped me make these last week. He is seven. He was in charge of the M&M’s. He ate almost as many as he put on the bars. I still laugh at that. His little face was so serious, picking out the colors.
Baking with someone is a special thing. You are making a memory, not just a snack. That matters more than a perfect dessert. Do you have a favorite person to bake with? Tell me about them.
What Makes Them Special
These bars are a happy mix of everything. You get chewy oats and sweet chocolate. You also get salty peanut butter. It all works together. Doesn’t that smell amazing when it bakes?
The layers are important. The bottom is like a soft cookie. The middle is gooey fudge. The top is crunchy and colorful. Each bite is a little surprise. Fun fact: The original monster cookie had many mix-ins, like a kitchen monster!
A Little Story About Butter
Let me tell you a secret. The butter must be soft. Not melted, just soft. I once used cold butter. The crust was too crumbly. It taught me to be patient.
Waiting for butter to soften feels slow. But it matters. It helps the crust hold together. It makes the texture just right. Good things take a little time. What baking mistake taught you a good lesson?
Why We Share Food
I always make these for our neighborhood picnic. I cut them into small squares. They disappear so fast! Seeing people enjoy food you made is the best feeling.
Sharing food connects us. It is a way to say, “I am glad you are here.” That is a simple, beautiful thing. It turns a bar into a gift. Do you have a go-to treat you bring to parties?
The Most Important Step
The recipe says to let the bars cool. This is the hardest part. You want to cut them right away. But if you wait, they set up perfectly.
Cooling lets the layers become friends. The fudge gets firm. The crust settles. Waiting makes them easier to cut and eat. It is worth it, I promise. Do you think you can wait, or will you sneak a warm bite?
Ingredients:
| Ingredient | Amount | Notes |
|---|---|---|
| quick oats | 1 1/2 cups | |
| all-purpose flour | 1 1/2 cups | |
| brown sugar | 1 cup | |
| salt | 1 teaspoon | |
| butter, softened | 3/4 cup | |
| creamy peanut butter | 1/4 cup + 1/4 cup | Divided, see steps |
| sweetened condensed milk | 14 ounces | 1 can |
| milk chocolate chips | 1 bag | about 2 cups |
| M&M’s | 1 cup |
My Monster Cookie Bars: A Sweet, No-Chill Treat
Hello, my dear! Come sit. Let’s bake something fun today. These bars are my grandson’s favorite. He calls them “monster” bars because they have everything in them. I think they are just perfect for sharing. The kitchen will smell wonderful, I promise.
We don’t need to chill any dough. Isn’t that nice? You can be eating them in under an hour. I love recipes like that. They feel like a little kitchen magic. Are you ready? Let’s gather our bowls and make a happy mess.
- First, warm your oven to 350 degrees. Grease your 9×13 pan well. I use my fingers and a bit of butter. Now, grab a big bowl. Put in the oats, flour, brown sugar, and salt. Give it a little stir. Then add the softened butter and that first 1/4 cup of peanut butter.
- Mix it all with a spoon. It will be crumbly, like wet sand. That’s just right. Now, scoop out one cup of this mix. Set it aside in a little bowl. This is for our crunchy topping later. I always sneak a tiny taste here. Doesn’t that peanut butter smell amazing?
- Dump the rest of the crumbs into your greased pan. Press them down firmly with your hands. Make a nice, even floor for our bars. (My hard-learned tip: Press it down really well! Or the bottom layer can be crumbly.) Now, let’s make the gooey part. This is the best step.
- In a saucepan, mix the sweetened condensed milk, chocolate chips, and the other 1/4 cup of peanut butter. Melt it on medium-low heat. You must stir it the whole time. I think about my grandkids while I stir. The chocolate will become smooth and glorious. Pour this right over your crust.
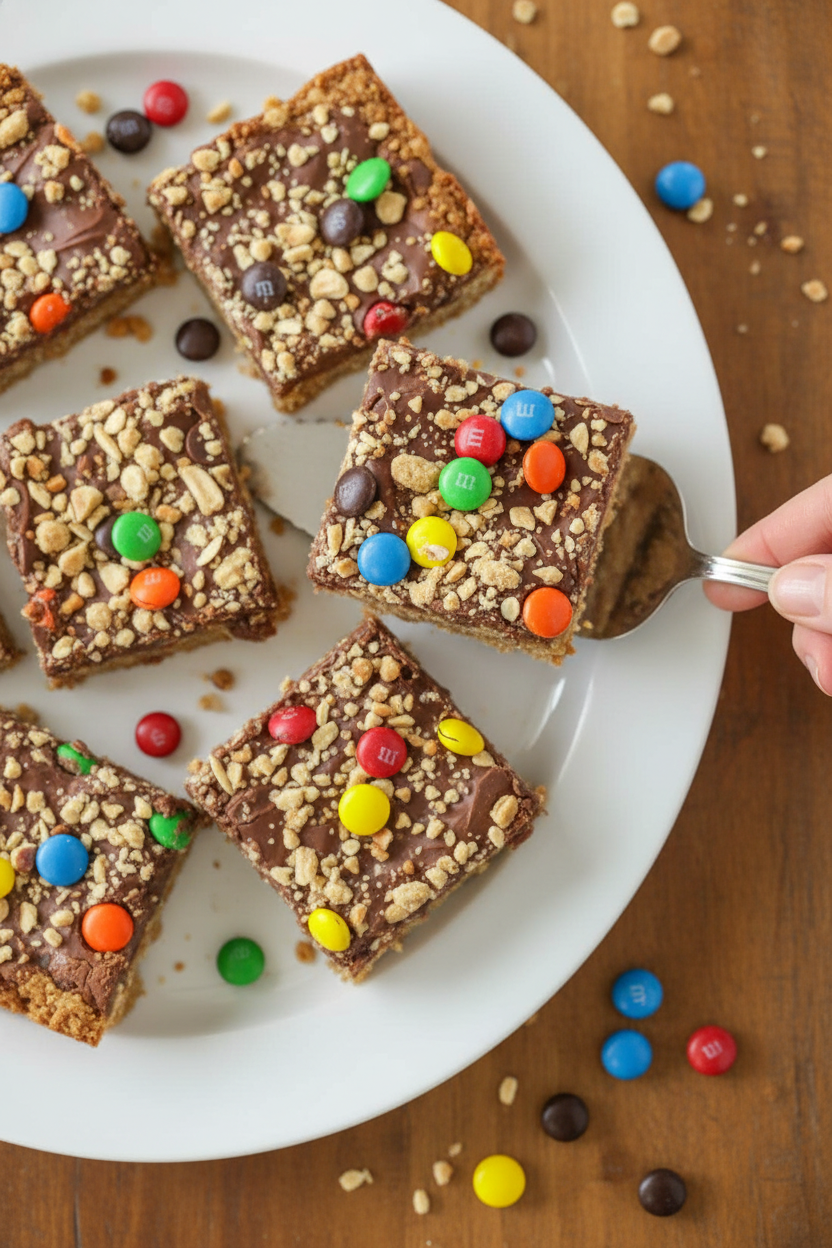
- Use a spatula to spread the chocolate evenly. It’s so shiny! Now, take that cup of crumbs you saved. Sprinkle them all over the top. It adds a lovely crunch. Finally, cover it with M&M’s. Use as many colors as you like! What color M&M do you pick first? Share below!
- Bake for 25 to 27 minutes. The edges will be golden. Your whole house will smell like a bakery. Take them out and let them cool completely. I know, waiting is the hardest part! But if you cut them warm, they will be a mess. Trust your grandma on this one.
Cook Time: 27 minutes
Total Time: 45 minutes
Yield: 24 bars
Category: Dessert, Snack
Three Fun Twists to Try
Once you master the classic, try a little switch! It makes baking feel new again. Here are my favorite simple twists. They are all so good.
- The Pretzel Crunch: Swap half the M&M’s for crushed pretzel pieces. You get sweet and salty in every bite. It’s fantastic.
- The Peanut Butter Lover’s: Use peanut butter M&M’s instead of regular ones. Also, add a handful of Reese’s Pieces. So much peanut flavor!
- The Holiday Sparkle: Use holiday-colored M&M’s. Red and green for Christmas, or pastels for Easter. It makes any party brighter.
Which one would you try first? Comment below!
Serving Them Up With Style
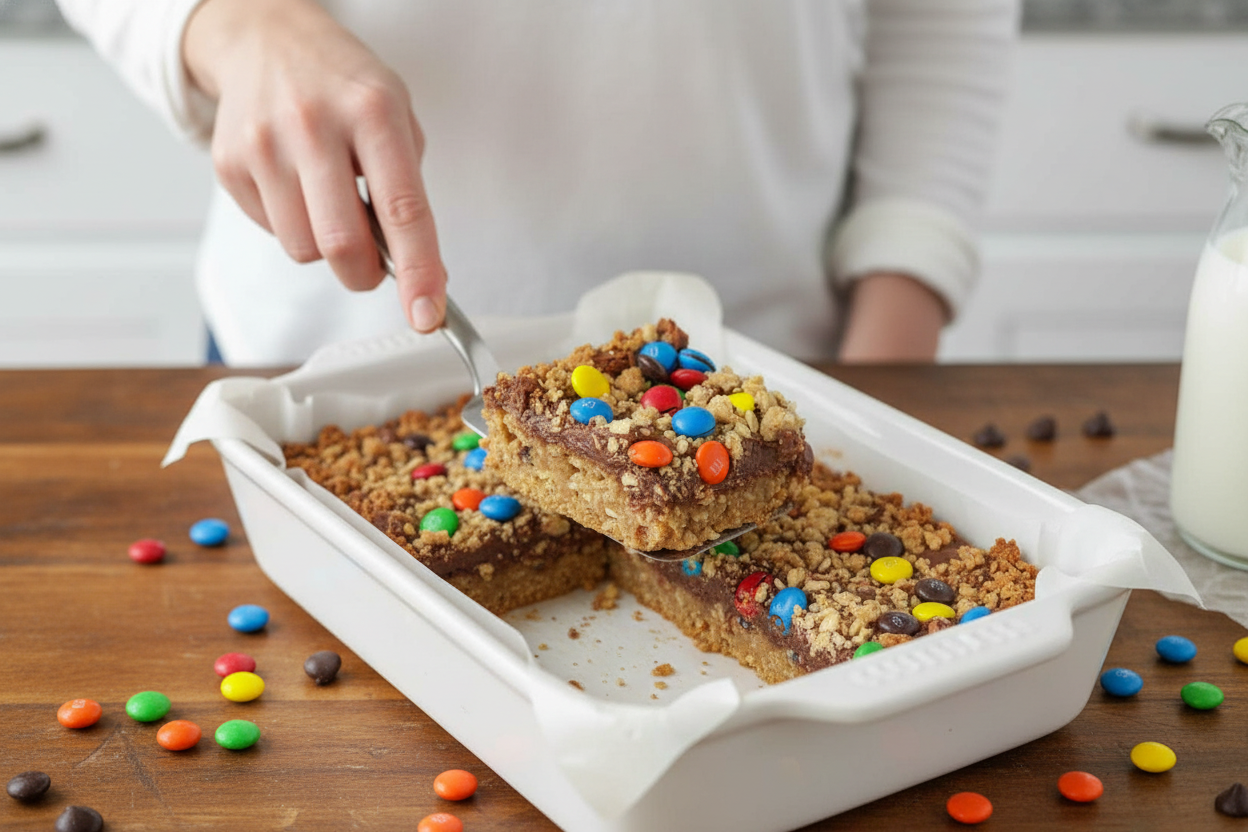
These bars are a treat all on their own. But you can make them extra special. For a party, cut them into small squares. Serve them on a big platter. Everyone can grab one easily.
I love to serve them slightly warm with a scoop of vanilla ice cream. The ice cream melts a little on the warm chocolate. It’s pure happiness. For a fun lunchbox treat, just wrap one in parchment paper.
What to drink? A cold glass of milk is always the best friend to a cookie bar. For the grown-ups, a nice cup of coffee with cream pairs beautifully. The bitter coffee balances all that sweetness. Which would you choose tonight?
Keeping Your Monster Cookie Bars Happy
Let’s talk about keeping these bars tasty. They last a week in an airtight container. I keep mine on the counter. The fridge can make them too hard.
You can freeze them for three months. Wrap each bar tightly in plastic wrap. Then pop them all in a freezer bag. This stops freezer smells from getting in.
To reheat, let a frozen bar thaw on the counter. Or warm a slice for 15 seconds in the microwave. I once reheated one too long. It turned my chocolate into a hot mess!
Batch cooking matters for busy families. Making a double batch saves you time later. You always have a sweet treat ready for surprise guests. Have you ever tried storing it this way? Share below!
Fixing Little Kitchen Hiccups
First, your base might be crumbly. If it won’t press down, add a tiny bit more butter. This helps it stick together like damp sand. I remember when mine was too dry once.
Second, the chocolate layer can seize up. Always melt it on low heat. Stir it constantly with a spoon. This patience gives you a smooth, glossy topping every time.
Third, the bars might fall apart when cutting. Let them cool completely first. I know it’s hard to wait! This matters because clean slices look so pretty. Fixing small problems builds your cooking confidence. Which of these problems have you run into before?
Your Questions, My Answers
Q: Can I make these gluten-free? A: Yes! Use a gluten-free flour blend. Make sure your oats are certified gluten-free too.
Q: Can I make them ahead? A: Absolutely. Bake them a day before you need them. They taste even better the next day.
Q: What can I swap for peanut butter? A: Try sunflower seed butter. It works just the same for my allergy friends.
Q: Can I double the recipe? A: You can. Just use two pans. Do not stack the layers in one pan.
Q: Any optional tips? A: Add a sprinkle of sea salt on top. It makes the chocolate flavor pop! Which tip will you try first?
From My Kitchen to Yours
I hope you love making these bars. Baking should be fun, not fussy. Share the joy with someone you love. I always share mine with the neighbors.
I would love to see your creation. Your kitchen adventures make me so happy. Have you tried this recipe? Tag us on Pinterest! You can find me at @LenasCozyKitchen.
Happy cooking!
—Lena Morales.
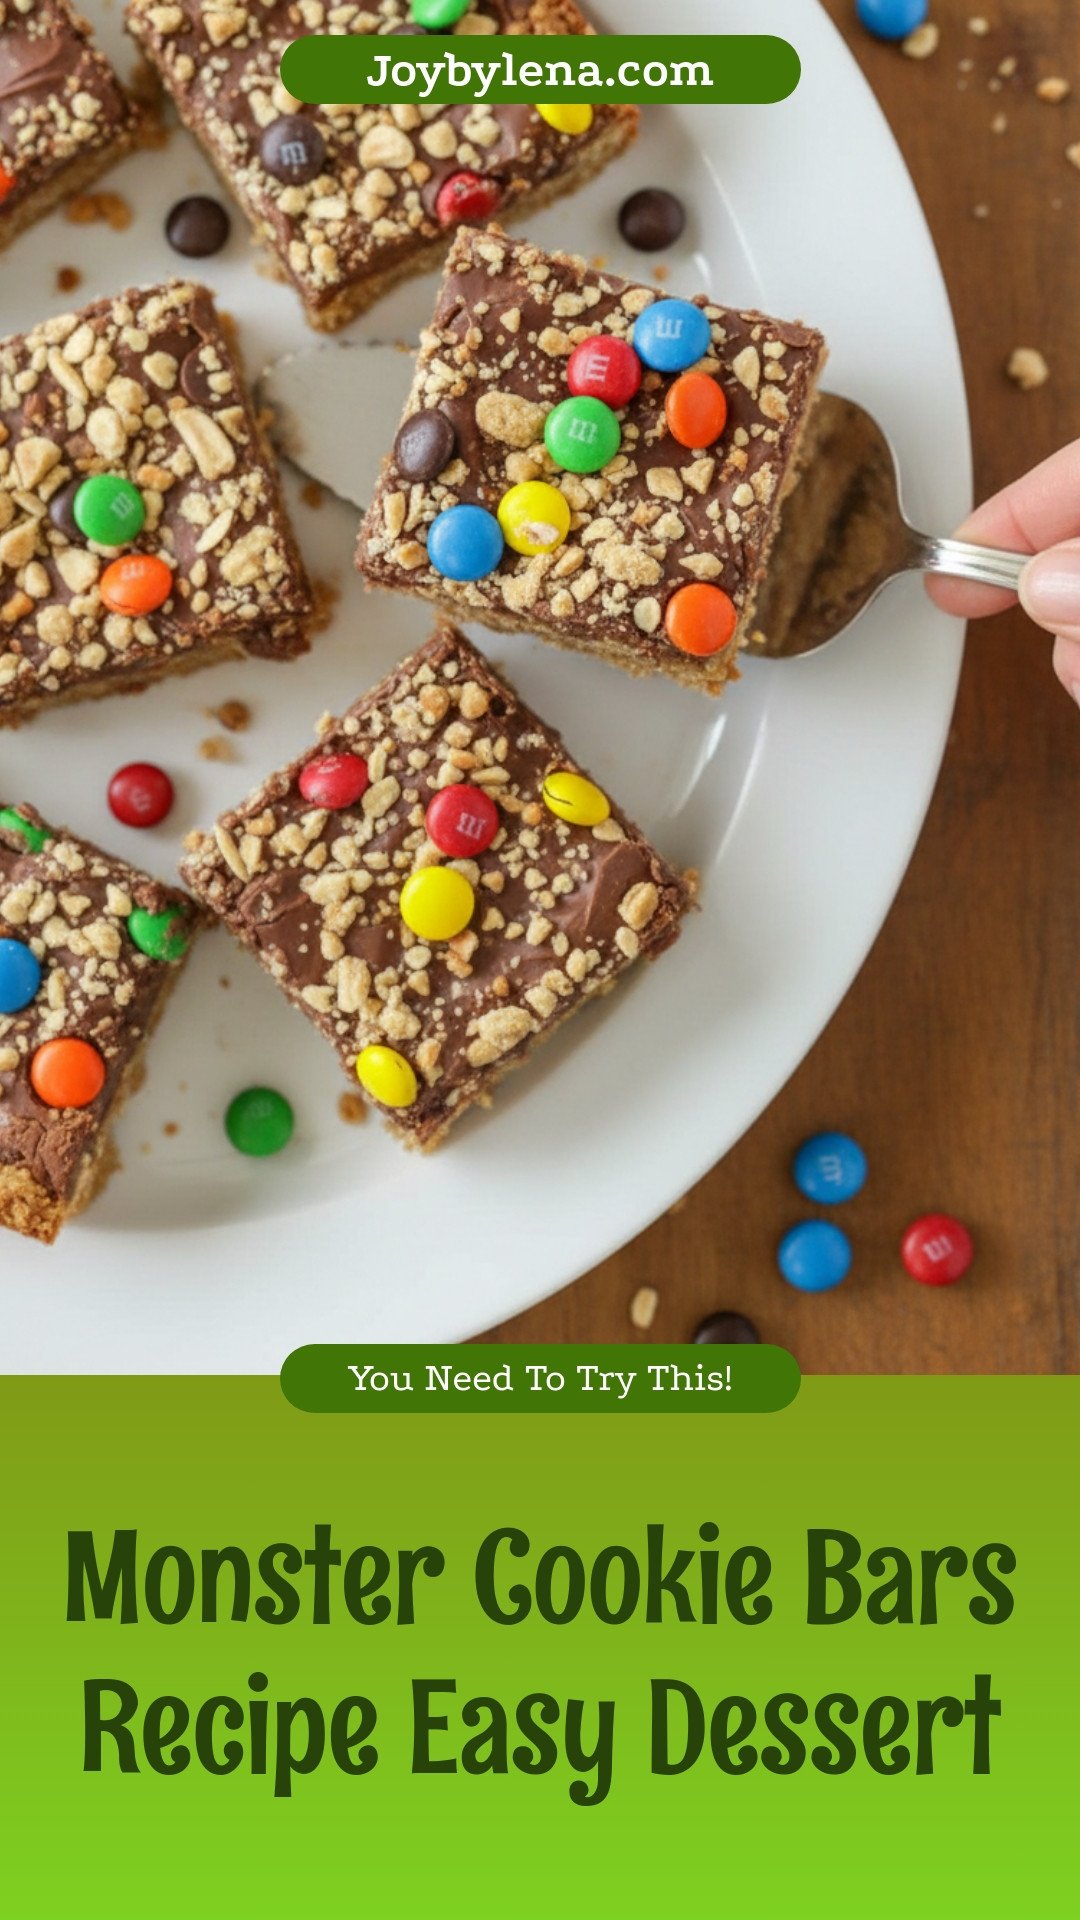
Monster Cookie Bars: Monster Cookie Bars Recipe Easy Dessert
Description
These easy and delicious Monster Cookie Bars are packed with oats, peanut butter, chocolate chips, and M&M’s for a fun and irresistible dessert.
Ingredients
Instructions
- Preheat the oven to 350 degrees F and grease a 9×13 inch baking pan.
- Add the oats, flour, brown sugar, salt, softened butter, and 1/4 c peanut butter to a medium size bowl and stir together with a spoon.
- Once the ingredients have been combined remove 1 cup and set it aside. Add the remaining mixture from the mixing bowl to the greased baking pan and press.
- Add the condensed milk, chocolate chips and 1/4 c of peanut butter to a saucepan and melt over medium-low heat. Stir constantly until the chocolate has melted and all the ingredients have incorporated together.
- Pour the melted chocolate mixture on top of the mixture that was pressed into the baking pan. Use a cooking spatula to spread it evenly.
- Take the 1 cup of the oat mixture that you set aside earlier and sprinkle it evenly over the top of the chocolate layer.
- Top with M&M’s and bake for 25-27 minutes. Once done allow the cookie bars to cool completely before cutting them.
Notes
- For clean cuts, chill the bars in the refrigerator for about an hour before slicing. Store in an airtight container at room temperature for up to 5 days.


Leave a Reply