My First Kitchen Disaster
I tried to make this for my husband when we were young. I was so nervous. I forgot to let the cream cheese get soft. My poor mixer sounded like it was crying. The filling was full of little lumps. We ate it anyway, laughing. It still tasted like chocolate, after all.
That’s why I tell you: let that cream cheese get very soft. It matters because a smooth start means a silky, dreamy cheesecake. No one wants lumpy dreams. Do you have a funny kitchen mistake story? I’d love to hear it.
Why No-Bake is Magic
You don’t need an oven for this. Isn’t that wonderful? On hot days, your kitchen stays cool. It feels like a little kitchen trick. The fridge does all the hard work for you.
This matters for busy families. You can make joy without heating up the whole house. It’s a treat that’s kind to the cook. Fun fact: The first no-bake cheesecakes became popular in the 1960s. They were a cool new idea!
The Secret to the Crust
Press that crumb mixture firmly into the pan. Use the bottom of a cup. Press it down good and tight. A solid crust won’t fall apart when you take a bite.
Putting it in the freezer is my secret step. It chills the butter fast. This makes a perfect base for the fluffy filling. What’s your favorite cookie for a crust? I always use Oreos, but I’m curious.
Folding in Clouds
Whipping the cream is my favorite part. Watch it turn into soft, fluffy clouds. Doesn’t that smell amazing? Then you fold it gently into the chocolate mix.
Folding, not stirring, is the key. It keeps the air in the cream. This gives the cheesecake its light, mousse-like feel. That air matters. It makes each bite melt on your tongue. Try it slowly and see.
The Best Kind of Waiting
Now, you must wait. Four hours in the fridge feels long. I know. But this wait is important. It lets all the flavors get to know each other. They become best friends.
I use this time to clean up. Or I sit with a cup of tea. The waiting is part of the love you put in. What’s your favorite thing to do while a dessert chills? Tell me your patience tricks.
Ingredients:
| Ingredient | Amount | Notes |
|---|---|---|
| Oreo baking crumbs | 1 1/3 cup | For the crust |
| Unsalted butter | 1/3 cup | Melted, for the crust |
| Heavy whipping cream | 1 cup | For the filling |
| Powdered sugar | 1 cup | For the filling |
| Cream cheese | 10 oz | Very soft, for the filling |
| Sour cream | 1/4 cup | For the filling |
| Semi-sweet chocolate | 8 oz | Melted and cooled, for the filling |
| Vanilla extract | 1 tsp | For the filling |
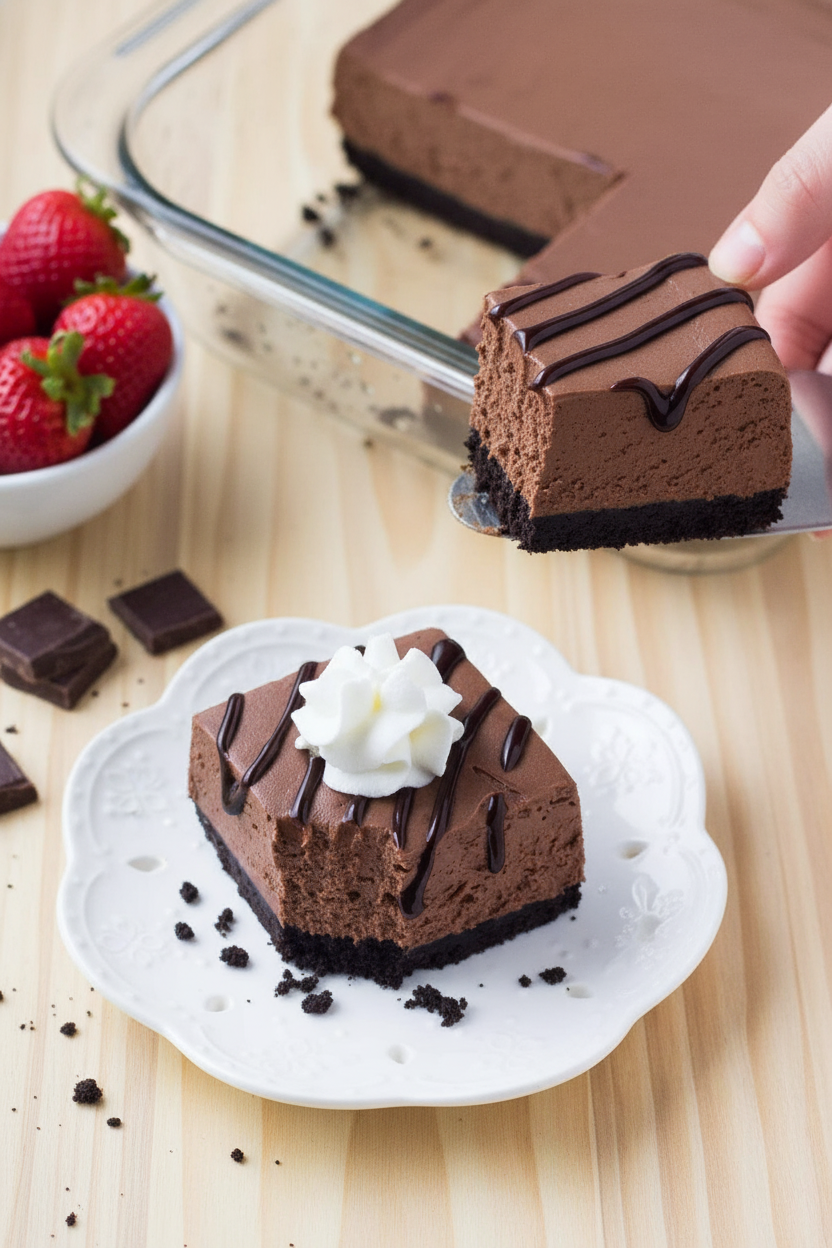
My No-Bake Chocolate Cheesecake Secret
Hello, my dear. Come sit at the counter. Let’s make magic together. This cheesecake is my favorite summer treat. It’s cool, creamy, and oh-so-chocolatey. Best part? We don’t even turn on the oven. Doesn’t that sound perfect?
I first made this for my grandson’s birthday. It was so hot that day. He still asks for it every year. I still laugh at that. The secret is in the whipping cream. It makes everything light as a cloud. Are you ready? Let’s begin.
Step 1: The Crust
First, line your square pan with foil. This makes lifting the cake out so easy. Now, mix the Oreo crumbs with melted butter. It will look like dark, damp sand. Press it firmly into the pan. Pop it in the freezer to set. (A hard-learned tip: Use the bottom of a cup to press. Your fingers stay much cleaner!)
Step 2: The Fluffy Heart
Next, beat the heavy cream with a bit of sugar. Whip it until it forms soft peaks. This gives our filling its fluffy heart. In another bowl, beat the very soft cream cheese. Add the rest of the sugar. Beat until it’s smooth and happy. No lumps allowed!
Step 3: The Chocolate Mix
Now, pour in the cooled, melted chocolate. Add the sour cream and vanilla too. Doesn’t that smell amazing? Mix it all together. It will be thick and glorious. Here’s a fun question: What’s your favorite chocolate bar to snack on while baking? Share below!
Step 4: Bringing It Together
Gently fold the whipped cream into the chocolate mix. Use a big spoon and be kind. You want to keep all that air inside. Then, spread this dreamy filling over your cold crust. Smooth the top with your spoon. It already looks delicious.
Step 5: The Hard Part
Finally, the hard part. Patience! The cheesecake needs at least four hours in the fridge. This lets all the flavors become friends. I like to make mine the night before. It’s always better the next day. Then, just lift it out, slice, and enjoy.
| Cook Time | 4–6 hours (chilling) |
| Total Time | 4 hours 15 minutes |
| Yield | 9 servings |
| Category | Dessert, No-Bake |
Three Fun Twists to Try
This recipe is like a blank canvas. You can paint it with so many flavors. Here are my favorite little changes. They make it feel brand new every time.
- Cookie Swap: Use mint chocolate cookies for the crust. It tastes like a cool, fancy dessert.
- Berry Swirl: Drop spoonfuls of raspberry jam on top before chilling. Swirl it with a knife for pretty ribbons.
- Salted Caramel Drizzle: Warm up some caramel sauce. Drizzle it over each slice. Add a tiny pinch of sea salt on top.
Which one would you try first? Comment below! I’d love to hear your ideas too.
Serving It With Style
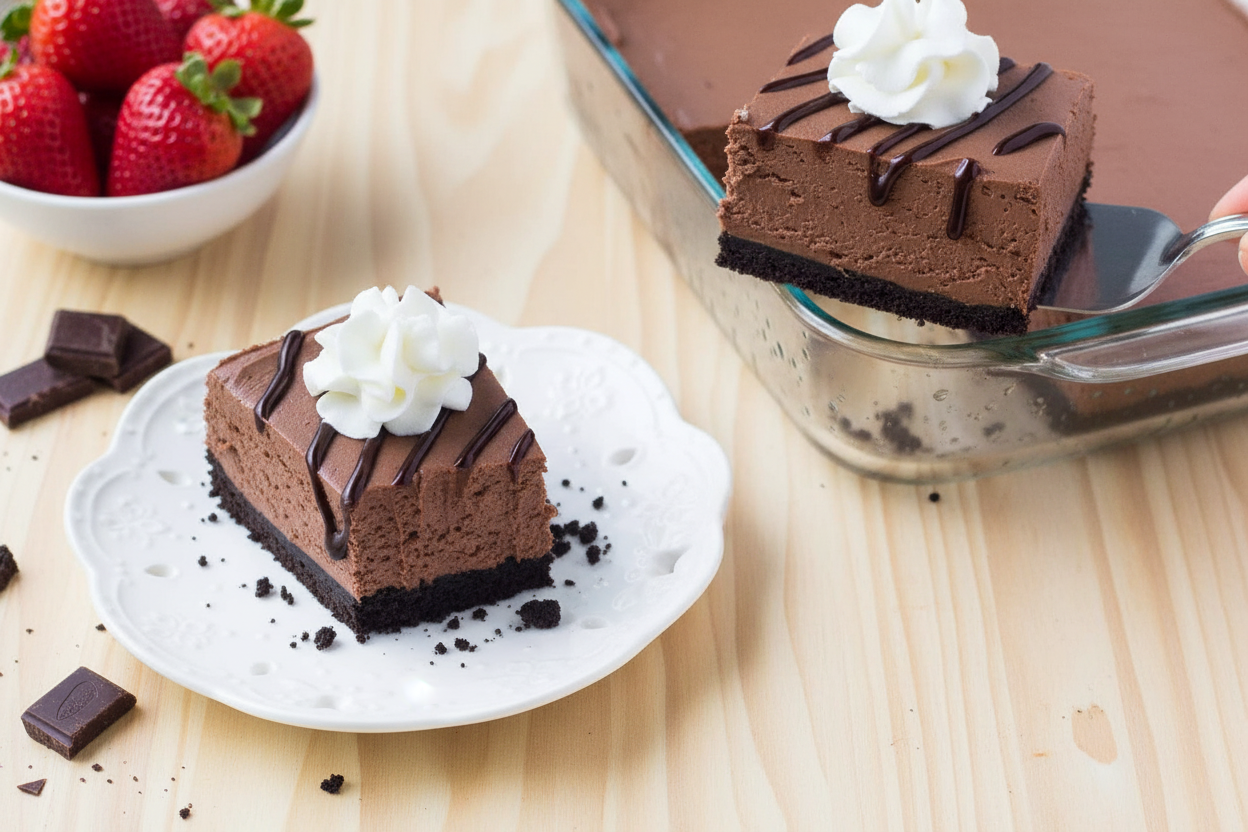
A beautiful plate makes food taste even better. I truly believe that. For this cheesecake, keep it simple. A few fresh raspberries look so pretty. A dollop of extra whipped cream never hurts. You could also crush a leftover Oreo over the top.
What to drink? For the grown-ups, a small glass of coffee liqueur is nice. The bitterness pairs well with the sweet chocolate. For everyone, a tall, cold glass of milk is the classic choice. Or try sparkling water with a lime wedge. It cleans your palate between bites.
Which would you choose tonight? A cozy glass of milk or something more fancy? Tell me your pick.
Keeping Your Cheesecake Happy
This cheesecake loves the cold. The fridge is its best friend. Let it set there for four hours, at least. For longer storage, the freezer is perfect.
Wrap slices tightly in plastic wrap. Then place them in a freezer bag. They will keep for a month this way. Thaw a slice in the fridge when you want it.
I once left a whole pan out by mistake. It turned into a delicious chocolate puddle. We ate it with spoons, laughing. Now I always set a timer for the fridge.
Batch cooking saves future-you a treat. Making two is just as easy as one. This matters because a ready-made dessert brings joy on a busy day. Have you ever tried storing it this way? Share below!
Easy Fixes for Common Hiccups
First, a soft cream cheese is key. If it is too cold, your filling will be lumpy. Let it sit on the counter for an hour. This makes everything smooth and easy to mix.
Second, your whipped cream must form stiff peaks. Beat it until it holds its shape on the spoon. I remember when my cream was too soft. The whole filling was runny and would not set.
Third, make sure your melted chocolate is cool. If it is too hot, it will melt the cream cheese. This matters for texture. A smooth mix means a velvety slice every time. Getting these right builds your kitchen confidence. Which of these problems have you run into before?
Your Quick Questions, Answered
Q: Can I make this gluten-free? A: Yes! Use gluten-free chocolate sandwich cookies for the crust.
Q: How far ahead can I make it? A: You can make it two days before. Keep it covered in the fridge.
Q: What if I don’t have sour cream? A: Plain, full-fat yogurt works just as well here.
Q: Can I double the recipe? A: Absolutely. Use a 9×13 inch pan for a double batch.
Q: Any fun extras? A: Try a sprinkle of sea salt on top. It makes the chocolate flavor pop! Which tip will you try first?
From My Kitchen to Yours
I hope this recipe becomes a favorite in your home. It holds so many sweet memories for me. I love seeing your kitchen creations.
Please share your photos and stories with me. It makes my day to see your family enjoying it. Have you tried this recipe? Tag us on Pinterest! You can find me at Lena’s Cozy Kitchen.
Happy cooking!
—Lena Morales.
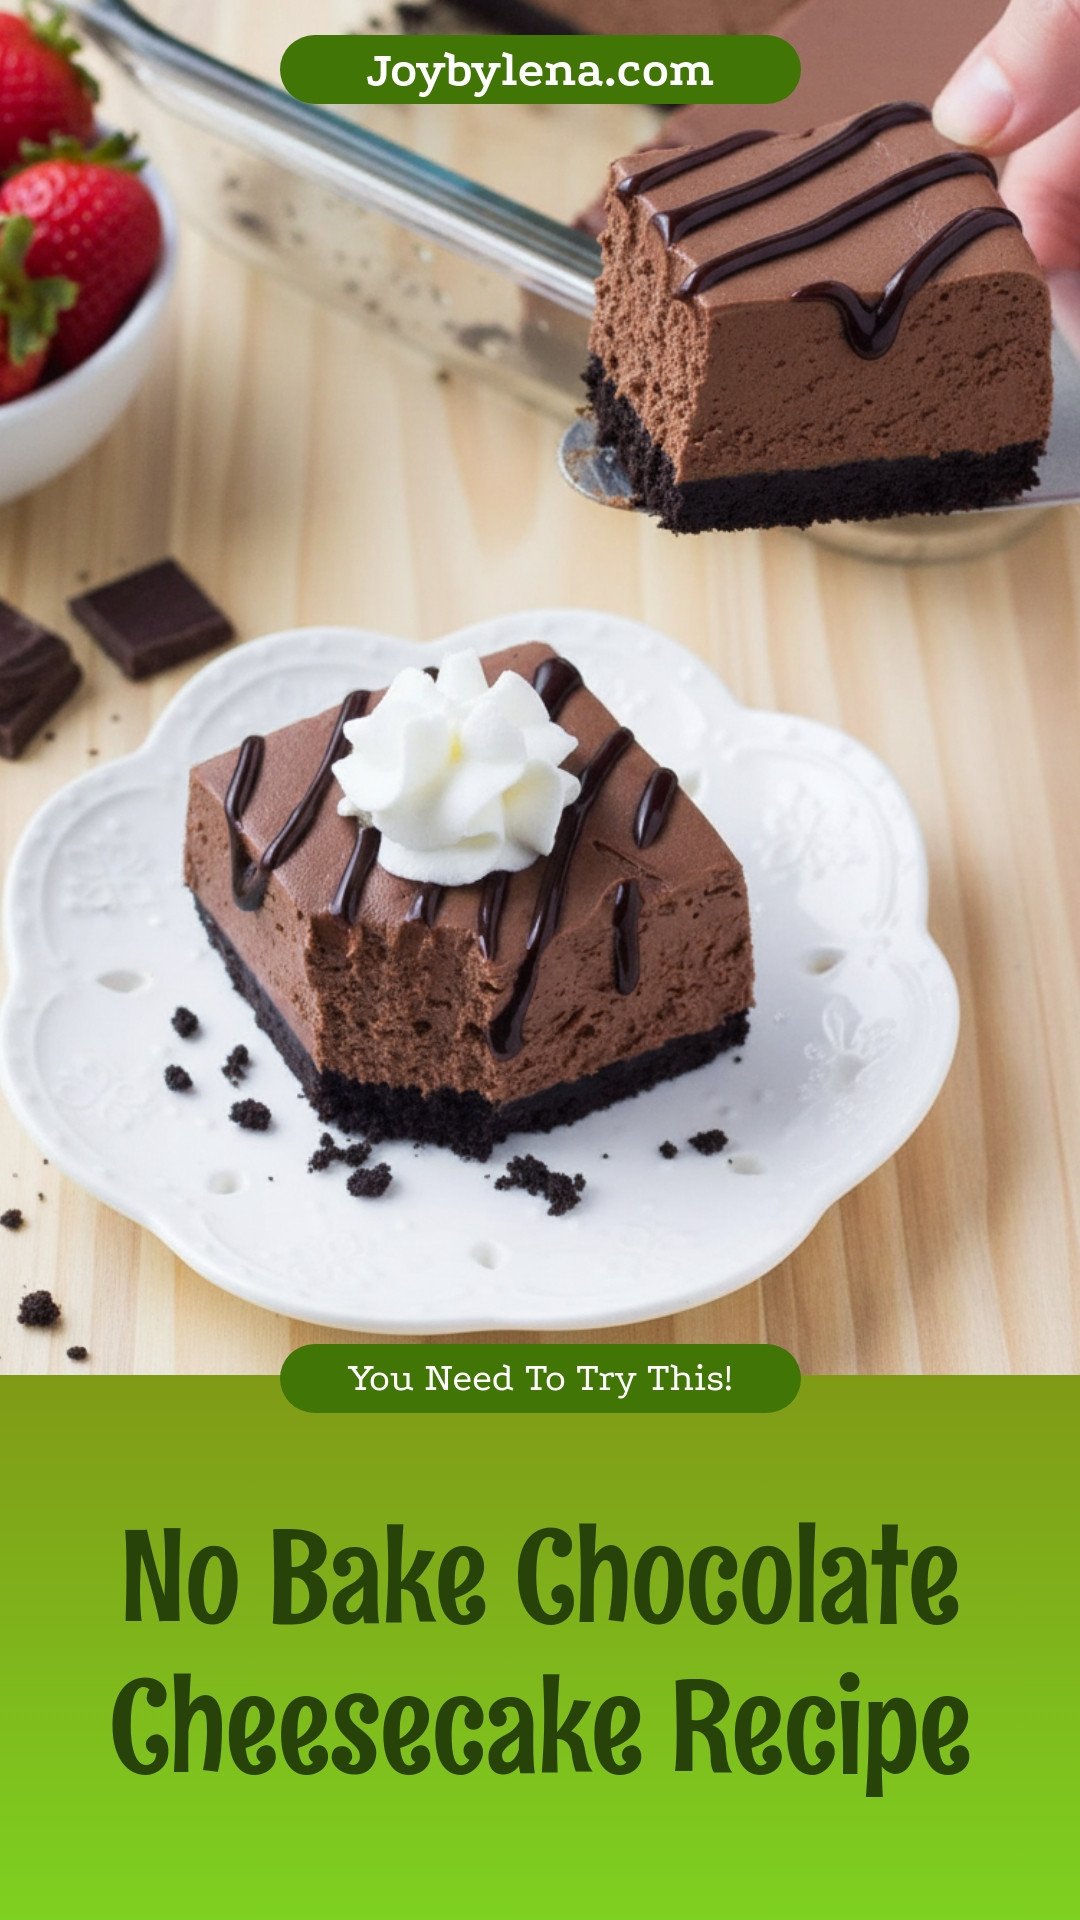
No Bake Chocolate Cheesecake: No Bake Chocolate Cheesecake Recipe
Description
This rich and creamy No-Bake Chocolate Cheesecake features a buttery Oreo crust and a decadent chocolate filling, all set without an oven.
Ingredients
Oreo Crust:
Chocolate Cheesecake Filling:
Instructions
- Line an 8×8 or 9×9 inch square pan with aluminum foil.
- In a medium bowl stir together the Oreo crumbs and melted butter. Press into the bottom of the prepared pan and place in the freezer while you make the filling.
- In a large bowl beat the whipping cream and 1/4 cup of the powdered sugar until stiff peaks form.
- In a separate bowl beat together the cream cheese and remaining powdered sugar (3/4 cup) until soft. Then beat in the sour cream, melted chocolate and vanilla extract.
- Mix the whipping cream into the cream cheese mixture until evenly combined.
- Spread the filling overtop of the Oreo cookie crust and place the cheesecake in the fridge for at least 4 hours to harden.
Notes
- For clean slices, dip your knife in hot water and wipe it dry between each cut.


Leave a Reply