My First Scone Disaster
I still laugh at my first try. I used warm, soft butter. The dough was a sticky mess. My scones spread into one big, flat cookie.
That taught me a big lesson. Cold butter is the secret. It makes little pockets of steam. That steam makes the scones tall and flaky. This matters because texture is everything. A good scone should crumble just right.
Keeping Things Chilly
See all those “cold” notes in the recipe? They are not just suggestions. Cold butter, cold cream, even a cold bowl helps. I sometimes chill my flour too.
Why does this matter? Heat makes butter melt before baking. We want it to melt in the oven. That puff of steam is our magic. Fun fact: This same cold-butter trick is what makes pie crust so flaky!
The Joy of Shaping
Do not overwork the dough. Just pat it together gently. I press it into a thick, round disk. Then I cut it like a pizza.
Those rustic edges are perfect. They get extra crispy in the oven. Doesn’t that smell amazing? What is your favorite smell from the kitchen? Is it vanilla, or maybe baking bread? Tell me about it.
A Little Sweet Finish
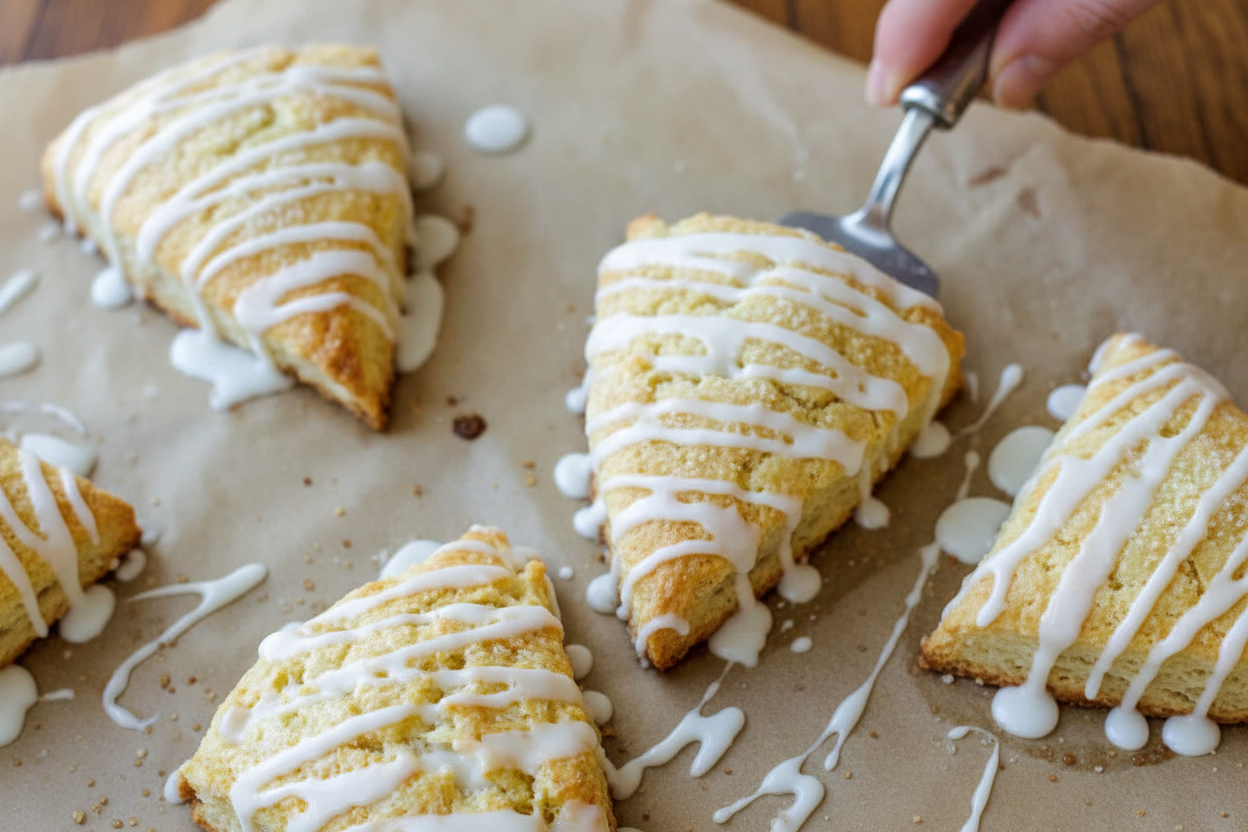
The glaze is pure joy. Just powdered sugar, milk, and vanilla. Stir it until it flows like a slow ribbon. Drizzle it over the cool scones.
It hardens into a sweet, thin shell. It looks so pretty. Do you prefer your scones plain, with glaze, or with a big dollop of jam? I love hearing about different tastes.
Your Turn to Bake
Now you know my secrets. Remember, keep everything cold. And do not fuss with the dough too much. Patience makes the best scones.
I hope you try this recipe. What will you add? Chocolate chips, dried berries, or maybe lemon zest? Share your dream scone flavor with me. I am always looking for new ideas.
Ingredients:
| Ingredient | Amount | Notes |
|---|---|---|
| All-purpose flour | 2 cups | |
| Granulated sugar | 3 Tbsp | |
| Baking powder | 1 Tbsp | |
| Fine sea salt | 1/2 tsp | |
| Unsalted butter | 1/2 cup (1 stick) | Cold, diced |
| Large egg | 1 | Cold, lightly beaten |
| Heavy whipping cream | 1/2 cup plus 2 Tbsp | Cold, extra 2 Tbsp to brush tops |
| Vanilla extract | 1 tsp | |
| Coarse/raw sugar | 1 Tbsp | For sprinkling, or sub with granulated |
| Vanilla Glaze: | ||
| Powdered sugar | 2/3 cup | |
| Milk | 1 to 1 1/2 Tbsp | |
| Vanilla extract | 1 tsp | |
Easy Homemade Scones: A Cozy Kitchen Story
Hello, my dear. Come sit. Let’s make scones together. They are simpler than you think. I learned from my own grandma. Her secret was cold butter and a light touch. I still laugh at my first batch. They were like little rocks! Now, I get it right every time. Doesn’t that smell amazing? Let’s begin.
Step 1: First, get your oven ready. Heat it to 400°F. Line your baking sheet with parchment paper. This stops the scones from sticking. It makes cleanup easy, too. I always do this first. It’s like making your bed before a busy day.
Step 2: Grab a big bowl. Whisk your flour, sugar, baking powder, and salt. Now, add the cold, diced butter. Use a pastry blender to cut it in. You want little pea-sized crumbs. (My hard-learned tip: if the butter melts, your scones get flat. Keep everything cold!)
Step 3: In a smaller bowl, mix the wet things. Combine the cold cream, beaten egg, and vanilla. Beat it with a fork until it’s friendly. Now, pour this into your flour bowl. Gently fold it all together. Stop when it’s just moist. A few dry spots are okay.
Step 4: Dump the dough onto a floured counter. Gently push it into a ball. Then, pat it into a circle. Make it about 1-inch thick. Use a knife to cut it into 8 wedges, like a pizza. What shape do you get when you cut a circle like a pizza? Share below!
Step 5: Place the wedges on your baking sheet. Brush their tops with a little cream. Sprinkle that coarse sugar generously. It makes a lovely, sparkly crust. Now, let them chill in the fridge for 15 minutes. This rest makes them rise tall and proud in the oven.
Step 6: Time to bake! Pop them in for 20-23 minutes. They are done when golden. Let them cool completely on a rack. Then, mix your glaze. Just stir powdered sugar, milk, and vanilla. Drizzle it over the top. Let it set. Then, enjoy your beautiful work.
Cook Time: 20–23 minutes
Total Time: About 1 hour
Yield: 8 scones
Category: Baking, Breakfast
Three Fun Twists for Your Next Batch
Scones love to dress up. Try one of these easy ideas next time. They make a simple recipe feel brand new. My grandkids each have a favorite. It’s so fun to see them choose.
Lemon Blueberry Joy: Add lemon zest to the dough. Gently fold in a handful of fresh blueberries.
Chocolate Chip Hug: Mix in a half-cup of chocolate chips. Everyone smiles at this one.
Cinnamon Apple Pie: Add a teaspoon of cinnamon to the flour. Fold in tiny diced apples.
Which one would you try first? Comment below!
Serving Them Up with Love
A warm scone is a little piece of happiness. Serve them split open with clotted cream and jam. A dollop of lemon curd is also heavenly. For a simple treat, just extra butter will do. I love watching the butter melt into the cracks.
What to drink? A pot of strong English breakfast tea is perfect. The tannins cut the sweetness. For a special brunch, a glass of sparkling wine pairs nicely. Or, for a cozy night, try cold milk. It reminds me of childhood. Which would you choose tonight?

Keeping Your Scones Fresh and Happy
Let’s keep your scones tasting just-baked. Cool them completely first. Then store them in a tight container at room temperature. They will stay good for two days.
For longer storage, freeze them. Wrap each scone tightly in plastic wrap. Pop them all in a freezer bag. They keep for three months. I once forgot a batch in my freezer for a month. They were still a lovely treat with my morning tea.
To reheat, warm frozen scones in a 300°F oven for 10 minutes. This brings back their magic. Batch cooking matters because life gets busy. A homemade treat ready anytime is a small joy. Have you ever tried storing it this way? Share below!
Simple Fixes for Perfect Scones
Sometimes scones don’t turn out right. Here are easy fixes. First, if they are tough, you worked the dough too much. I remember when my first scones were like rocks. Just mix until the dough comes together.
Second, if they spread flat, your butter was too warm. Always use cold butter straight from the fridge. This creates little steam pockets for flakiness. That flaky texture is what makes a scone special.
Third, if they are dry, you might have over-measured the flour. Spoon flour into your cup, then level it off. Getting this right builds your kitchen confidence. You learn to trust your hands. Which of these problems have you run into before?
Your Scone Questions, Answered
Q: Can I make these gluten-free? A: Yes. Use a good gluten-free flour blend made for baking.
Q: Can I make the dough ahead? A: Absolutely. Shape the dough, chill it on the sheet, and bake in the morning.
Q: What can I use instead of heavy cream? A: Full-fat coconut milk works well. Fun fact: This swap was my granddaughter’s idea!
Q: Can I double the recipe? A: You can. Just keep all your ingredients very cold.
Q: Is the glaze necessary? A: No, but it’s a sweet, pretty finish. Which tip will you try first?
From My Kitchen to Yours
I hope you love making these scones. Baking is about sharing warmth and stories. Your kitchen is filled with love.
I would be so happy to see your creations. Share a photo of your golden scones. Let’s inspire each other. Have you tried this recipe? Tag us on Pinterest!
Happy cooking!
—Lena Morales.

Easy Homemade Scones Recipe Video
Description
Enjoy perfectly tender, flaky, and buttery homemade scones with this easy recipe. Finished with a sweet vanilla glaze, they’re perfect for breakfast or tea time.
Ingredients
Vanilla Glaze:
Instructions
- Prep: Preheat the oven to 400°F and line a baking sheet with parchment paper.
- Dry Ingredients: In a large mixing bowl, whisk together flour, sugar, baking powder and salt. Add cold unsalted butter and cut it into the flour mixture with a pastry blender until pea-sized crumbs form. Gently fold in flavor add-ins if using. Refrigerate while preparing wet ingredients.
- Wet Ingredients: In a small bowl, combine cream, eggs, and vanilla. Beat with a fork until well blended. Combine the cream mixture and flour mixture and fold with a spatula until moistened.
- Work the Dough: Transfer the dough onto a clean, lightly floured surface and work it into a ball of dough just until it comes together. Next, flatten into a 1-inch thick and 7-inch wide disk. Chop into 8 equal wedges.
- Chill: Arrange scones on a lined baking sheet 1 inch apart. Brush the tops with cream and generously sprinkle with coarse sugar. Refrigerate for 15 minutes before baking.
- Bake: Bake for 20-23 minutes. Remove from the oven and cool completely. Drizzle with glaze if desired.
- Pro Tip: The scones are done when the tops are golden and the edges golden brown. The internal temperature on an instant-read thermometer should register at 200°F when done.
- How to Make Vanilla Glaze: In a small bowl, combine powdered sugar, milk, and vanilla. Stir until well blended. The glaze should be drizzling consistency; add powdered sugar to thicken or milk to thin the glaze. Using a spoon, drizzle the glaze over the cooled scones.
- Pro Tip: The glaze will set and harden within an hour. If you are glazing ahead, cover and store the scones once the glaze sets.
Notes
- For best results, ensure all ingredients (butter, egg, cream) are cold. Handle the dough as little as possible to keep the scones tender and flaky.


Leave a Reply