The Cookie That Started It All
My grandson Leo loves store-bought candy bars. One day, he asked if we could make one. I thought, why not? We tried this recipe. Now he asks for it every week. I still laugh at that.
It starts with a simple shortbread base. You just mix butter and sugar. Then add your flour. It feels like playing with soft sand. Press it into your pan. Doesn’t that smell amazing when it bakes?
The Secret to Gooey Caramel
The caramel is the magic part. You must stir, stir, stir. It takes patience. But watching it turn golden is worth it. This is where the real flavor lives.
Why does this matter? Making caramel teaches you to watch and wait. Good things come with a little care. It’s a sweet lesson for life. What’s your favorite candy bar filling? Tell me in the comments!
A Chocolate Coat Like Silk
The final touch is the chocolate glaze. You melt it gently with butter. This makes it shiny and smooth. Pour it over the cool caramel. It’s like putting a blanket on a bed.
Fun fact: The corn syrup in the glaze isn’t just for sweetness. It keeps the chocolate shiny and helps it set perfectly. Now you know a chef’s secret!
Why This Recipe Is Special
These bars taste better than any store treat. You know every ingredient that goes in. You made it with your own hands. That pride is the best flavor of all.
Why does this matter? Cooking together builds memories. It’s not just about eating. It’s about the time shared. Do you have a food memory with your family? I’d love to hear about it.
Your Turn in the Kitchen
The hardest part is waiting for them to chill. But trust me, it makes cutting them easy. You get perfect little squares. Then comes the best part – sharing.
These bars are perfect for parties. People always ask for the recipe. Will you make them for a special someone? Or maybe just for a cozy treat? Let me know how yours turn out!
Ingredients:
| Ingredient | Amount | Notes |
|---|---|---|
| All-purpose flour | 1 cup | For the base |
| Baking powder | 1 teaspoon | For the base |
| Salt | 1/4 teaspoon | For the base |
| Unsalted butter | 1/2 cup | For the base, room temperature |
| Sugar | 1/4 cup | For the base |
| Unsalted butter | 1/2 cup | For the caramel, cut into pieces |
| Sugar | 1/2 cup | For the caramel |
| Light corn syrup | 2 tablespoons | For the caramel |
| Sweetened condensed milk | 14 ounces | For the caramel |
| Milk or semisweet chocolate | 3.5 ounces | For the topping, finely chopped |
| Light corn syrup | 1/2 teaspoon | For the topping |
| Unsalted butter | 1/4 cup | For the topping, cut into pieces |
Homemade Twix Bars: A Sweet Little Secret
Hello, my dear. Come sit. Let me tell you about my famous Twix bars. My grandson calls them “candy bar magic.” I think it’s the love you stir in. Making them is a cozy afternoon project. The smell fills your whole kitchen with sweetness. Doesn’t that sound wonderful?
We start with a simple shortbread base. It’s buttery and crumbly. It reminds me of my abuela’s cookies. She always said good butter is key. I still laugh at that. She was very wise. Then comes the rich, gooey caramel. You must watch it closely. It teaches you patience, which is a good thing.
Finally, a shiny chocolate coat tops it all off. The hardest part is waiting for them to set. But trust me, it’s worth it. You’ll have a tray of pure happiness. Ready to begin? Let’s make some magic together.
Step 1: The Shortbread Crust
First, make the shortbread crust. Mix your flour, baking powder, and salt in a small bowl. In a bigger bowl, beat the soft butter and sugar. It will get fluffy and light. Mix in your flour until it just comes together. Press this dough into your lined pan. Bake it until it’s a light golden color. (A hard-learned tip: Let your butter get truly soft. It makes mixing so much easier!)
Step 2: The Caramel Layer
Now, the caramel! This is my favorite part. Put all the caramel ingredients in a saucepan. Cook it on medium heat, stirring now and then. Once it boils, turn the heat down low. You must stir constantly until it turns a lovely amber. Pour it over your cooled shortbread. What’s the key to perfect caramel? Share below!
Step 3: Let It Set
Let that caramel layer cool completely. This is important. Then, pop the whole pan in the fridge. Let it sit for a few hours, or even overnight. I know, waiting is hard. But it helps everything set up just right. Go read a book or call a friend.
Step 4: The Chocolate Glaze
Time for the chocolate glaze. Melt the butter and corn syrup in a small pan. Take it off the heat and add your chopped chocolate. Just stir until it’s smooth and shiny. Pour it right over the firm caramel layer. Spread it gently to the edges.
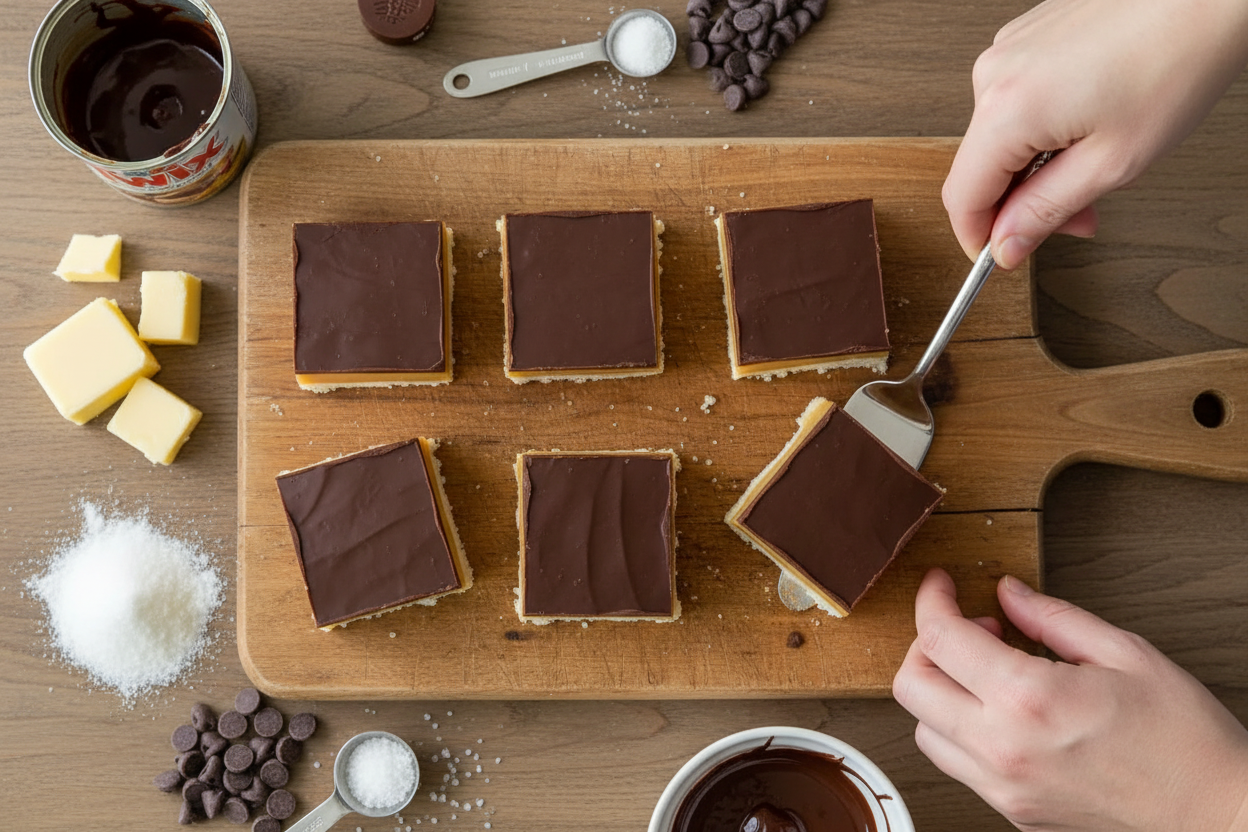
Step 5: Final Chill & Cut
Let the chocolate set. Chill the pan again for a couple hours. Finally, use your parchment paper to lift it all out. Cut into little bars with a sharp knife. Wipe the knife between cuts for neat squares. Then, try not to eat them all at once!
Cook Time: 30 minutes
Total Time: 4–6 hours (plus chilling)
Yield: 16 bars
Category: Dessert, Candy
Three Fun Twists to Try
Once you master the classic, try a little twist. It’s fun to play with flavors. My grandkids love to vote on new versions. Here are three ideas we adore.
- Salty Pretzel Crunch: Mix crushed pretzels into the shortbread dough. It adds a nice salty crunch.
- Cookie Drizzle: Use dark chocolate for the topping. Then, drizzle a little white chocolate over it.
- Autumn Spice: Add a pinch of cinnamon to the caramel. It tastes like a cozy fall day.
Which one would you try first? Comment below!
Serving Your Sweet Creation
These bars are perfect all on their own. But sometimes, I like to make them extra special. For a party, place each bar in a little paper liner. It looks so pretty on a plate. You could also sprinkle a tiny bit of sea salt on the warm chocolate.
What to drink? A cold glass of milk is always the best friend to candy. For the grown-ups, a small cup of strong coffee is wonderful. The bitter coffee and sweet chocolate are a perfect match. Which would you choose tonight?
Keeping Your Twix Bars Perfect
These bars keep beautifully. Store them in the fridge for up to a week. They get a lovely, firm bite when cold.
You can also freeze them for a month. Wrap each bar tightly in plastic wrap. Then place them all in a freezer bag. I once forgot a batch in my freezer for weeks. They were still a delicious surprise!
Let them thaw in the fridge before eating. No reheating is needed. This matters because a good treat should be ready whenever you are. You can make a double batch of the base layer. Just press half into a second pan to bake. It saves so much time later.
Have you ever tried storing it this way? Share below!
Easy Fixes for Common Twix Troubles
Sometimes the shortbread base crumbles. Just press it firmly into the pan before baking. A glass with a flat bottom works great for this.
The caramel might seem too thin. Keep stirring over low heat a bit longer. It will thicken as it cools. I remember when my first caramel was runny. Patience fixed it perfectly.
The chocolate topping can crack when you cut it. Make sure the bars are very cold. Use a sharp knife and wipe it clean between cuts. Getting these steps right builds your kitchen confidence. It also makes every layer taste its very best.
Which of these problems have you run into before?
Your Twix Bar Questions, Answered
Q: Can I make these gluten-free? A: Yes! Use your favorite gluten-free flour blend. The results are just as good.
Q: How far ahead can I make them? A: They are perfect for making a day or two ahead. The flavors get even better.
Q: What if I don’t have corn syrup? A: You can use honey instead. The taste will be a little different but still yummy.
Q: Can I double the recipe? A: Absolutely. Use a 9×13 inch pan for a double batch. Just watch the baking time.
Q: Any optional tips? A: Sprinkle a little sea salt on the chocolate. It makes the sweet flavors pop!
Which tip will you try first?
Share Your Kitchen Creations
I hope you love making these bars. Cooking is about sharing joy with those you love. I would be so thrilled to see what you create in your kitchen.
Please share your photos with our community. It makes my heart so happy to see your versions. Your twists and successes inspire everyone.
Have you tried this recipe? Tag us on Pinterest! I can’t wait to see your beautiful bars. Happy cooking!
—Lena Morales.
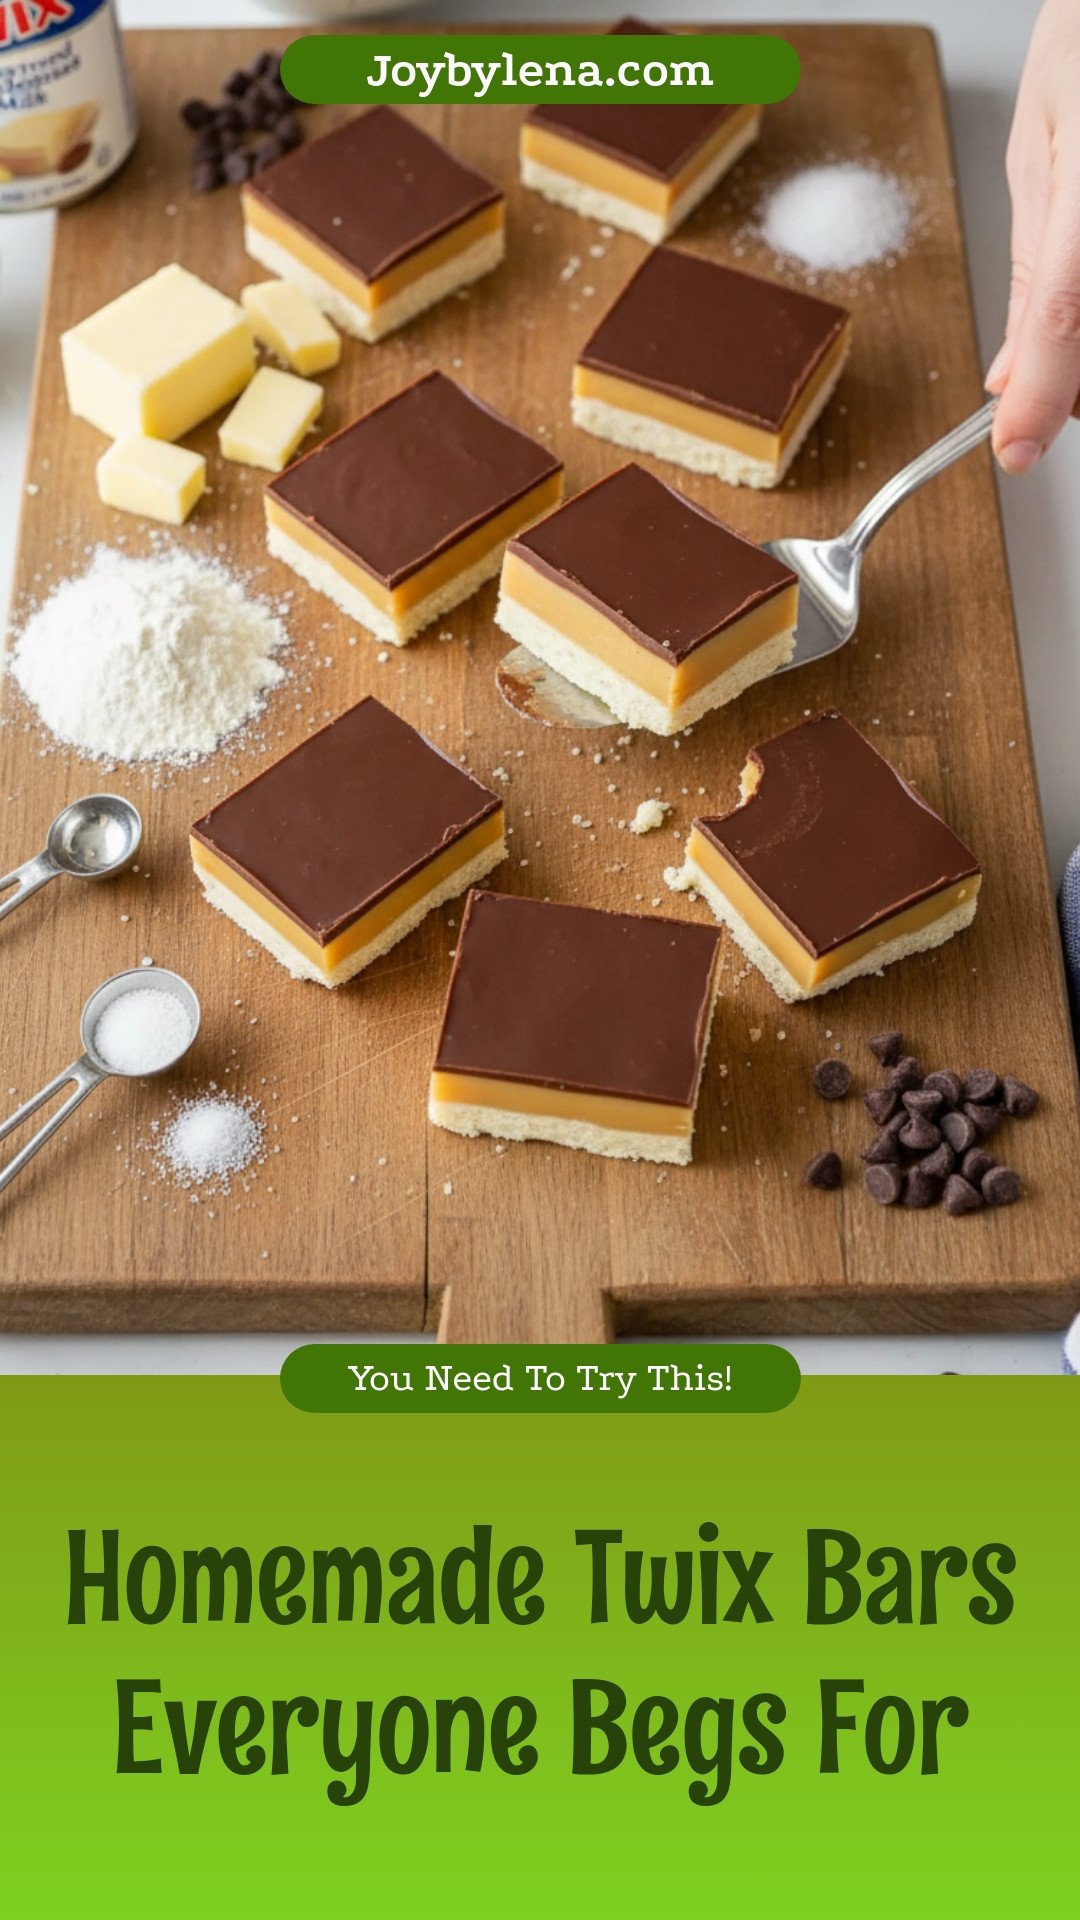
Homemade Twix Bars Everyone Begs For
Description
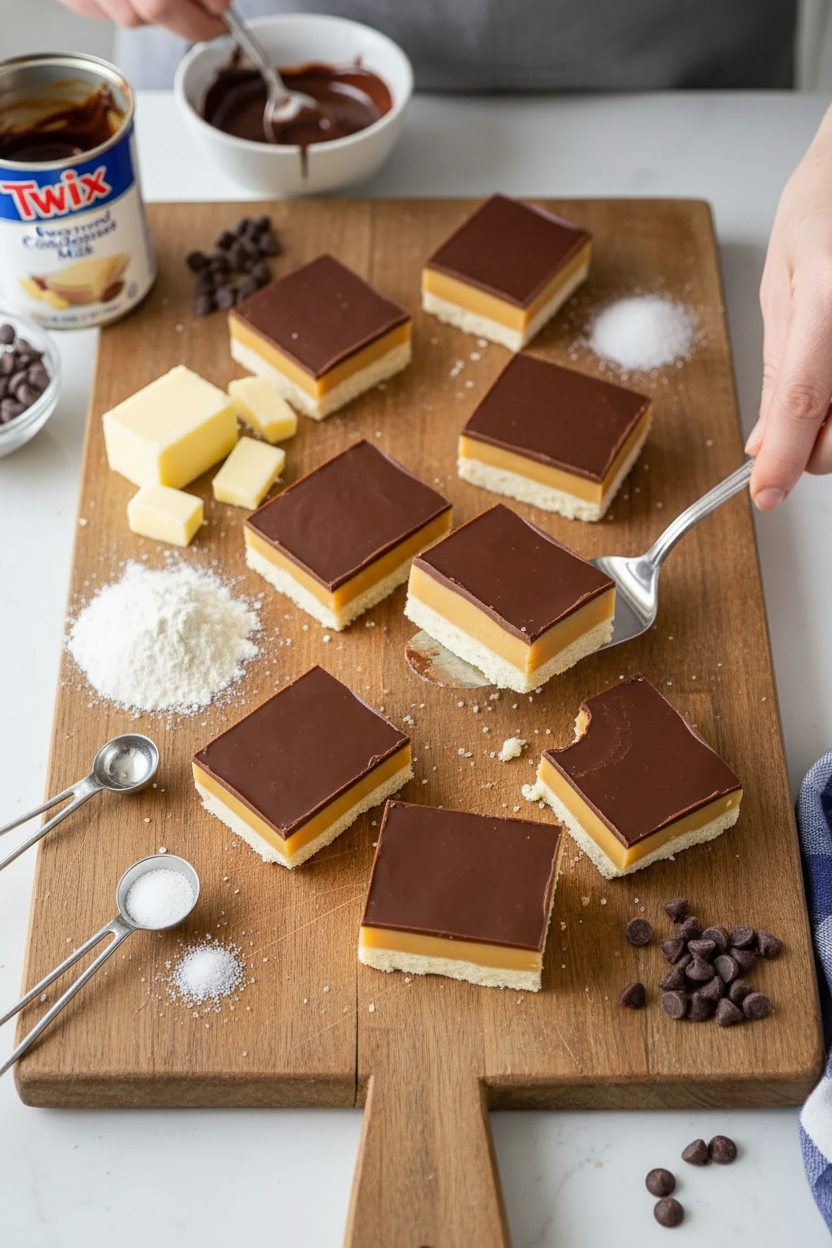
These irresistible homemade Twix bars feature a buttery shortbread base, a rich and chewy caramel layer, and a smooth milk chocolate topping.
Ingredients
Base
Caramel
Topping
Instructions
- Combine flour, baking powder and salt in a small bowl and set aside. In a large bowl, beat butter and sugar with a mixer until light and fluffy. Add in your flour mixture until just incorporated. Spread into an 8 x 8″ baking pan lined with parchment paper. Bake at 325°F for 15-18 minutes or until lightly golden brown.
- For the filling, combine butter, sugar, corn syrup and condensed milk in a saucepan over medium-high heat. Stir occasionally, until smooth and the butter is melted. Bring to boil, then reduce heat to low, stirring constantly, until the mixture thickens a bit and turns amber color. Spread over the shortbread layer and let cool completely. Once cooled, let set in the fridge for a few hours or overnight.
- For the chocolate glaze, heat butter and corn syrup in a small saucepan until melted. Remove from heat, add chocolate and stir until melted. Immediately pour over the condensed milk layer. Cool completely and chill for a few hours before cutting into squares.
Notes
- Nutrition per bar: Calories: 554kcal | Carbohydrates: 62g | Protein: 5g | Fat: 33g | Saturated Fat: 20g | Cholesterol: 82mg | Sodium: 130mg | Potassium: 266mg | Sugar: 50g | Vitamin A: 905IU | Vitamin C: 1.2mg | Calcium: 162mg | Iron: 1.1mg


Leave a Reply