A Mug Full of Memories
Hello, my dear. Come sit. Let me tell you about these little cakes. They taste like my favorite winter afternoon. A big mug of hot cocoa, but in a cheesecake. Isn’t that a fun idea?
I thought of them last year. My grandson said my hot cocoa was “the best.” But he wanted a snack he could hold. So, we made these together. I still laugh at that. His face was covered in cocoa powder. What is your favorite cozy drink? Could it become a dessert, too?
The Crust That Crunches
We start with Oreos. No baking needed for these! You just crush them up. Mix them with a little melted butter. It feels like wet sand. Press it into your muffin cups. This is your cake’s foundation.
Why does this matter? A good crust holds everything together. It gives a nice crunch. It makes the creamy filling even better. Fun fact: The first Oreo was sold in 1912. That’s over a hundred years of cookie crunch!
The Magical Filling
Now, the creamy part. Soft cream cheese, sugar, and rich cocoa powder. Beat it until it’s smooth. Doesn’t that smell amazing? Then you add the eggs, one by one. Go slow here. This keeps the filling silky, not lumpy.
Spoon it over your crusts. Into the oven they go. The hard part is waiting. You must let them cool completely. Then they need a long nap in the fridge. This patience is important. It makes the texture just right.
Making the Chocolate Handles
This is the silliest, most fun step. You melt chocolate. Then you draw little mug handles on paper. It’s like being an artist. But you can eat your art! Pop them in the freezer to get hard.
Why does this matter? Food should be fun. A little surprise makes people smile. The handle says “this is a mug of cake!” It turns eating into a story. Do you like to play with your food sometimes? I think we all should.
The Final Touches
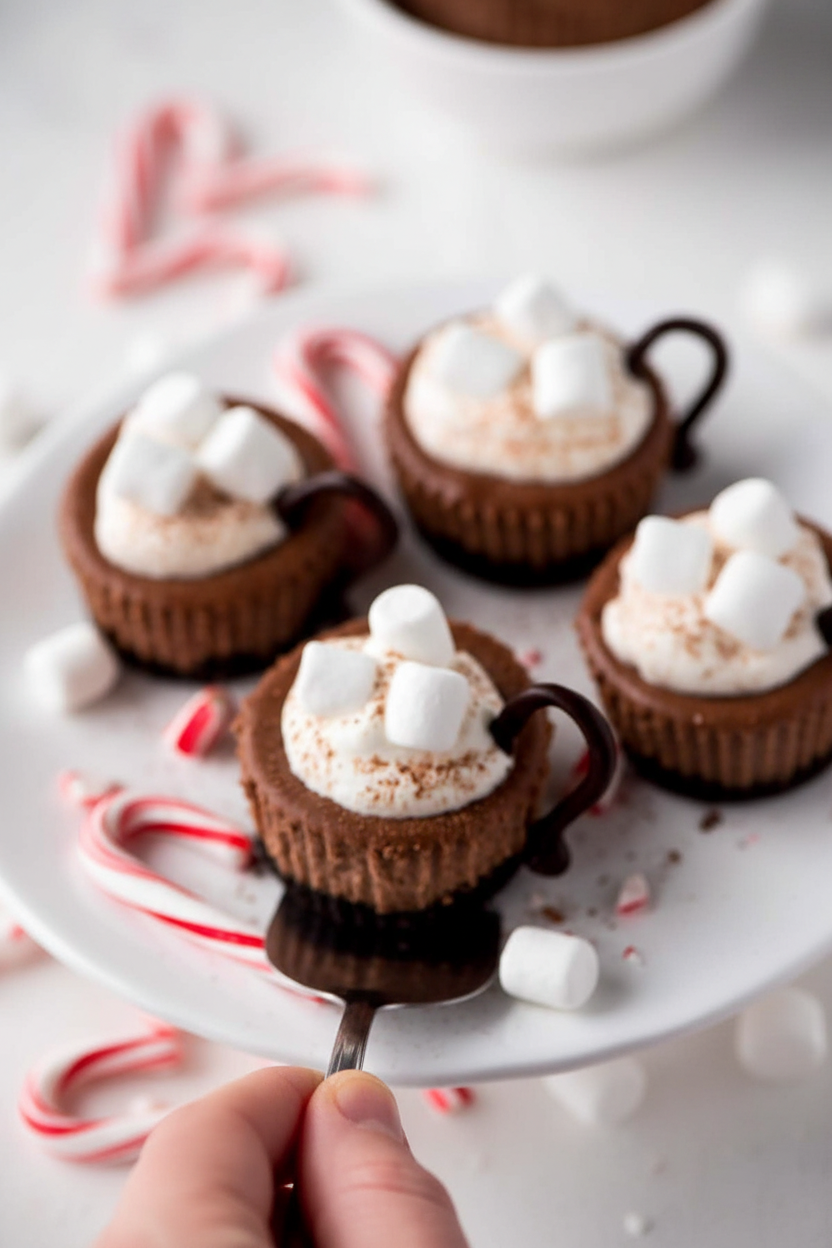
Time to dress them up. A fluffy cloud of whipped cream on top. A dusting of cocoa powder. Then, the mini marshmallows. I add crushed candy canes sometimes. It gives a little peppermint kiss.
Gently press your chocolate handle into the side. And there you have it. A hot cocoa mug you eat with a fork. Which topping is your favorite: marshmallows, peppermint, or something else? Tell me what you would add.
Ingredients:
| Ingredient | Amount | Notes |
|---|---|---|
| OREO cookies | 10 | |
| Butter | 1 tablespoon | melted |
| PHILADELPHIA Cream Cheese | 2 (8 ounce) packages | softened |
| Sugar | 1/2 cup + 1 teaspoon | divided |
| Unsweetened cocoa powder | 1/4 cup + 1/2 teaspoon | divided |
| Eggs | 2 | |
| BAKER’S semi-sweet chocolate | 2-4 ounces | depending on the size of your handles |
| Heavy whipping cream | 3/4 cup | |
| Mini marshmallows | 1/2 cup |
My Cozy Cocoa Cupcakes
Hello, my dear! Come sit. Let’s make something magical. These are my hot cocoa cheesecake cupcakes. They look like little mugs of cocoa. Isn’t that fun? I first made them for my grandson’s winter party. The kids’ eyes got so wide. I still laugh at that. They are easier than a big cheesecake, I promise. We’ll work together, step-by-step. Doesn’t that smell amazing already?
Step 1: First, we make the cookie dirt. Crumble those Oreos until they look like garden soil. Mix the crumbs with melted butter. It will feel like wet sand. Press this into your muffin cups. This is your cupcake’s foundation. Bake it for just 8 minutes. Your kitchen will smell like chocolate dreams.
Step 2: Now, the creamy filling. Beat the soft cream cheese, sugar, and cocoa. Make sure it’s very smooth. No lumps allowed! Add the eggs, one at a time. Mix gently after each. (A hard-learned tip: use room-temperature cream cheese. It blends so much better!). Spoon this silky mixture over your warm crusts.
Step 3: Bake them again. They need about 23 minutes. The centers should be just set, like a gentle jiggle. Let them cool on the counter. Then, they must take a long nap in the fridge. Two hours, at least. Patience is a cook’s secret ingredient. What’s your favorite part of baking: mixing or decorating? Share below!
Step 4: Time for chocolate handles! Melt the baker’s chocolate. Put it in a little bag. Snip the corner and draw 12 handle shapes on parchment. It’s like finger-painting with chocolate. Pop the sheet into the freezer. They will harden up perfectly. This part always makes me feel like an artist.
Step 5: The grand finale! Whip the cream with a bit of sugar. Peel the papers off your cheesecakes. Top each with a fluffy cloud of cream. A dusting of cocoa, a few mini marshmallows. Now, gently press a chocolate handle into each one. And there you have it—a mug of cheer!
Cook Time: 35 minutes
Total Time: 3 hours 15 minutes (plus chilling)
Yield: 12 servings
Category: Dessert, Holiday
Make It Your Own
These little treats love to dress up. Here are three fun twists for you. Peppermint Swirl: Add a drop of peppermint extract to the filling. Top with crushed candy canes. Cookie Dough Dream: Press a piece of edible cookie dough into the center before baking. A sweet surprise! Orange Zest Delight: Stir a teaspoon of orange zest into the cream cheese mix. Chocolate and orange are old friends. Which one would you try first? Comment below!
Serving With a Smile
Place each cupcake on a small plate. Scatter a few extra marshmallows around it. You could even add a tiny candy cane stirrer. For drinks, a glass of cold milk is the classic choice. It just feels right. For the grown-ups, a small glass of coffee liqueur or a creamy Irish cream pairs beautifully. Which would you choose tonight? Enjoy these with people you love. That’s the real secret.
Keeping Your Mini Cheesecakes Happy
These little treats are perfect for making ahead. They keep well in the fridge for three days. Just cover them tightly with plastic wrap. You can also freeze them for a whole month. Wrap each one individually before freezing. Thaw them overnight in your refrigerator.
I love to batch-cook these for parties. I make the crusts and filling one day. I add the toppings the next day. This splits the work nicely. My first time, I didn’t wrap them tight. The fridge air made them taste a little funny. Now I am very careful with that wrap!
Storing food well matters. It saves you time and money. It also means a sweet treat is always ready for surprise guests. Have you ever tried storing it this way? Share below!
Little Fixes for Common Hiccups
First, a cracked cheesecake top is common. Do not worry! The whipped cream will cover it completely. I remember my first cracked cheesecake. I was so upset. Then I covered it with fluff and marshmallows. It was the prettiest one yet!
Second, your chocolate handles might break. If they do, just melt them again. Use the chocolate like glue to stick pieces together. Third, if the crust sticks to the liner, pop the cup in the freezer for ten minutes. It will come off much easier.
Fixing small problems builds your cooking confidence. Knowing easy fixes also makes the final flavor and look perfect. Which of these problems have you run into before?
Your Quick Questions, Answered
Q: Can I make this gluten-free? A: Yes! Use gluten-free chocolate sandwich cookies for the crust.
Q: How far ahead can I make them? A: You can make the full cheesecakes two days ahead. Add toppings the day you serve them.
Q: What can I use instead of marshmallows? A: Try chocolate chips, crushed peppermint, or even fresh berries.
Q: Can I make one big cheesecake? A: Absolutely. Use a springform pan. Bake it for 55 to 60 minutes.
Q: Any optional tips? A: A tiny pinch of cinnamon in the filling is lovely. Fun fact: cinnamon can make chocolate taste even richer! Which tip will you try first?
From My Kitchen to Yours
I hope you have fun making these mini mugs of joy. Cooking is about sharing love and sweet moments. I would love to see your creations. Did you add candy canes or sprinkles?
Please share your photos with our community. It makes my day to see them. Have you tried this recipe? Tag us on Pinterest! Thank you for spending time in the kitchen with me.
Happy cooking!
—Lena Morales.
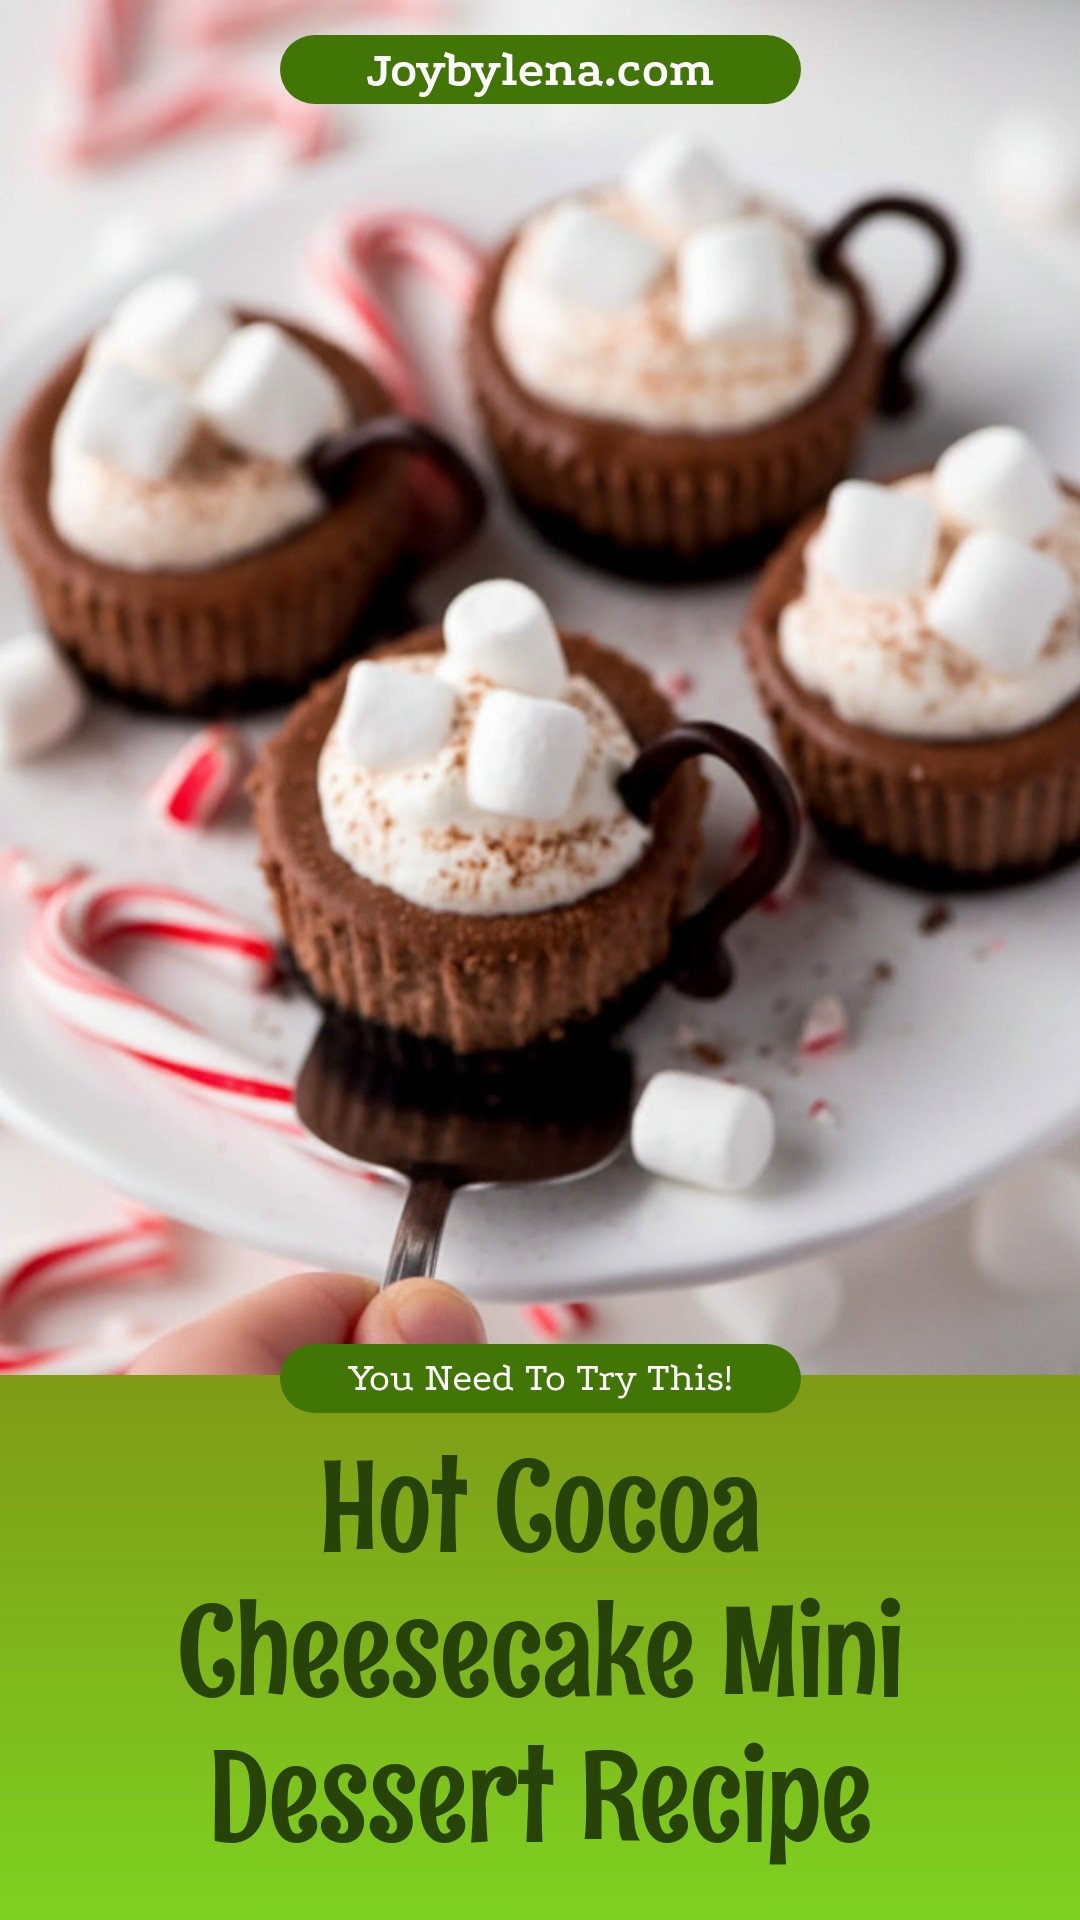
Hot Cocoa Cheesecake Minis: Hot Cocoa Cheesecake Mini Dessert Recipe
Description
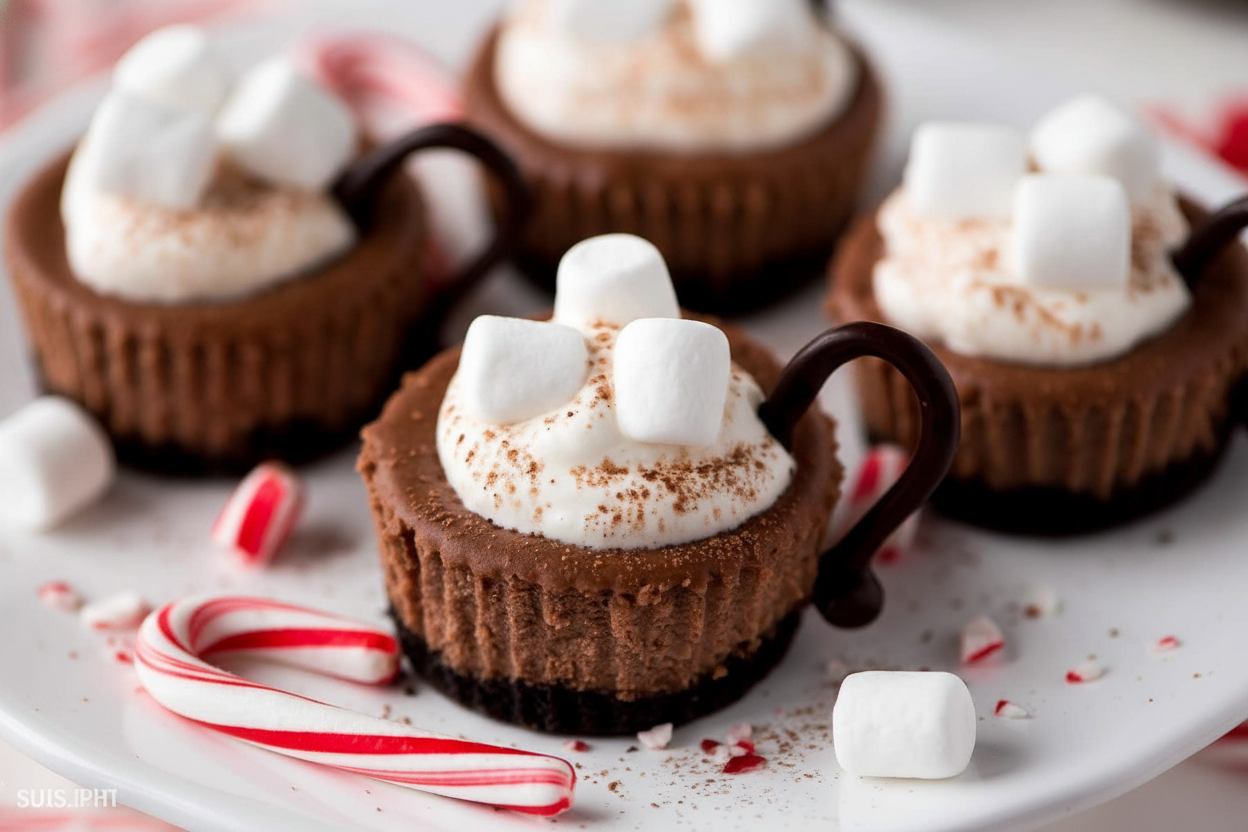
Indulge in these adorable and decadent Hot Cocoa Cheesecake Minis, featuring an Oreo crust, rich cocoa cheesecake, whipped cream, marshmallows, and a chocolate handle.
Ingredients
Instructions
- Heat oven to 325°F. Pulse Oreo in a food processor until you have a crumb texture. Combine cookie crumbs and butter; press onto bottoms of 12 paper-lined regular-size muffin cups. Bake 8 min.
- Beat cream cheese, 1/2 cup sugar and 1/4 cup cocoa powder in medium bowl with mixer until blended. Add eggs, 1 at a time, mixing on low speed after each just until blended. Spoon over crusts.
- Bake 22 to 25 min. or until centers are almost set. Cool completely. Refrigerate 2 hours.
- Meanwhile, make the chocolate handles. Cover a baking sheet with parchment. Melt semi-sweet chocolate as directed on package, then spoon it into resealable plastic bag. Cut a small piece off one bottom corner of bag. Squeeze the chocolate into 12 handle shapes on the prepared baking sheet. Freeze until ready to use.
- Remove paper liners from cheesecakes. Beat cream and remaining sugar in separate medium bowl with mixer on high speed until soft peaks form; spoon onto cheesecakes. Sprinkle with remaining cocoa powder; top with marshmallows (we even added crushed candy canes for an extra flair). Gently press chocolate handle into side of each cheesecake.
Notes
- For added flavor, top with crushed candy canes for an extra flair.


Leave a Reply