The Magic of the Puff
Let me tell you a secret. The best part of making pita is the puff. You slide that flat dough into the oven. Then you watch. It blows up like a little bread balloon! I still laugh at that. It feels like a tiny miracle every single time.
That puff matters. It creates the pocket. That pocket is for your fillings! It holds your favorite things without making a mess. What would you put inside your perfect pita pocket? Tell me your dream filling.
Why We Start Simple
We begin with yeast, water, and a pinch of sugar. This wakes the yeast up. You let it sit for fifteen minutes. It gets all foamy and happy. Doesn’t that smell amazing? That smell means it’s alive and ready to work.
This step matters so much. It is the heart of your bread. If your yeast is happy, your bread will be happy too. *Fun fact*: that foam is the yeast eating the sugar and saying hello!
A Little Kneading Story
Now you knead. Push, fold, turn. Do this for five minutes. The dough starts sticky. Then it becomes smooth and soft. I think of my abuela’s hands when I do this. Her hands were strong from a lifetime of kneading.
This is not hard work. It is loving work. You are building strength into the dough. That strength lets it puff up big and tall. Do you like kneading dough, or do you find it tricky?
Heat is the Key
Your oven must be very, very hot. I mean 500 degrees hot! You need a baking stone or a heavy pan inside. Let it heat for a full twenty minutes. This fierce heat is what makes the magic puff happen so fast.
No super hot oven? No problem. You can use a skillet on the stove. The method is different but the result is just as good. A hot, dry surface is the real secret. Have you ever baked bread on the stovetop before?
Warm and Ready to Share
When the pitas come out, let them cool for just five minutes. Then cover them with a dry towel. This keeps them soft and warm. The smell fills your whole kitchen. It is the smell of patience and care.
Fresh bread teaches us to share. It is best eaten the same day with people you love. Tear one open while it’s still warm. See that perfect pocket waiting for you. That is the real reward.
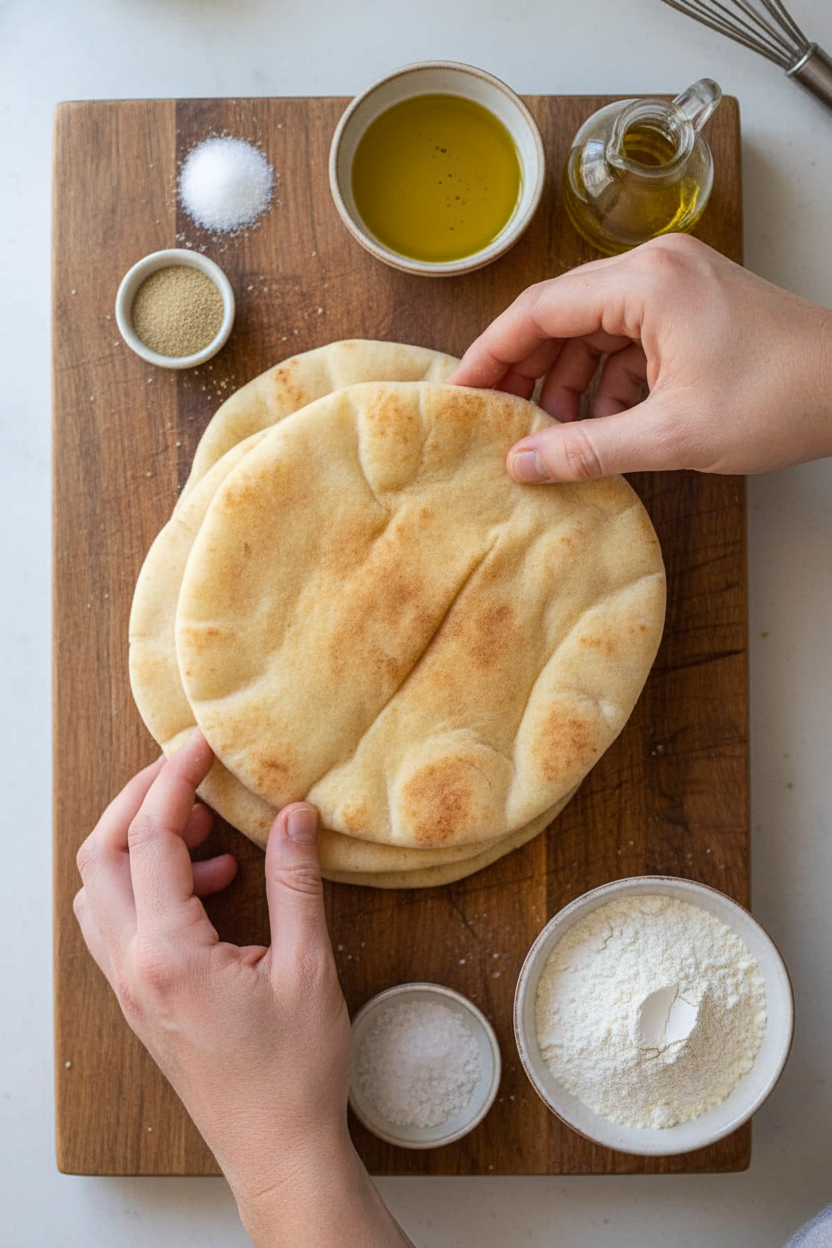
Ingredients:
| Ingredient | Amount | Notes |
|---|---|---|
| Warm water | 1 cup | |
| Instant yeast | 2 1/4 tsp (1 packet) | |
| Sugar | 1/2 tsp | |
| Whole wheat flour | 1/4 cup | |
| Extra virgin olive oil | 2 Tbsp + 1 tsp | 1 tsp is for oiling the bowl |
| All-purpose flour | 2 1/2 cups | Plus more for dusting |
| Fine sea salt | 1 1/2 tsp |
My Kitchen Magic: Pita Bread That Puffs Up Like a Pillow
Hello, my dear! Come sit. Let’s make pita bread. It’s like a little magic show in your oven. You watch the flat dough go in. Then, poof! A perfect pocket appears. I learned this from my Tia Rosa. She would always say the dough needs a warm hug to rise. I still laugh at that. But she was right. Your hands will feel the soft, living dough. Doesn’t that smell amazing? It’s the yeast waking up with a little sugar. That smell is the start of everything good.
Now, let’s begin. Follow these steps with me. I’ll tell you stories as we go.
- Step 1: First, wake up your yeast. Mix the warm water, sugar, yeast, and whole wheat flour. Think of a cozy bath for it. Let it sit for 15 minutes. You’ll see it get foamy and puffy on top. That means your yeast is happy and alive! If it doesn’t puff, your water was too hot or cold. (Hard-learned tip: Your water should feel warm on your wrist, like a baby’s bottle.)
- Step 2: Add the olive oil, flour, and salt. Stir with a spoon until it’s a shaggy mess. Then, use your hands. Turn it out on the counter. Now, knead! Push it, fold it, turn it. Do this for 5 whole minutes. Sing a song. It’s a workout for your arms and the dough. The dough will start sticky but become soft and smooth.
- Step 3: Time for that warm hug. Oil a bowl and put your dough ball in. Turn it to coat it. Cover the bowl tightly with plastic wrap. Put it in a warm spot. I use my sunniest window. Let it rest until it doubles in size. This takes about 45 minutes in a warm spot. Be patient. Good things take time. What’s your favorite song to sing while you wait? Share below!
- Step 4: The fun part! Punch the dough down. It will sigh. Divide it into 8 pieces. Roll each into a smooth ball with your hand. Cover them with a damp towel. Let them rest 15 minutes. This relaxes the dough. It makes rolling easier. No fighting with springy dough!
- Step 5: Roll each ball into a thin circle. Use flour so it doesn’t stick. Aim for thinner than you think! Keep the rolled disks under that damp towel. Let them rest 10 more minutes before baking. This helps them puff up perfectly. Preheat your oven very hot, with a baking sheet inside. That hot surface is the secret.
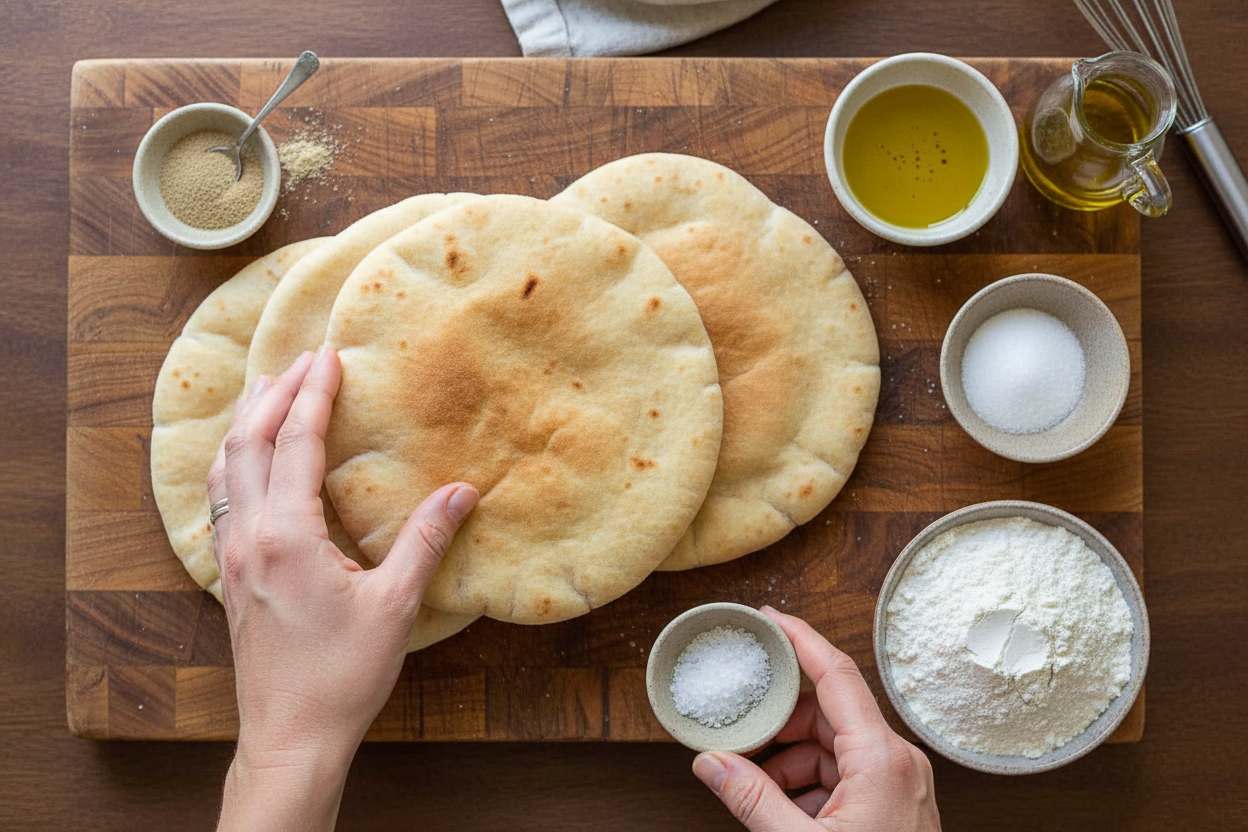
- Step 6: The magic show! Carefully place 2-3 disks on the hot sheet. Bake for just 2-3 minutes. Watch through the window! They will balloon up. It’s so exciting. Pull them out when puffed and lightly golden. Let them cool under a dry towel. That keeps them soft. Now you have perfect pockets for filling!
Cook Time: 30 minutes
Total Time: About 2 hours
Yield: 8 pitas
Category: Bread, Side
Three Fun Twists for Your Pita
Once you master the basic pita, try playing! Add a little something to the dough. It makes every bite a surprise. Here are my favorite ideas.
- Herb Garden Pita: Mix 2 tablespoons of dried oregano or thyme right into the flour. It smells like a summer garden.
- Everything-Spice Pita: Before baking, brush disks with water. Sprinkle on that “everything bagel” seasoning. So crunchy and good!
- Sweet Cinnamon Pita: Add 1 teaspoon of cinnamon and 2 tablespoons of honey to the dough. Perfect with yogurt and fruit for breakfast.
Which one would you try first? Comment below!
How to Serve Your Homemade Pita
Fresh, warm pita needs no fancy setup. But here are my favorite ways to enjoy it. Tear it and dip it into creamy hummus or baba ganoush. Stuff it full of grilled chicken, tomatoes, and a drizzle of tahini. Or, cut it into triangles, bake until crisp, and you have chips!
For drinks, I love a glass of chilled, minty iced tea. It’s so refreshing. For a special dinner, a light, crisp white wine pairs beautifully. The simple bread makes everything else taste better. Which would you choose tonight?
Keeping Your Pita Bread Perfectly Soft
Fresh pita is best the day you make it. But you can keep it soft! Let it cool completely first. Then store it in a plastic bag at room temperature for two days.
For longer storage, freeze them. I wrap each pita in a little parchment paper. Then I put them all in a big freezer bag. This way, they don’t stick together. You can grab just one when you need it.
To reheat, sprinkle a frozen pita with water. Warm it in a hot skillet for a minute. My first time, I used the microwave. It got tough and chewy! The skillet brings back the soft magic.
Batch cooking saves busy weeknights. Making a double batch takes little extra time. You will thank yourself later. Having homemade food ready matters. It turns a hectic day into a cozy meal.
Have you ever tried storing it this way? Share below!
Pita Problems? Here Are My Easy Fixes
First, if your pitas don’t puff, the oven isn’t hot enough. That baking stone needs a full 20 minutes to get hot. I remember when my first batch came out flat. My oven just wasn’t ready!
Second, dough that’s too sticky is hard to handle. Just add a tiny bit more flour. Knead it in slowly. The dough should feel soft like your earlobe. Getting the texture right matters. It builds your confidence for all baking.
Third, dry pitas happen if they cool uncovered. Always cover them with a towel right away. This keeps them soft and flexible. A good pita should bend, not crack. This small step makes a big difference in flavor and texture.
Which of these problems have you run into before?
Your Pita Bread Questions, Answered
Q: Can I make this gluten-free?
A: I have not tried it. Gluten-free flour blends act differently. The pita might not puff the same way.
Q: Can I make the dough ahead?
A: Yes! After the first rise, put the dough in the fridge. It will slowly rise overnight. Bake the next day.
Q: What if I don’t have whole wheat flour?
A: Use all-purpose flour instead. The pita will be a little lighter in color and flavor.
Q: Can I make a smaller batch?
A: Absolutely. Just cut all the ingredients in half. You will get four lovely pitas.
Q: Any optional tips?
A: Brush baked pitas with melted butter and garlic. Fun fact: The word “pita” means “flatbread” or “pie” in Greek!
Which tip will you try first?
From My Kitchen to Yours
I hope you love making these pitas. There is nothing like warm bread from your own oven. It fills the house with the best smell.
I would love to see your creations. Share a picture of your puffed-up pita bread. Let me know what you filled them with for dinner.
Have you tried this recipe? Tag us on Pinterest! Thank you for cooking with me today.
Happy cooking!
—Lena Morales.
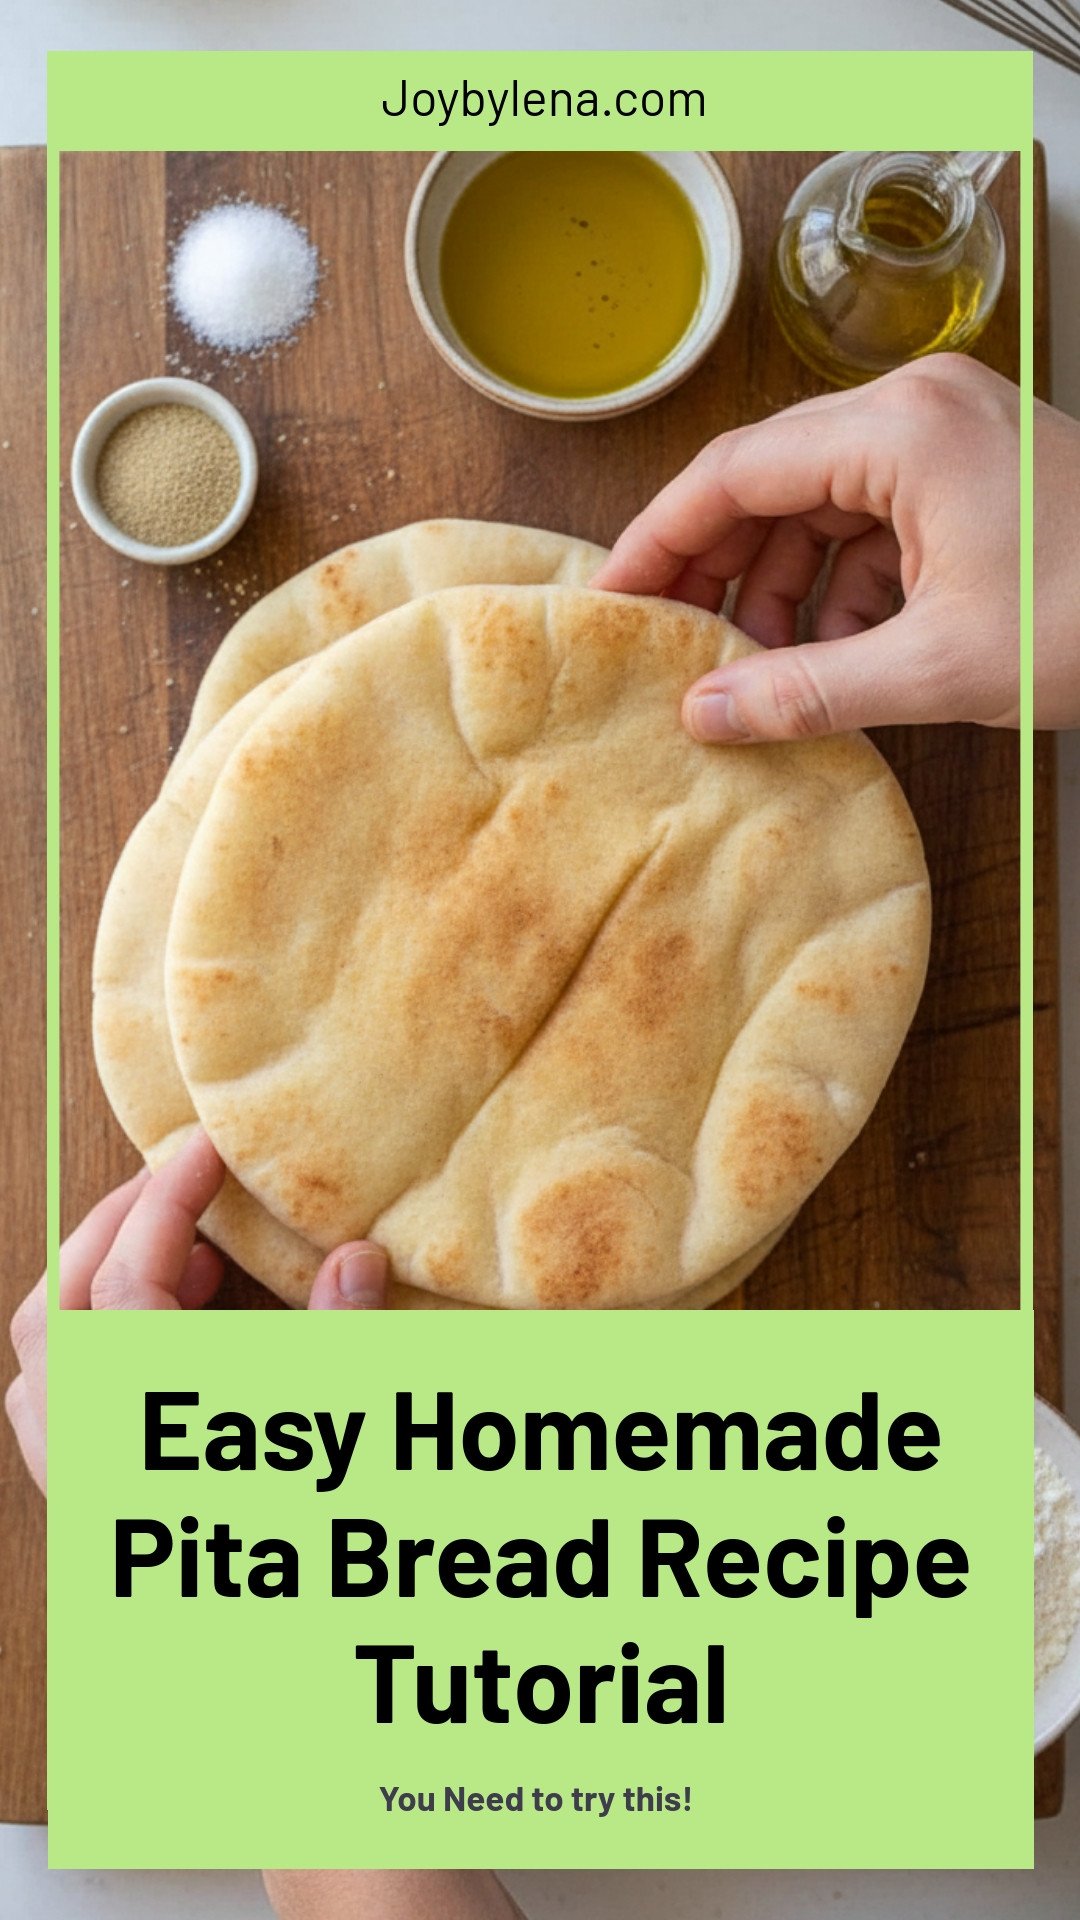
Easy Homemade Pita Bread Recipe Tutorial
Description
Learn how to make soft, fluffy, and perfectly puffy homemade pita bread with this easy step-by-step tutorial.
Ingredients
Instructions
- Proof yeast – In a large mixing bowl, combine warm water, sugar, yeast, and 1/4 cup whole wheat flour. Whisk to combine, then set aside for 15 minutes until puffy and foamy on top.
- Add olive oil, 2 1/2 cups flour, and salt, and stir together with a wooden spoon until shaggy.
- Knead – Turn out onto a clean, smooth surface and knead vigorously for 5 minutes. The dough should feel sticky to your hands but will get less sticky as you knead and should not be sticking to the counter. If the dough is too sticky to knead, sprinkle with a little more flour and continue kneading. Dough should be soft and tacky to the touch.
- Proof dough – Wash and dry the mixing bowl and grease the inside of the bowl with 1 tsp olive oil inside the bowl. Add the dough and turn to coat in oil. Cover the bowl tightly with plastic wrap and place in a warm (100˚F) place for 45 minutes, or at room temperature for about 90 minutes until doubled in volume.
- If baking in the oven: Once dough has doubled, preheat oven to 500˚F with a baking stone or baking sheet on the bottom rack position. You need to let the stone heat up for at least 20 minutes, or the pita won’t puff properly.
- Divide dough -Punch dough down and transfer dough to a clean surface, and divide into 8 even pieces. Cup your hand around each dough ball and roll until you no longer see a dimple or seam underneath. Cover balls with a damp kitchen towel and rest for 15 minutes for the gluten to relax and make it easier to roll them out.
- Roll dough – Place a dough ball onto a surface generously dusted and press gently into a disk with your fingertips to disperse bubbles. Roll dough balls to 7” wide and less than 1/4” thick. Move the disk several times while rolling to ensure it doesn’t stick to the counter. Keep rolled disks covered with a damp towel so they don’t dry out. Do not stack pitas. Let the disks rest 10 minutes before baking, and they will puff better.
- Bake – Place 2-3 pieces of dough on the preheated pizza stone and bake at 500˚F for 2 to 2 1/2 minutes or until puffed. Remove from oven and transfer to a rack for 5 minutes, then cover with a dry towel to keep the pitas from drying out.
- Stovetop Instructions: Preheat cast iron skillet over medium/high heat and brush lightly with olive oil. Lay pita on the hot skillet for 30 seconds. Once you see bubbling, flip the pitta and cook for 1 minute – it will puff, then flip and cook another minute.
Notes
- For best results, ensure your water is warm (about 110°F) to activate the yeast. Letting the rolled disks rest before baking is crucial for proper puffing.


Leave a Reply