The Cake That Wiggles
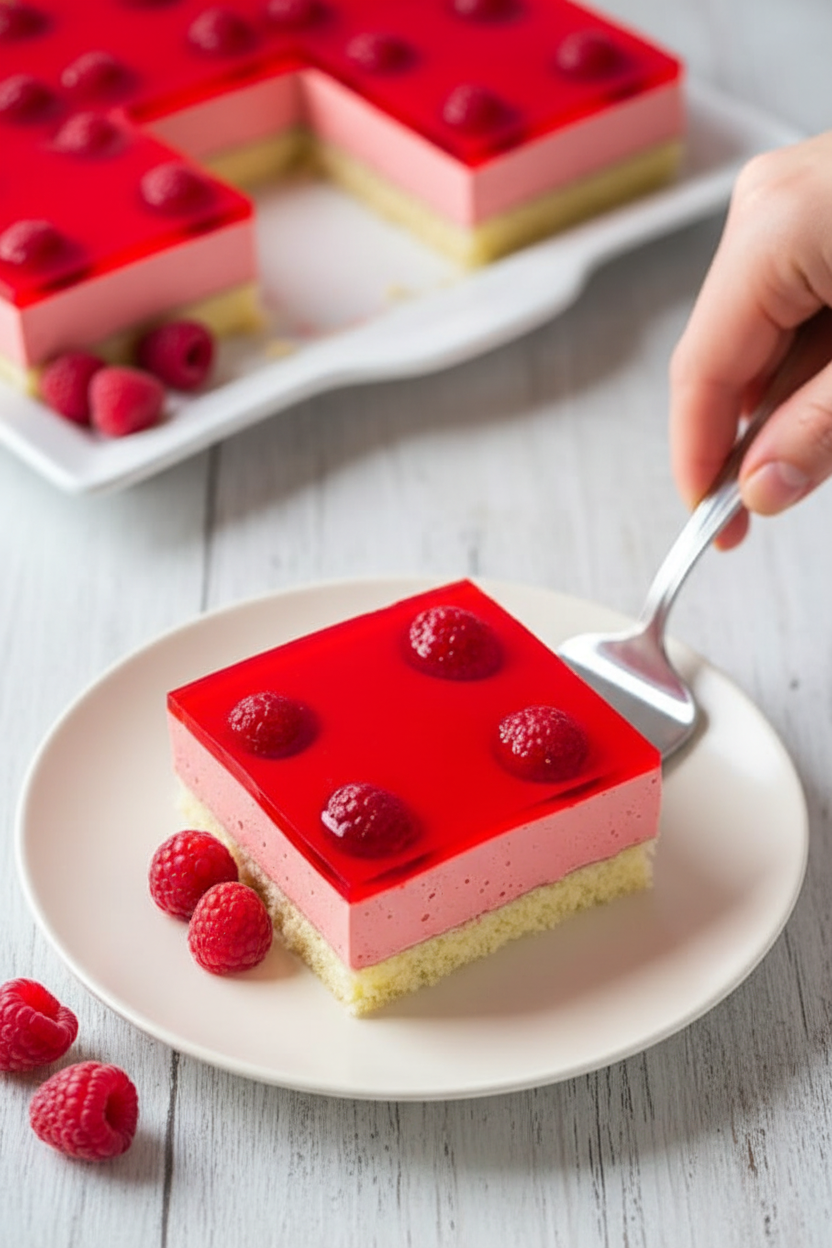
Hello, my dear. Come sit. Let’s talk about a happy cake. This is my raspberry jello cake. It is light, fruity, and fun. It has a soft cake on the bottom. Then a fluffy pink mousse. And a shiny jello top with berries.
I first made this for my grandson’s birthday. He said it looked like a jewel box. I still laugh at that. It is a special treat that makes everyone smile. What is your favorite birthday dessert? Tell me in the comments.
A Little Kitchen Magic
This cake teaches you a gentle touch. The cake layer is like a sponge. You beat the eggs and sugar for a long time. This puts tiny air bubbles in. That makes the cake very light and soft.
Why does this matter? Because patience makes better cakes. Rushing will deflate your bubbles. Then your cake will be flat. So take your time. Listen to the mixer hum. *Fun fact*: That fluffy egg mixture is called a “ribbon stage.” It falls off the whisk in a thick ribbon.
The Secret is the Syrup
Do not skip the lemon syrup. I did once. The cake was too dry. The syrup is simple. Just warm water, sugar, and lemon juice.
You brush it on the cooled cake. The cake drinks it right up. This keeps every bite moist. It adds a tiny tang, too. Doesn’t that smell amazing? The lemon is so fresh. This step matters. It turns good cake into great cake.
Playing with Jello
Now for the fun part. The mousse is just jello and cool whip. But timing is everything. Let the jello cool until it is syrupy. It should have a slight wiggle. Then you fold in the cool whip.
If you mix it while the jello is too warm, it will be runny. If you wait too long, it will be lumpy. Finding that perfect in-between moment is the trick. Have you ever had a jello experiment go wrong? I have. We can laugh about it together.
The Final, Shiny Layer
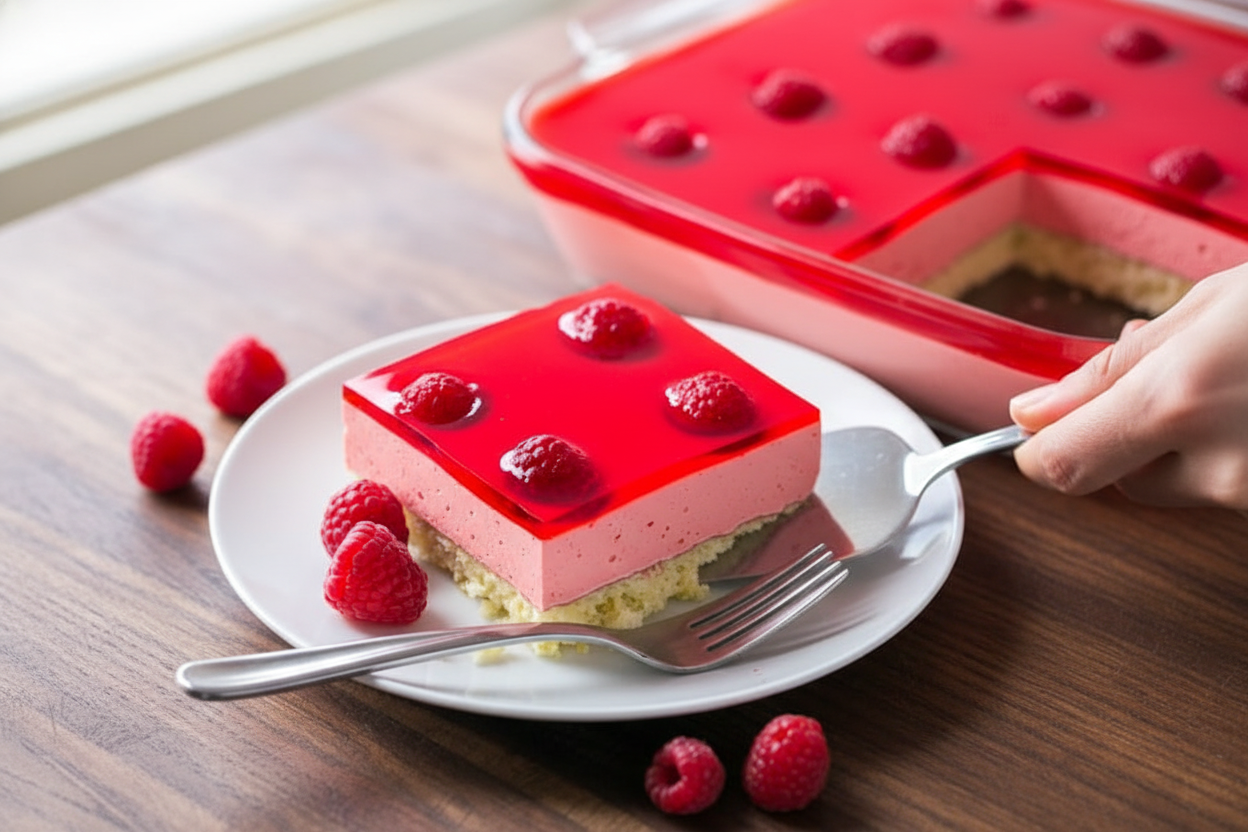
After the mousse sets, you add the berries. Push them in gently. Then comes the last jello layer. This must be at room temperature. Never pour warm jello on top.
I pour it over the back of a spoon. This protects the fluffy mousse below. Then the whole cake goes back in the fridge. The wait is the hardest part. But it is worth it. You get a clear, shiny top with berries floating inside. Do you like raspberries or strawberries more for a topping? Let me know.
Ingredients:
| Ingredient | Amount | Notes |
|---|---|---|
| Raspberry Jello (for Mousse) | 6 oz package | |
| Cool Whip | 8 oz tub | Thawed in the fridge |
| Large Eggs | 4 | Room temperature |
| Granulated Sugar (for Cake) | 1/2 cup | |
| Vanilla Extract | 1/4 tsp | |
| All-Purpose Flour | 1/2 cup | |
| Warm Water (for Syrup) | 1/2 cup | |
| Granulated Sugar (for Syrup) | 2 Tbsp | |
| Lemon Juice | 1 tsp | |
| Raspberry Jello (for Topping) | 3 oz package | |
| Raspberries | 6 oz package |
My Wiggly Raspberry Cloud Cake
Hello, my dear! Let’s make a magic cake today. It has a fluffy sponge, a wiggly raspberry cloud, and a shiny jello top. My granddaughter calls it “the party in a pan.” I still laugh at that. It looks fancy but is really just fun. Doesn’t that sound like a happy dessert?
We’ll take it step-by-step. I promise it’s easy. First, we make the raspberry cloud, which is just jello and cool whip. The secret is letting the jello get just right. Not too runny, not too firm. Like a soft pillow. Are you ready? Let’s begin.
- Step 1: Start your raspberry cloud. Mix the big box of raspberry jello with two cups of boiling water. Stir until it’s all clear. Then add one cup of cold water. Let it sit on the counter. We want it just starting to thicken. It should wiggle like a shy jellyfish. (My hard-learned tip: If you rush and put it in the fridge too long, it gets lumpy! Just be patient.)
- Step 2: Now for the cake layer. Heat your oven to 350˚F. Beat four eggs for a whole minute. Then add the sugar and beat five more minutes. It will get pale and fluffy. Fold in the vanilla and flour gently. Pour it into your lined pan. Bake it until it’s golden. Your kitchen will smell amazing.
- Step 3: Make a simple syrup. Mix warm water, sugar, and lemon juice. Let it cool. When your cake is cool, brush this syrup all over the top. This keeps the cake super moist. It’s a little trick my own grandma taught me. What’s your favorite cake flavor? Share below!
- Step 4: Finish your cloud. Once the jello is syrupy, beat in the whole tub of cool whip. It will turn a beautiful pink! Pour this over your cake. Spread it gently. Now press fresh raspberries into the cloud. Don’t they look pretty? Pop it in the fridge for an hour.
- Step 5: The final touch! Mix the small box of jello with one cup boiling water. Stir well. Add a half cup of cold water. Let it cool to room temp. This is important. Then pour it slowly over the back of a spoon onto your set cloud. This makes the clear, shiny top. Refrigerate until it’s all set. Then slice and smile.
Cook Time: About 1 hour active, plus 4 hours to set.
Total Time: About 5 hours.
Yield: 12-16 happy slices.
Category: Dessert, No-Bake.
Three Twists for Your Cloud Cake
This cake loves to play dress-up. You can change its outfit for any season. Here are three of my favorite ways to twist it. They are all so simple.
- Berry Bonanza: Use mixed berries. Try blueberries and blackberries with black cherry jello. It’s a deep, dark jewel tone.
- Tropical Sunset: Use mango or peach jello. Top with chopped kiwi and mandarin oranges. It tastes like sunshine.
- Creamsicle Dream: Use orange jello for the mousse. Add a teaspoon of vanilla to the cake batter. It’s like the ice cream pop!
Which one would you try first? Comment below!
Serving Your Slice of Sunshine
This cake is a star all by itself. But a little extra love makes it special. For a party, add a tiny dollop of extra cool whip on each slice. A single mint leaf looks so pretty next to the red berries. You could also serve it with a small scoop of vanilla ice cream. The mix of cold and creamy is wonderful.
What to drink? For a fancy night, a little glass of sparkling rosé wine pairs nicely. For everyone, I love fizzy lemonade or sparkling water with a fresh raspberry in it. The bubbles cut through the sweetness perfectly. Which would you choose tonight?
Keeping Your Jello Cake Fresh and Fabulous
This cake loves the cold. Always keep it in the fridge. Cover the pan tightly with plastic wrap. It will stay perfect for three days.
You can freeze it for a sweet treat later. Freeze the whole pan for an hour first. Then, cut it into individual slices. Wrap each slice in plastic and foil. It freezes well for a month.
I once left a slice out too long. The mousse got very soft! Now I never skip the plastic wrap. Storing food right means no waste. It saves money and time for busy families.
Have you ever tried storing it this way? Share below!
Simple Fixes for Common Cake Troubles
Is your jello mousse too runny? This happens if the jello is too warm. Just pop the bowl in the fridge. Wait ten minutes and check it. It will thicken up nicely.
Did your cake layer stick to the pan? I remember when this happened to me. Lining the pan with parchment paper is key. Also, let the cake cool as the recipe says.
Is the top jello layer cloudy? You might have poured it on warm. Always let the liquid jello cool first. Pour it over the back of a spoon. This gentle method keeps the layers pretty.
Getting these steps right builds your confidence. A pretty cake also tastes happier. Which of these problems have you run into before?
Your Quick Questions, Answered
Q: Can I make this gluten-free?
A: Yes! Use your favorite gluten-free flour blend. Just swap it for the regular flour.
Q: How far ahead can I make it?
A: You can make the whole cake a day early. The flavors get even better overnight.
Q: I don’t have raspberries. What can I use?
A: Fresh strawberries or blackberries work great. Frozen berries are fine, just thaw them first.
Q: Can I make a smaller batch?
A: You can halve the recipe. Use an 8×8 inch square pan. The baking time will be a little less.
Q: Any optional tips for fun?
A: Try using different jello flavors! *Fun fact: Strawberry jello with real strawberries is my grandson’s favorite.* Which tip will you try first?
From My Kitchen to Yours
I hope you love making this cake. It is a joyful recipe to share. I would love to see your creation. Your kitchen stories make my day.
Show me your beautiful layered dessert. Have you tried this recipe? Tag us on Pinterest! You can find me at @LenasCozyKitchen. I will be looking for your photos.
Happy cooking!
—Lena Morales.
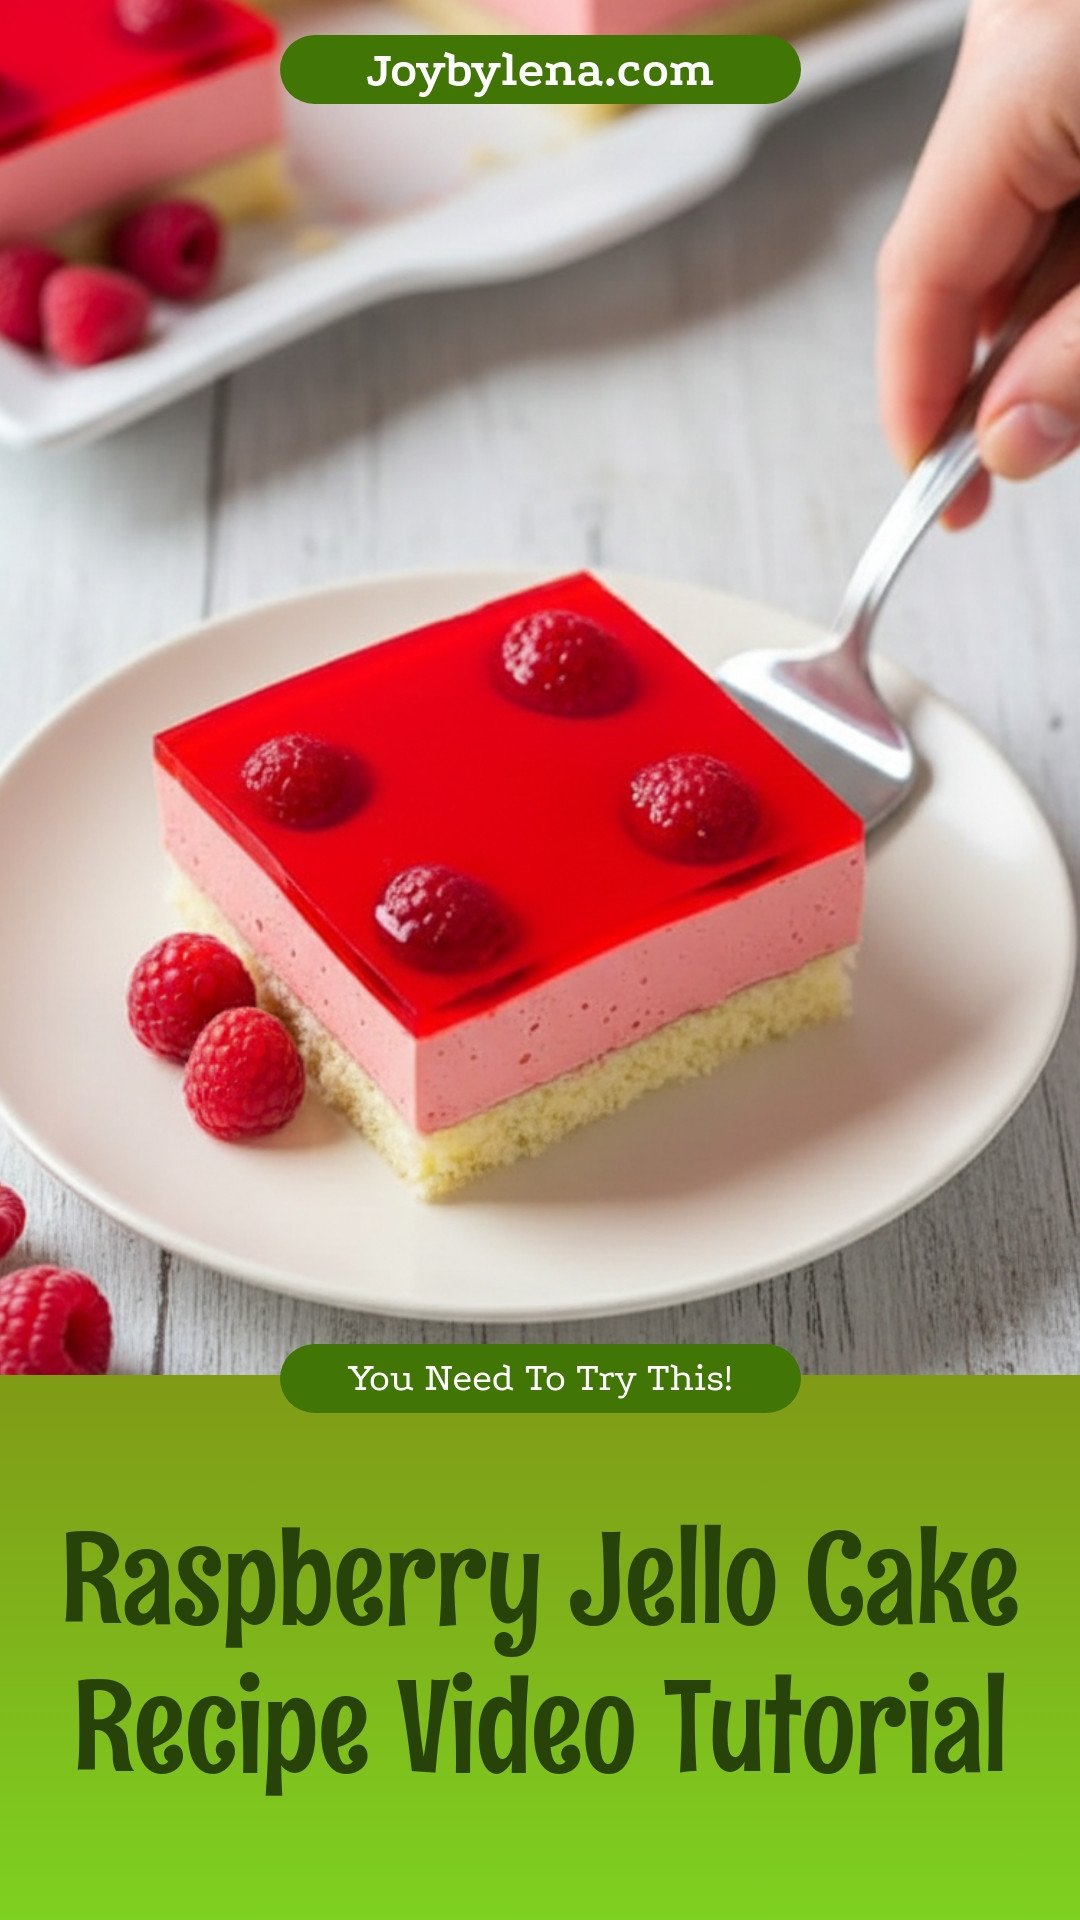
Raspberry Jello Cake
Description
A light and refreshing dessert with a fluffy sponge cake, creamy raspberry mousse, and a vibrant jello topping studded with fresh berries.
Ingredients
For the Raspberry Mousse:
For the Cake Layer:
For the Syrup:
Topping Ingredients:
Instructions
- Start making the Jello Mousse: In a large mixing bowl, combine 6 oz jello with 2 cups boiling water. Stir until dissolved then add 1 cup cold water. Let jello sit at room temp until just starting to set. (If needed, refrigerate for 10-15 minutes until syrupy and soft set).
- How to Make the Cake & Simple Syrup: Preheat Oven to 350˚F. Line the bottom of a 13×9 glass baking dish with parchment paper (do not grease sides). Beat eggs on high for 1 min, then add 1/2 cup sugar and beat for 5 min until thick and fluffy. Fold in vanilla.
- Sift in flour in thirds, folding between each addition. Spread batter evenly into the lined dish and bake at 350˚F for 18-20 minutes, until golden and springy. Cool, then return cake to the cleaned pan. Combine syrup ingredients (1/2 cup warm water, 2 Tbsp sugar, 1 tsp lemon juice) and brush over cooled cake.
- Finish the Jello Mousse and Topping: Once jello is slightly thickened, beat in 8 oz cool whip. (If watery, refrigerate 10-15 min to thicken). Pour mousse over the cake and spread evenly. Top with raspberries, pressing them in slightly. Refrigerate 1 hour or until set.
- Meanwhile, make the topping: combine 3 oz jello with 1 cup boiling water and stir to dissolve. Add 1/2 cup cold water and let cool to room temp. Pour cooled jello over the back of a spoon onto the set mousse. Refrigerate another hour or until fully set before serving.
Notes
- Nutrition information is not provided in the text. Ensure the jello for the topping is at room temperature before pouring to prevent a creamy layer from forming on top.


Leave a Reply