A Sweet Memory
My grandson calls these “frozen chocolate ecstasy.” I just call them wonderful. I first made them for my kids on a hot summer day. Our old fan was whirring, but it wasn’t enough. We needed something cold and sweet.
I remember my daughter’s face after her first lick. Her eyes got so wide. She looked so surprised and happy. I still laugh at that. It is a simple joy to make someone you love so happy with a little treat.
Why This Matters
Why do I share this little story? Because food is more than just eating. It is about the memories we make. A simple chocolate pop can become a happy moment you remember for years.
Making food with your own hands is a special kind of magic. You are creating happiness. That is a feeling you can’t buy at any store. What is a food memory that makes you smile?
Let’s Make Some Magic
This recipe is so easy. You just whisk the pudding mix and cold milk. Keep whisking for about five minutes. You will see it get nice and thick. Doesn’t that smell amazing?
Then, you pour the thick pudding into the molds. Do not forget the sticks. Push them in before you freeze everything. This part is very important. The freezer does the rest of the work for you.
A Little Kitchen Secret
Getting the pops out can be tricky. Do not pull them. Just dip the mold in warm water for about 30 seconds. This loosens them right up. They will slide out perfectly.
Fun fact: The first popsicles were invented by an 11-year-old boy. He left his drink outside with a stick in it. It froze. He called it the “Epsicle.” Isn’t that a fun story?
Your Turn to Share
I love seeing what you all create. It makes my day. Will you be making these for yourself or for friends? Tell me who you would share these with.
This recipe matters because it brings people together. It is a small act of kindness. A cold, homemade treat on a hot day says “I care about you.” That is a beautiful thing. Do you prefer chocolate pops or fruity ones?

Ingredients:
| Ingredient | Amount | Notes |
|---|---|---|
| chocolate instant pudding mix | 5.9 ounce | |
| cold milk | 3 cups | |
| popsicle sticks | 10 | |
| popsicle molds | for 10 popsicles |
My Favorite Frozen Chocolate Ecstasy
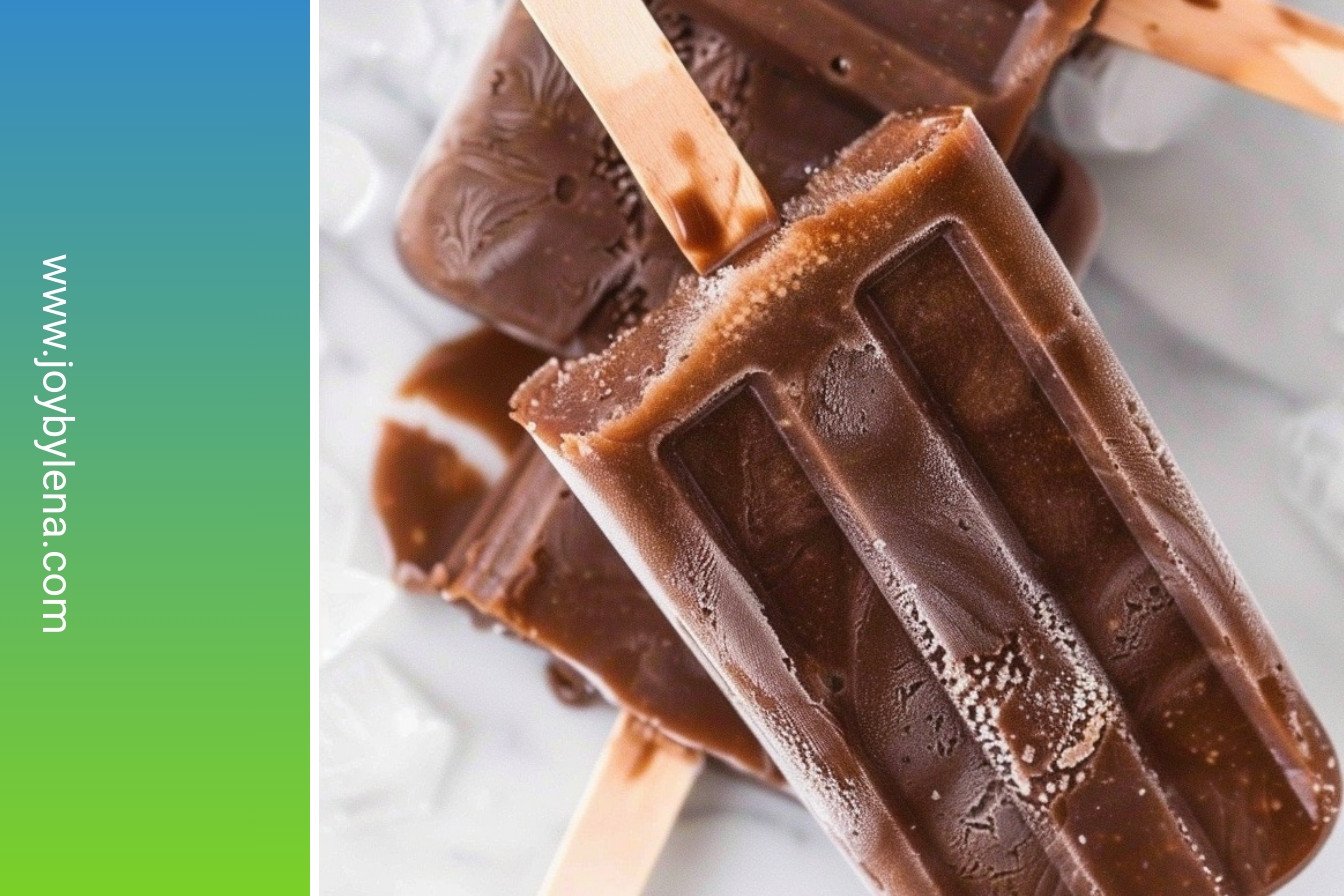
Let me tell you about my chocolate ice pops. My grandson calls them frozen ecstasy. I just call them pure joy. They are the easiest, creamiest treat you will ever make. I love how they make a hot afternoon feel special. Doesn’t that sound wonderful?
- You only need a few simple things. Grab a box of chocolate instant pudding and some cold milk.
- You will also need popsicle molds and sticks.
- I still laugh at the time I used paper cups. Let’s just say it was a messy lesson!
Step 1: Make the Pudding
Whisk the mix and cold milk together. Keep whisking for about five minutes. You will see it get nice and thick. I always do a little taste test here. It reminds me of licking the spoon as a kid.
Step 2: Fill the Molds
Now, carefully pour the pudding into your molds. Try not to drip any on the counter. I like to use a liquid measuring cup for this. It has a spout and makes pouring so much easier. My hard-learned tip: fill the molds on a baking sheet. This catches any drips on the way to the freezer!
Step 3: Add the Sticks
Time for the sticks. Push them firmly into the center of each mold. Make sure they stand up straight. If they tilt, your pop will be lopsided.
Step 4: Freeze Thoroughly
Patience is key now. Place the molds in the freezer. Let them get very firm for about eight hours. I know, waiting is the hardest part. But trust me, it is worth it.
Step 5: Unmold the Pops
To get your pops out, dip the molds in warm water. Just for thirty seconds. This loosens them right up. It’s like magic. I love that little pop sound when they let go.
Step 6: Store and Enjoy
Remove your beautiful fudgesicles. Place them on a parchment-lined pan to store. Then you can grab one anytime you need a cool, chocolatey hug.
| Cook Time | 8 hours |
| Total Time | 8 hours 15 minutes |
| Yield | 10 servings |
| Category | Dessert, Snack |
Let’s Get Creative with Your Pops!
Once you master the basic recipe, you can have some fun. I love adding little surprises to my pops. It makes each one a tiny adventure. Here are a few of my favorite twists.
Cookie Crunch
Stir in a handful of crushed chocolate sandwich cookies. It adds a wonderful, crunchy texture.
Peanut Butter Swirl
Drop little spoonfuls of peanut butter into the mold. Then pour the pudding over it. You get a delicious marbled effect.
Minty Fresh
Add a few drops of peppermint extract to the pudding. It tastes just like a cool, chocolatey candy cane.
Which one would you try first? Comment below!
Serving Your Frozen Masterpiece
These pops are perfect all on their own. But you can make them extra special. I like to roll the frozen pop in some colorful sprinkles. It makes me smile. You could also drizzle them with a little melted chocolate. Doesn’t that sound fancy?
For a drink pairing, I have two ideas. A tall, frosty glass of milk is the classic choice. It just feels right. For the grown-ups, a small glass of coffee liqueur on the side is a real treat. The flavors are so good together.
Which would you choose tonight?

Keeping Your Chocolate Pops Perfect
These chocolate pops store beautifully in the freezer. Just keep them on that parchment-lined pan. This stops them from sticking together.
You can make a big batch for the whole week. It saves you time on hot days. I remember my first batch melted everywhere.
I did not let them freeze long enough. Now I always set a timer. This matters because a little planning makes summer treats easy.
Have you ever tried storing it this way? Share below!
Easy Fixes for Common Popsicle Problems
Is your pudding too runny? Whisk it for the full five minutes. This helps it thicken properly for freezing.
Struggling to get the pop out? Do not skip the warm water bath. I once broke a stick trying to pull one out. This matters because a good technique builds your kitchen confidence.
Are the sticks falling over? Let the pudding thicken a bit before adding them. A thicker base holds the stick straight. This gives you a perfect pop every time.
Which of these problems have you run into before?
Your Chocolate Pop Questions Answered
Q: Can I make these gluten-free? A: Yes, just use a gluten-free pudding mix. Always check the package label.
Q: Can I make them ahead? A: Absolutely. They are perfect for making the night before a party.
Q: What if I do not have pudding mix? A: You can mix cocoa powder with milk and a little sugar.
Q: Can I double the recipe? A: Of course. Just make sure you have enough molds for all that goodness.
Q: Any fun add-in ideas? A: Try adding mini marshmallows for a s’mores twist. *Fun fact: The first popsicle was invented by an 11-year-old!*
Which tip will you try first?
A Sweet Note From My Kitchen
I hope you love these cool, chocolatey treats. They always remind me of my grandkids visiting. Their happy faces make my day.
I would love to see your creations. Sharing food is like sharing a little bit of joy. It makes the kitchen feel full of life.
Have you tried this recipe? Tag us on Pinterest!
Happy cooking!
—Lena Morales.

Chocolate Ice Pops: Frozen chocolate ecstasy.:
Description
Indulge in frozen chocolate ecstasy with these easy, creamy chocolate ice pops. A rich and decadent homemade treat perfect for beating the summer heat.
Ingredients
Instructions
- Prepare the pudding according to package instructions: whisk together pudding mix and cold milk for about 5 minutes or until thickened.
- Transfer the pudding mix into popsicle molds.
- Be sure to insert the popsicle sticks into the filled molds before freezing.
- Freeze the fudgesicles for about 8 hours until very firm.
- Dip the molds into warm water for about 30 seconds to help loosen the fudgesicles from the molds.
- Remove the fudgesicles from the molds and place them on a sheet pan lined with parchment paper to store in the freezer.


Leave a Reply