
My No-Bake Secret
I love a dessert that does not need an oven. This one is my secret for hot days. You just mix, layer, and chill. It is so easy and so creamy.
My grandson calls it “cloud cake.” I think that is the perfect name. Every spoonful feels light and dreamy. What is your favorite no-bake treat?
The Crunchy Bottom Layer
We start with the crust. You crush those golden Oreos into fine crumbs. Then you mix them with melted butter. It should feel like wet sand.
Press this mix firmly into your dish. A good crust matters. It holds all the creamy layers on top. I still laugh at the time I used a cup to press it down. The cup got stuck!
The Dreamy Middle Parts
Next is the fluffy cream cheese layer. Beat the cream cheese and sugar until it is smooth. Then fold in the Cool Whip. Doesn’t that smell amazing?
After that, you make the pudding layer. Just whisk the mix with milk. Watch it get thick right in the bowl. *Fun fact: Instant pudding was invented in the 1930s. It was a kitchen miracle!*
Why Patience Pays Off
The hardest part is waiting. You must let it chill for at least an hour. This waiting time is important. It lets the flavors become friends.
This matters because it teaches us a little patience. Good things come to those who wait. Do you find it hard to wait for dessert too?
A Dessert for Sharing
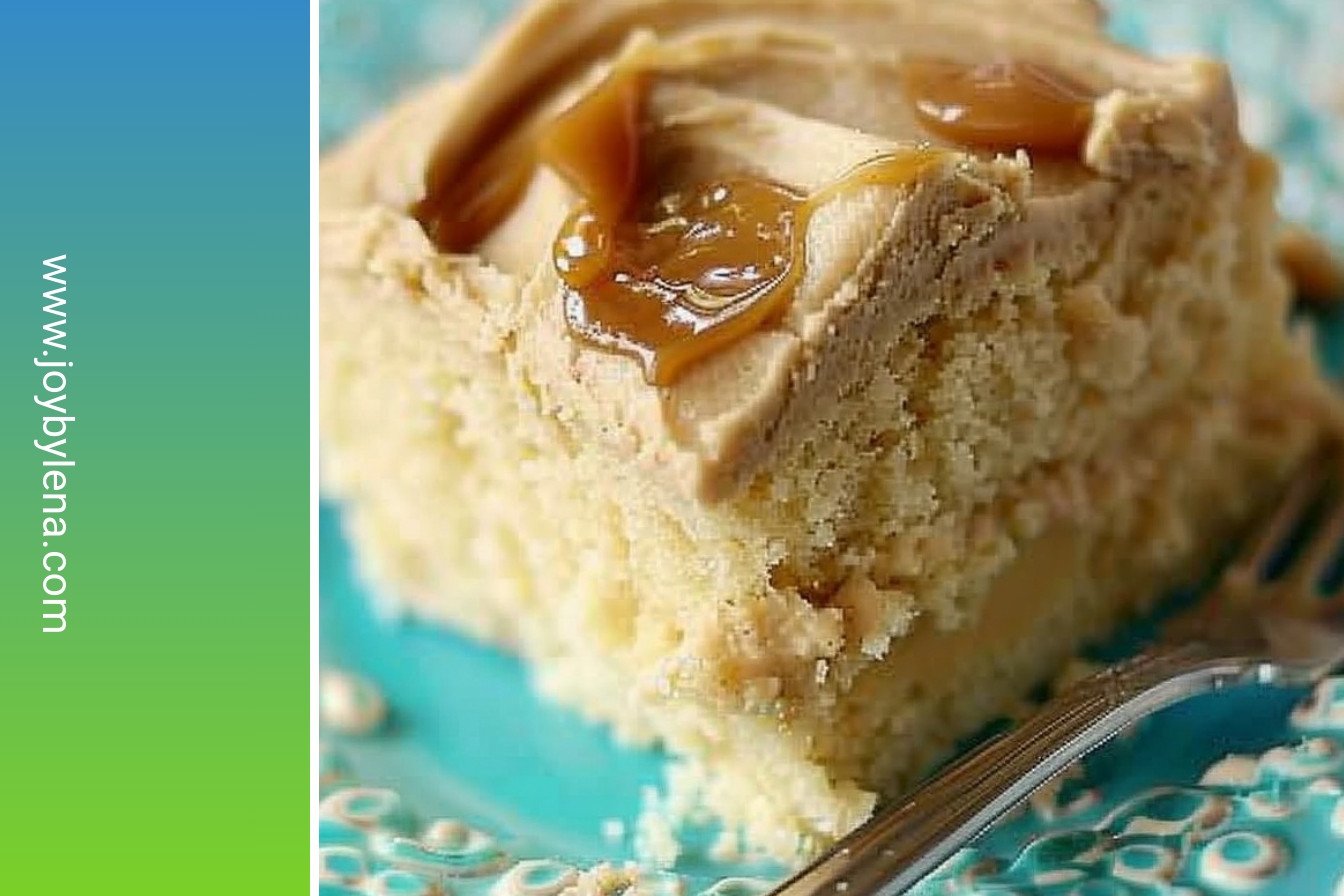
When it is finally ready, cut it into squares. I love to see everyone’s face when they take the first bite. It brings people together.
That is the real magic of this dessert. It is not just about eating. It is about sharing a sweet moment with people you love. Will you make this for a special person this week?

Ingredients:
| Ingredient | Amount | Notes |
|---|---|---|
| Golden Oreo cookies | 14.3 ounces | |
| Butter | ½ cup | melted |
| Cream cheese | 8 ounces | softened |
| Powdered sugar | 1 cup | |
| Cool Whip | 16 ounces | divided |
| Instant white chocolate pudding mix | 6.8 ounces | |
| Milk | 3 cups | |
| White chocolate curls | for optional garnish |
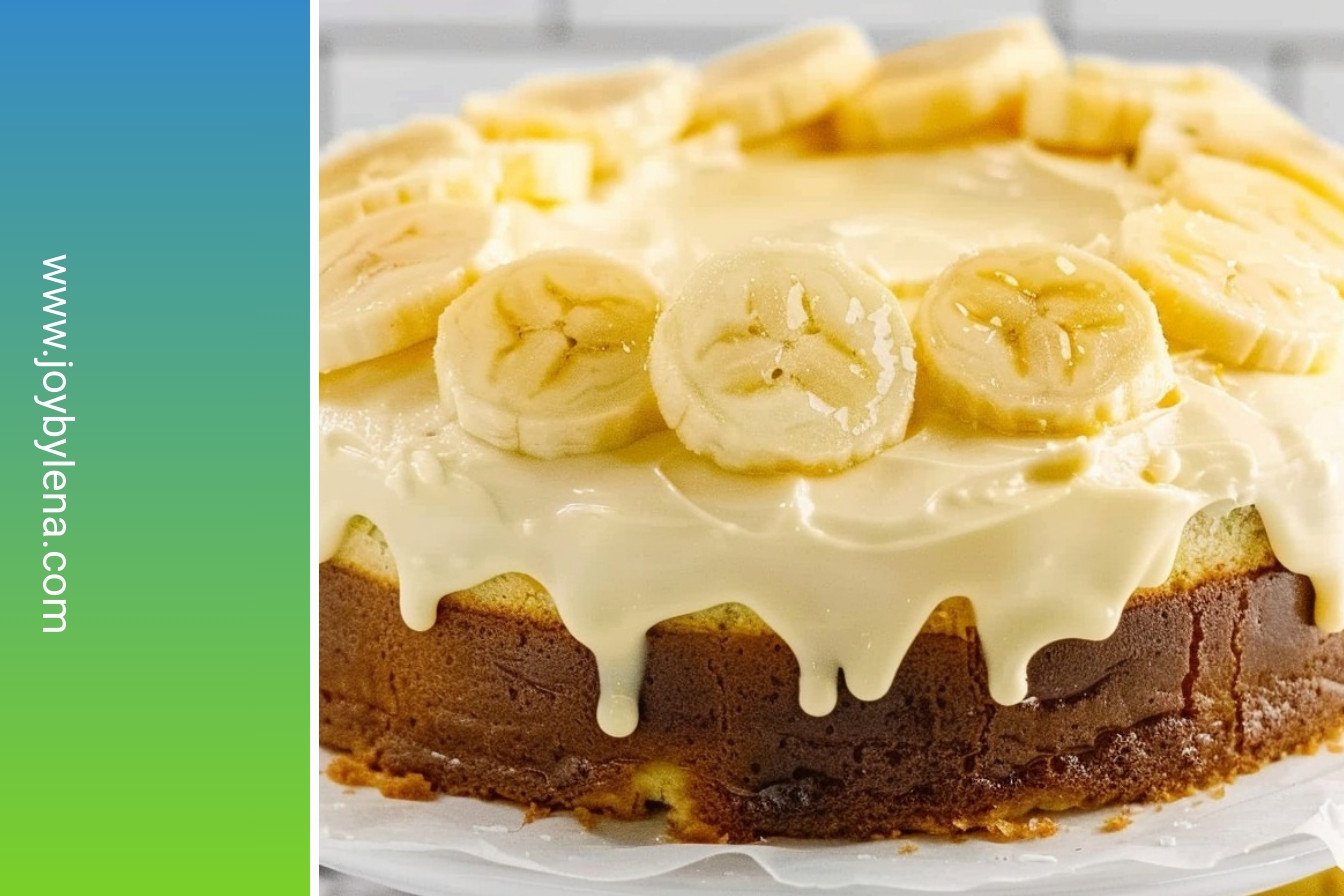
My No-Bake Creamy Dream Slice
Oh, this dessert is pure magic. It reminds me of my grandson’s face at his last birthday party. His eyes got so wide with happiness. This slice is cool, creamy, and so easy to make. You don’t even need to turn on the oven. Doesn’t that sound perfect for a warm day?
Let’s get our pan ready. I use my trusty old 9×13 dish for this. A little butter on the bottom keeps everything from sticking. It’s the first step to a perfect dessert. I still laugh at the time I forgot this step. What a sticky mess that was!
Step 1: Make the Crust
Grab your food processor. We need to turn those golden Oreos into soft crumbs. Listen to that whirring sound. It means we are getting started. (A hard-learned tip: If you don’t have a processor, put the cookies in a bag. Then crush them with a rolling pin. It works just fine and is fun!)
Step 2: Press the Crust
Pour the melted butter into the crumbs. Pulse it a few times. The mixture should look like wet sand. This will be our crust. Press it firmly into the bottom of your dish. Then pop it in the freezer. This chills the crust and makes it strong.
Step 3: The Creamy Layer
Now for the creamy layer. Beat the soft cream cheese and powdered sugar together. Keep going until it’s fluffy and smooth. Then, fold in half of the Cool Whip. Doesn’t that look dreamy? Spread this carefully over your cold crust. Back into the freezer it goes.
Step 4: The Pudding Layer
Time for the pudding. In a big bowl, whisk the pudding mix and milk. You will see it get thick right away. I love how it smells like sweet white chocolate. Spread this over the cream cheese layer. Be gentle so the layers stay pretty.
Step 5: The Final Touches
Almost done! Take the rest of the Cool Whip. Spread it over the top like a soft white blanket. You can add pretty white chocolate curls now. I think they make it look so special. Then, the hardest part begins. You must wait for it to chill in the fridge. What’s the hardest part of waiting for a dessert? Share below!
| Cook Time | No cook time! |
| Total Time | 1 hour 30 minutes (includes chilling) |
| Yield | 12 generous slices |
| Category | Dessert |
Three Fun Twists to Try
This recipe is like a blank canvas. You can paint it with so many flavors. My family loves when I change it up. Here are a few of our favorite ideas. They are all so simple and delicious.
Lemon Sunshine
Use lemon pudding instead of white chocolate. It becomes so bright and zesty. It tastes like a cool summer day.
Cookie Carnival
Crush different cookies for the crust. Try chocolate sandwich cookies or even gingersnaps. Each bite is a fun surprise.
Berry Burst
After the Cool Whip top, add fresh raspberries or sliced strawberries. The red and white looks so pretty. It adds a little fruity tartness too. Which one would you try first? Comment below!
Serving Your Slice of Heaven
Presentation is part of the fun. I love using a thin metal spatula to lift out each piece. It gives you such clean, beautiful layers. Serve it on a pretty plate. Maybe add a mint leaf on the side for a touch of green.
This dessert is rich, so what do you drink with it? A hot cup of coffee cuts through the sweetness perfectly. For a special treat, a glass of cold milk is always a winner. For the grown-ups, a sweet Moscato wine pairs wonderfully. Which would you choose tonight?

Keeping Your Slice Perfectly Dreamy
This dessert needs to stay cold. Always keep it in the fridge. Cover the dish tightly with plastic wrap.
You can freeze it for up to a month. Just cut it into slices first. I once froze a whole tray. It was so hard to cut later.
Thaw frozen slices in the fridge for a few hours. This keeps the layers from getting soggy. Storing food well means no waste.
You can make a double batch for a party. It saves you time later. Have you ever tried storing it this way? Share below!
Easy Fixes for Common Slice Troubles
Is your crust too crumbly? Press it down very firmly. Use a measuring cup to help you. A solid crust holds everything together.
Is the cream cheese lumpy? Let it get soft first. I remember when I used cold cream cheese. The lumps never went away.
Is the pudding too runny? Just keep whisking. It will thicken up, I promise. Fixing small problems builds your cooking confidence.
This makes the final flavor so much better. Every layer should be just right. Which of these problems have you run into before?
Your Slice Questions, Answered
Q: Can I make this gluten-free? A: Yes! Use gluten-free cookies for the crust. Everything else is usually safe.
Q: How far ahead can I make it? A: You can make it a full day ahead. The fridge makes it even better.
Q: What can I use instead of Cool Whip? A: You can use real whipped cream. Just whip it until it is stiff.
Q: Can I make a smaller portion? A: Absolutely. Just cut the recipe in half. Use a smaller square dish.
Q: Is the garnish important? A: No, it is just for fun. The dessert is delicious without it. Which tip will you try first?
A Sweet Note From My Kitchen
I hope you love making this creamy slice. It always brings a smile to my table. Sharing food is a way to share love.
Fun fact: The first no-bake desserts became popular when refrigerators did! I would love to see your creation. Have you tried this recipe? Tag us on Pinterest!
Happy cooking!
—Lena Morales.

No-Bake Creamy Dessert Slice: Silky, dreamy, no-fuss perfection.:
Description
No-bake creamy dessert slice recipe! This silky, dreamy treat is pure no-fuss perfection. So easy & delicious. Your new favorite dessert is waiting.
Ingredients
Instructions
- Butter or grease a 9×13-inch rectangular dish and set aside.
- In the bowl of a food processor, chop the Oreo cookies until they are fine crumbs. Add the melted butter and pulse several times until the cookie crumb mixture is evenly combined.
- Press the cookie crumbs into the prepared dish and place them in the freezer while preparing the next layer.
- Beat cream cheese and powdered sugar until fluffy, 1-2 minutes. Add in half of the 16-ounce container of Cool Whip and beat until thoroughly combined.
- Spread the cream cheese layer over the chilled cookie crust and return the dish to the freezer.
- In a large bowl, whisk both packages of pudding mix and 3 cups of milk until the pudding thickens. Spread the pudding layer over the cream cheese layer.
- Top the white chocolate lasagna with the remaining Cool Whip.
- Garnish with white chocolate curls. Refrigerate for at least 1 hour before cutting and serving to allow the layers to firm up.
Notes
- Nutrition: Calories: 479kcal | Carbohydrates: 60g | Protein: 6g | Fat: 25g | Saturated Fat: 12g | Polyunsaturated Fat: 3g | Monounsaturated Fat: 7g | Trans Fat: 0.3g | Cholesterol: 53mg | Sodium: 924mg | Potassium: 190mg | Fiber: 1g | Sugar: 33g | Vitamin A: 655IU | Calcium: 146mg | Iron: 1mg


Leave a Reply