The Best Kind of Kitchen Magic
I have always loved recipes that feel like magic. This one is just like that. You start with simple things from the fridge. A little while later, you have a creamy, dreamy dessert.
It reminds me of making mud pies as a kid. But this tastes much, much better. I still laugh at how easy it is to make something so special. What is your favorite magic recipe that surprises you?
A Little Story About Coconut
My grandson tried this for the first time last summer. He saw the fluffy white coconut and said it looked like snow. He asked if we could build a snowman with it.
We did not build a snowman. But we did have a great laugh. And he ate two whole bars. Sharing food creates the best memories. This is why cooking for people matters so much. It is about more than just a full belly.
Lets Talk About That Crust
Do not worry if your crust shrinks a little in the pan. Mine does that every single time. It is just getting comfortable, like a sleepy cat.
Pricking it with a fork is very important. It lets the steam out. This stops the crust from puffing up too much. Have you ever had a crust puff up on you? It is a funny sight.
The Creamy Dreamy Part
Whisking the pudding is my favorite step. You watch the milk turn thick and sweet. Adding the coconut extract makes the whole kitchen smell like a tropical island.
Doesnt that smell amazing? Fun fact: Toasting coconut makes it taste nutty and warm. It is a simple step that makes the whole dessert taste special. This shows us that a little extra effort can bring a lot of joy.
Putting It All Together
The freezer is your friend here. It makes everything firm and cool. That cold bite on a warm day is pure happiness.
When you sprinkle the toasted coconut on top, it looks so pretty. It is like you are an artist. I love recipes that let you be creative. What is your favorite dessert to make for a hot day?
Ingredients:
| Ingredient | Amount | Notes |
|---|---|---|
| refrigerated pie crust | 1 roll | at room temperature |
| coconut cream instant pudding mix | 3.4 ounces | |
| whole milk | 2 cups | |
| coconut extract | 1 teaspoon | optional |
| sweetened flaked coconut | 2 cups | divided in half |
| frozen whipping topping | 8 ounces | thawed |
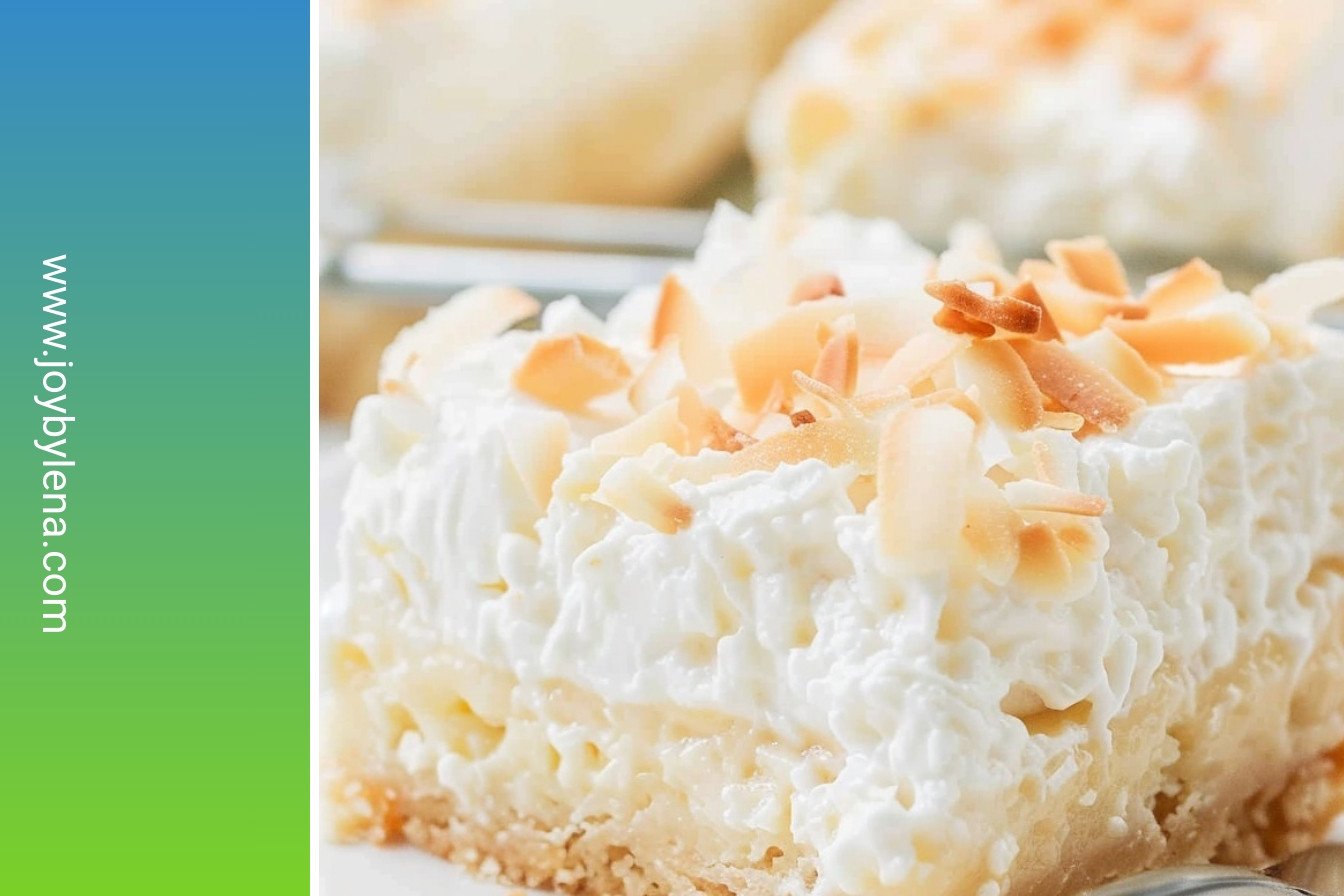
Easy Coconut Dream Bars: A Sweet Little Story
Hello, my dear! Come sit with me in the kitchen. I want to share a recipe for my Easy Coconut Dream Bars. They are pure creamy bliss. My grandson calls them little bites of heaven. I still laugh at that. They are so simple to make. We use a few clever shortcuts. It feels like we are getting away with something.
The best part is the toasted coconut on top. It smells amazing when it’s in the oven. It makes the whole house feel warm and cozy. Let’s make some memories together. Are you ready? Here is how we make them.
Ingredients
- 1 pre-made pie crust
- 1 (3.4 oz) package instant vanilla pudding mix
- 1 ½ cups cold milk
- ½ teaspoon coconut extract (optional)
- 2 cups sweetened flaked coconut, divided
- 1 (8 oz) container frozen whipped topping, thawed
Instructions
Step 1: First, let’s get our crust ready. Preheat your oven to 450°F. Take your pie crust and unroll it. Gently press it into an 8×8-inch glass dish. Make sure it goes up the sides a little bit. Don’t worry if it’s not perfect. My crust always shrinks back a little. It’s just its way.
Step 2: Now, take a fork and prick the crust all over. This lets the steam out while it bakes. It keeps the crust from puffing up too much. (My hard-learned tip: Always use a glass dish here. You can see the bottom get golden brown.) Bake it for about 10 to 12 minutes. Then let it cool completely. This is very important!
Step 3: While the crust cools, we make the dreamy filling. In a bowl, whisk the pudding mix with the milk. Add that coconut extract if you have it. It makes the flavor pop! Whisk for a few minutes until it gets thick. I love watching it transform. It’s like magic, isn’t it?
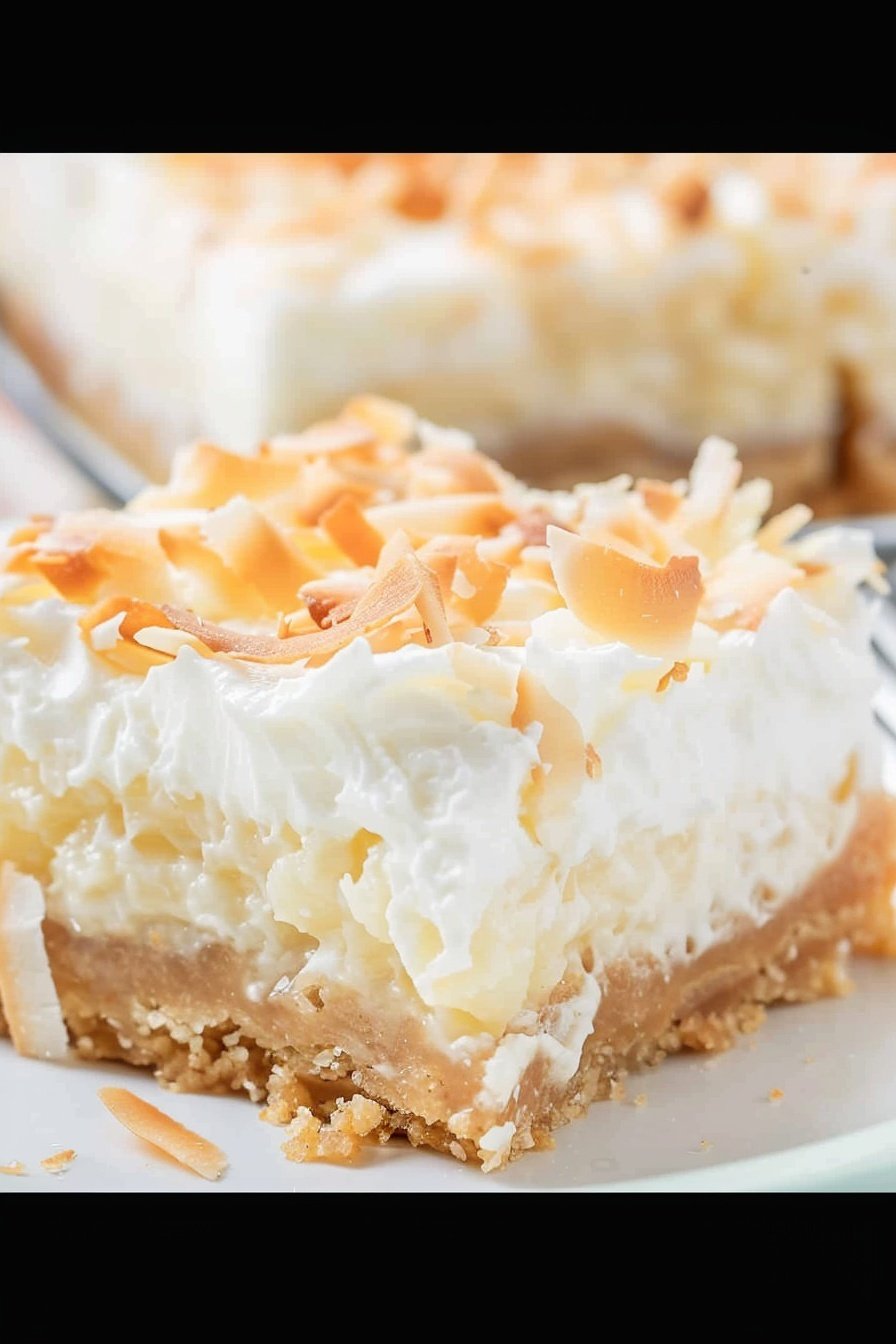
Step 4: Stir in one cup of the flaked coconut. This gives our filling a wonderful chewy texture. Now, spread this creamy mixture over your cooled crust. Be gentle so you don’t break the crust. Next, spread the thawed whipped topping over the pudding. Doesn’t that look beautiful already?
Step 5: Pop the whole dish into the freezer for about 30 minutes. This helps it set. Now, for the fancy part! Spread the last cup of coconut on a pan. Toast it in the hot oven for 5-8 minutes. Watch it closely! It can burn so fast. Stir it every few minutes. What’s your favorite nutty-smelling food? Share below!
Step 6: When the coconut is golden, take it out right away. Let it cool. Then, sprinkle it all over our chilled pie. The toasted bits are the best part. Finally, cut it into squares and serve. I promise, everyone will ask for the recipe.
Cook Time: 12min
Total Time: 1hr 12mins
Yield: 9 servings
Category: Dessert
Let’s Get Creative with Your Coconut Bars
Once you know the basics, you can have so much fun. I love playing with this recipe. You can make it taste a little different each time. It keeps things exciting. Here are a few of my favorite twists. They are all so simple and delicious.
Tropical Vacation: Mix in some crushed pineapple with the pudding. It adds a sunny, fruity zing.
Chocolate Lover’s Dream: Drizzle melted chocolate over the toasted coconut at the end. Oh my!
Nutty Crunch: Stir some chopped macadamia nuts into the coconut filling. It gives a wonderful crunch.
I can never decide which version I love the most. They are all so good in their own way. Which one would you try first? Comment below!
Serving Your Little Pieces of Paradise
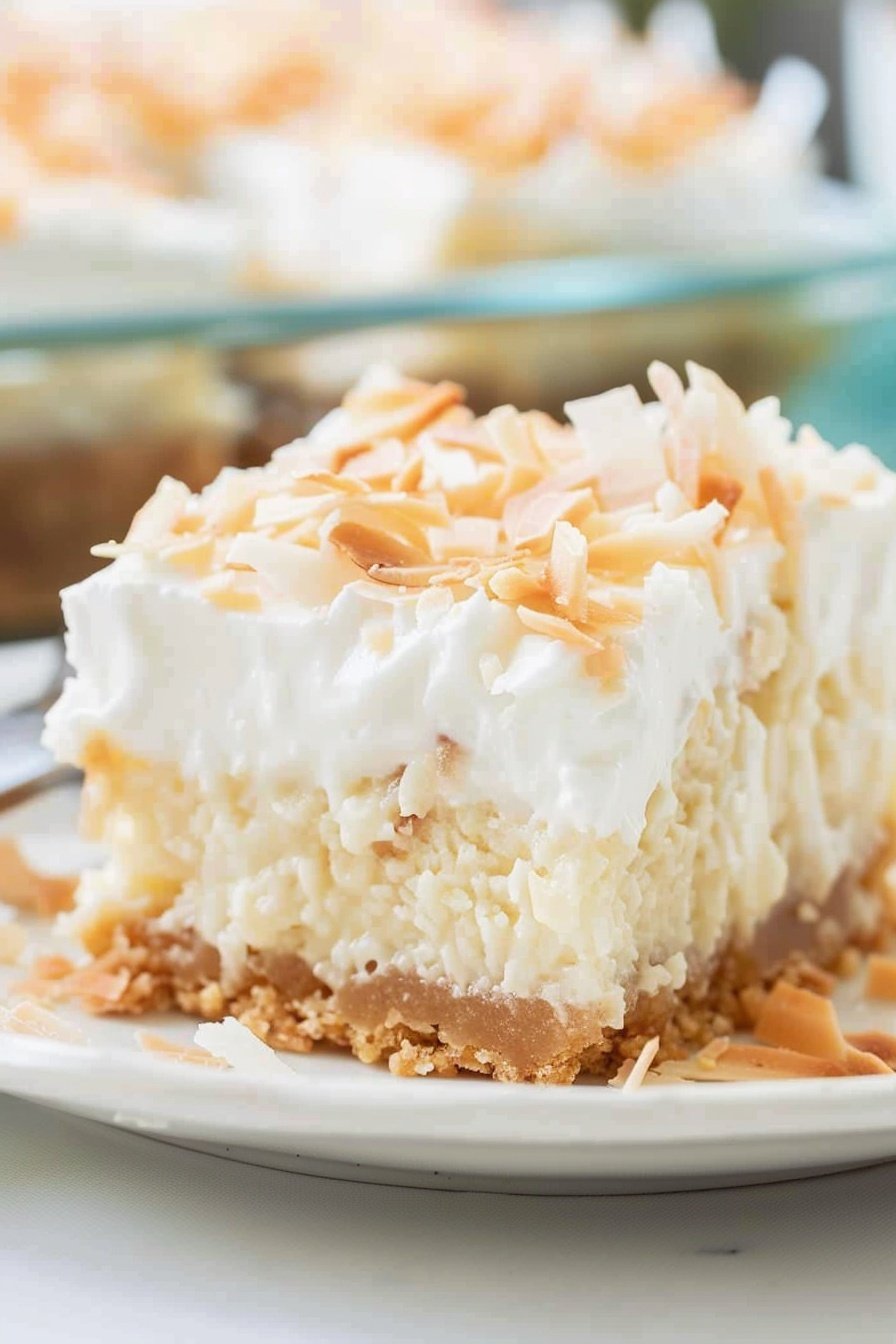
These bars are wonderful all on their own. But you can make them extra special. I like to serve them on a pretty plate. A little dollop of extra whipped topping never hurts. A fresh strawberry on the side makes it look so fancy. It’s a perfect dessert for a sunny afternoon.
Now, what should we drink with our coconut dream? A cup of hot coffee is lovely with the sweet coconut. For a real treat, a glass of cold Riesling wine is nice. For the kids, a tall glass of cold milk is just perfect. It all depends on the mood. Which would you choose tonight?
Keeping Your Coconut Dream Bars Perfect
These bars are best kept cold. Cover the pan tightly with plastic wrap. Then place it in the fridge for up to three days. The crust will stay nice and crisp this way.
You can also freeze them for a sweet treat later. Cut the bars first and wrap each one. I once forgot a whole pan in my freezer for a week. It was a happy surprise for my grandson’s visit.
Batch cooking saves you time on a busy day. Make two pans and freeze one for later. This matters because a ready-made dessert brings joy with no stress. Have you ever tried storing it this way? Share below!
Fixing Common Coconut Bar Troubles
Is your crust shrinking too much? Always press it high up the sides of the dish. I remember when my crust shrank into a little square. Now I press it up real good.
Is the pudding too runny? Just keep whisking for the full three minutes. This patience makes the filling set up creamy and perfect. Is your toasted coconut burning? Stir it every two minutes in the oven. This small step makes a big difference in flavor.
Fixing small problems builds your cooking confidence. You learn that little changes create a much tastier dessert. Which of these problems have you run into before?
Your Coconut Bar Questions Answered
Q: Can I make this gluten-free? A: Yes! Just use a gluten-free pie crust from the store.
Q: How far ahead can I make it? A: You can assemble it one day before serving.
Q: What can I use instead of coconut extract? A: Vanilla extract works just as well for a lovely flavor.
Q: Can I double the recipe? A: Absolutely. Use a 9×13-inch pan for a double batch.
Q: Is toasting the coconut optional? A: It is, but it adds a wonderful crunch. *Fun fact: Toasting coconut makes its flavor richer and nuttier.* Which tip will you try first?
Share Your Kitchen Creations
I hope you love making these dreamy bars. They always remind me of sunny days and happy kitchens. Cooking is about sharing joy with the people we love.
I would be so thrilled to see your results. It makes my day to see your family enjoying these treats. Have you tried this recipe? Tag us on Pinterest!
Happy cooking!
—Lena Morales.
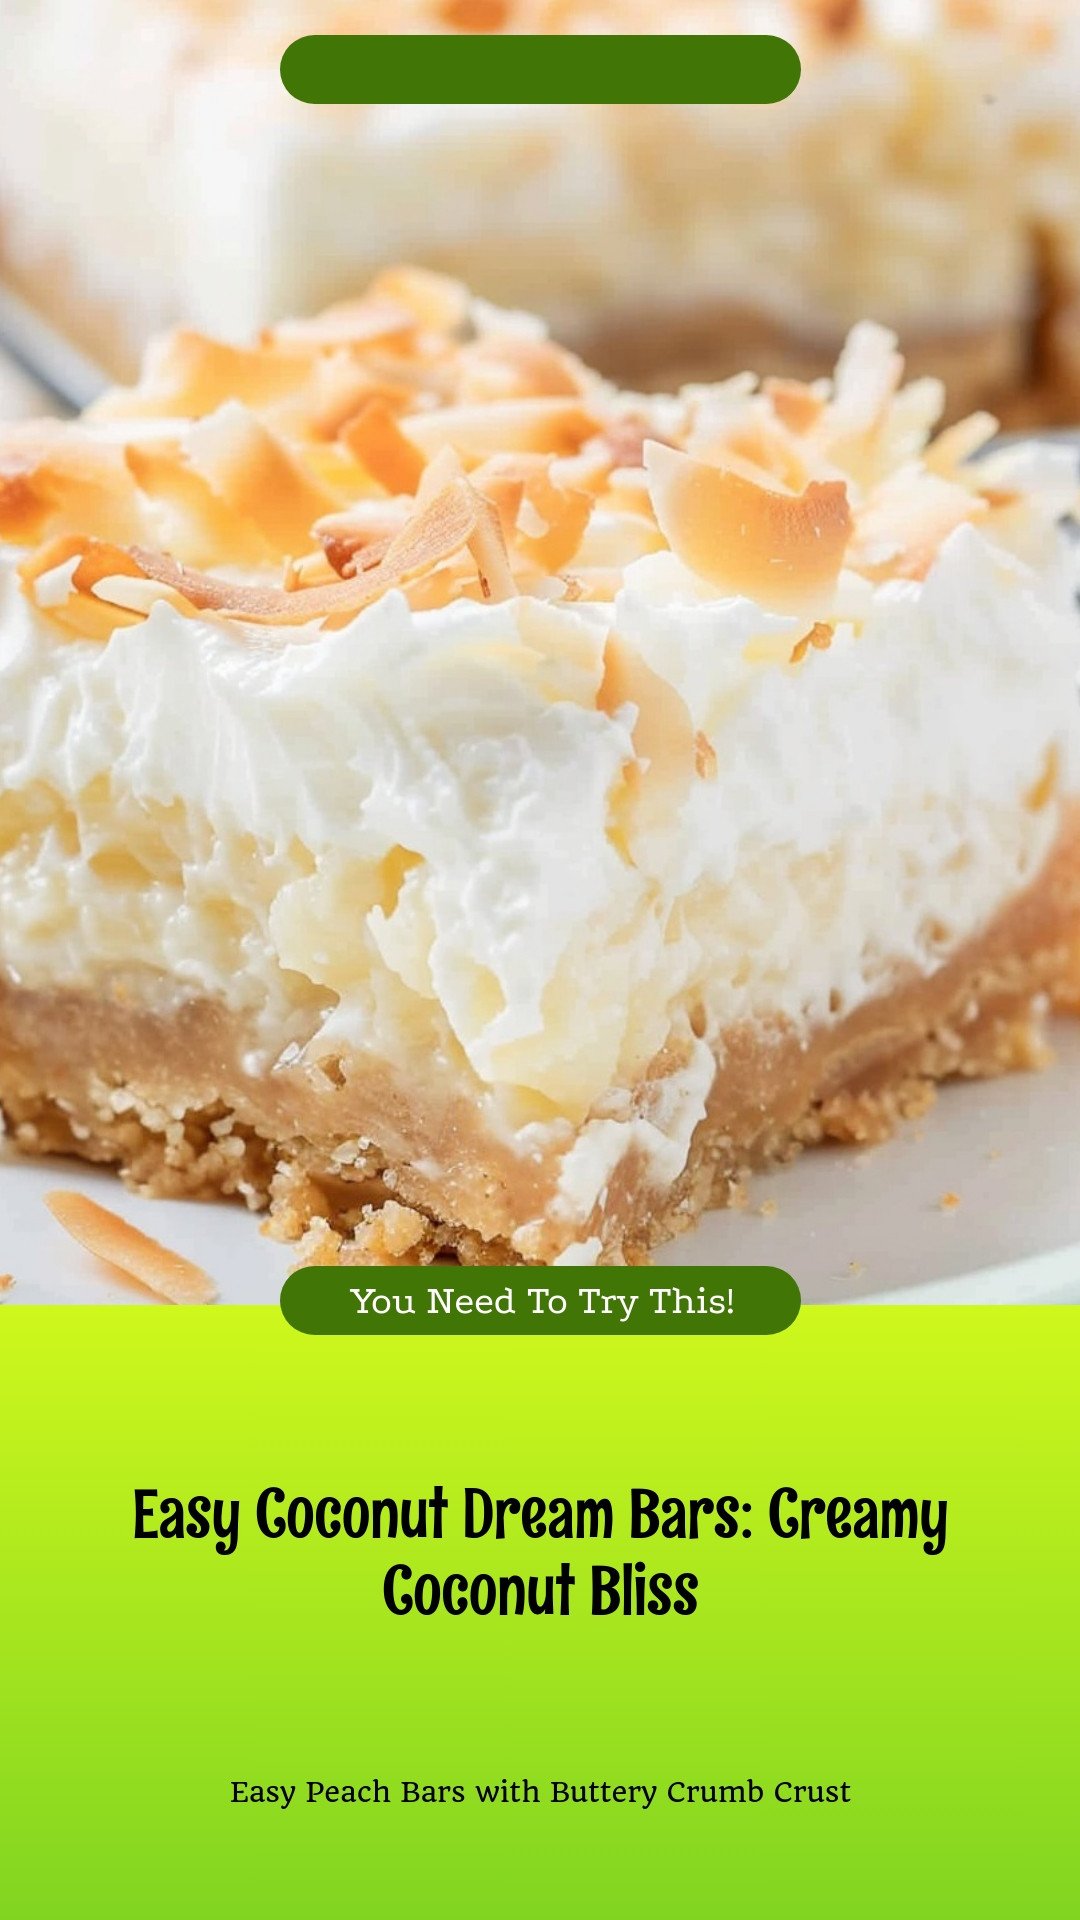
Easy Coconut Dream Bars: Creamy Coconut Bliss:
Description
No-bake Easy Coconut Dream Bars! A creamy, dreamy coconut filling on a buttery crust. The perfect simple & delicious dessert for any occasion.
Ingredients
Instructions
- Preheat the oven to 450°F.
- Unroll the pie crust and place it in an 8×8-inch square glass baking dish. Press the crust into the baking dish and shape it up the sides as far as you can press it. The crust will shrink back some during baking. Prick the bottom and sides with a fork to allow steam to escape while the crust is baking.
- Bake the crust according to package instructions, usually 10 to 12 minutes. Remove from the oven and allow it to cool completely, this will take about 15 minutes.
- Whisk together the pudding mix, milk, and coconut extract (if desired). Whisk for 3 to 5 minutes or until the mixture begins to thicken.
- Whisk in 1 cup of flaked coconut, this is optional.
- Spread pudding mixture into cooled pie crust.
- Spread the thawed whipped topping over the pudding mixture.
- Place in the freezer to chill for at least 30 minutes.
- Spread the remaining cup of coconut flakes on a pie plate or small sheet pan. Bake in 450°F oven for 5 to 8 minutes, stirring every few minutes, until the coconut is golden and toasted. Remove from pan immediately and cool.
- Sprinkle toasted coconut over the chilled pie.
- Cut and serve!
Notes
- Nutrition: Calories: 304kcal | Carbohydrates: 38g | Protein: 4g | Fat: 15g | Saturated Fat: 10g | Polyunsaturated Fat: 1g | Monounsaturated Fat: 3g | Cholesterol: 7mg | Sodium: 238mg | Potassium: 196mg | Fiber: 2g | Sugar: 24g | Vitamin A: 107IU | Calcium: 91mg | Iron: 1mg


Leave a Reply