My First Cone Cake Mess
I first made these for my grandson’s birthday. I was so nervous. I filled the cones too full. The batter rose up and spilled over in the oven. It looked like a cupcake volcano. I still laugh at that.
That is why we only fill them halfway. It gives the cake room to rise. This little tip saves you from a big cleanup. Have you ever had a baking disaster like my volcano cakes? Tell me about it.
The Secret to a Super-Moist Cake
The secret is in the batter. We add sour cream and pudding mix. These two friends make the cake incredibly soft. It stays moist for days. Doesn’t that sound good?
This matters because a dry cake is a sad cake. A little extra care makes a huge difference. Your first bite will be so cloud-like. You will understand why the extra steps are worth it.
Whipping Up the Fluffy Frosting
Now for the best part, the frosting. Make sure your butter is soft. If it is too cold, your frosting will be lumpy. We want it smooth and fluffy.
Whip it on high for just 30 seconds. You will see it turn pale and light. Doesn’t that smell amazing? That clear vanilla keeps the frosting a pretty white. Fun fact: bakers use clear vanilla to keep frostings looking bright and pure white.
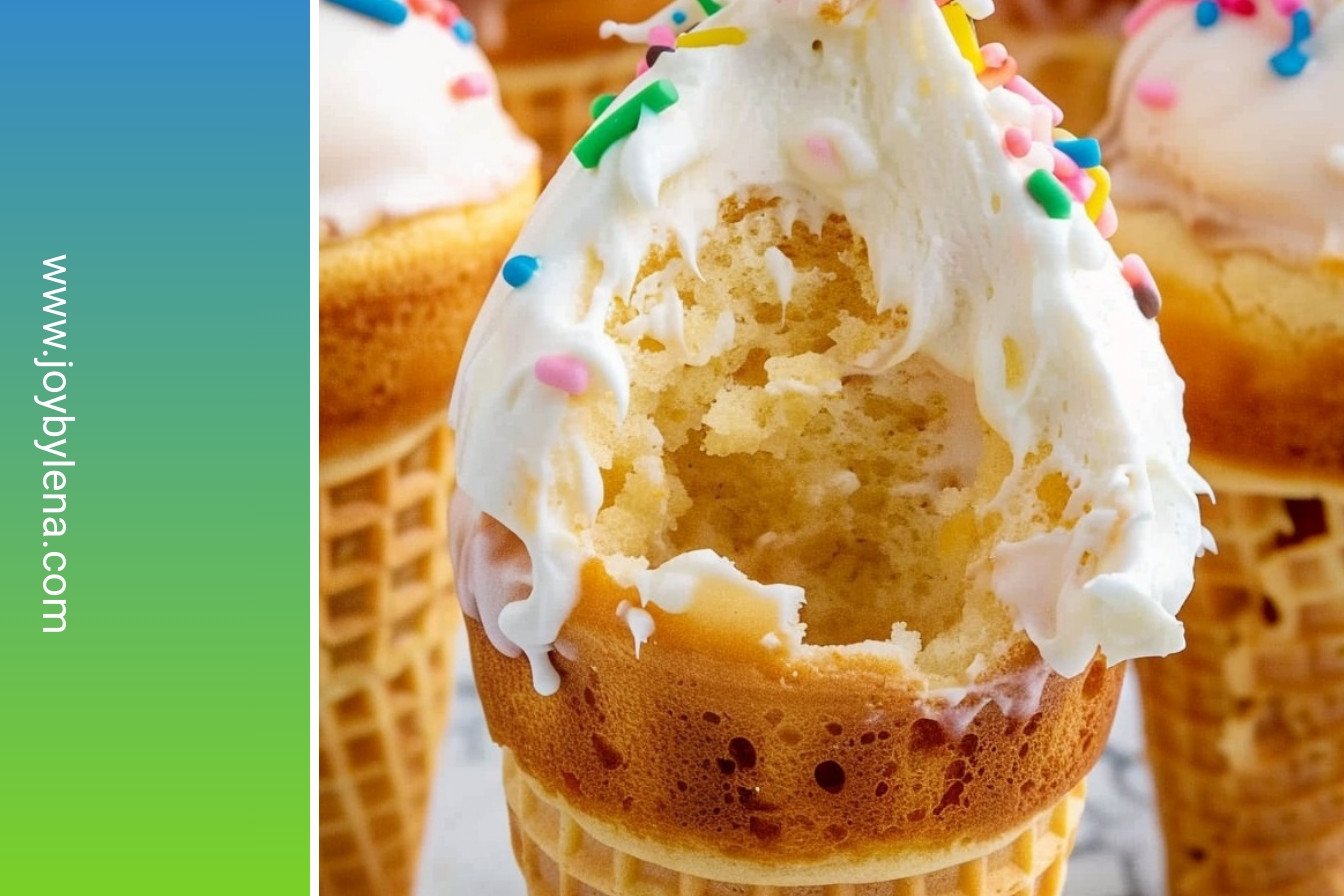
The Joy of Eating with Your Hands
I love that these are their own little holders. No plates or forks are needed. It feels fun and a little bit naughty. It reminds me of eating an ice cream cone.
This matters because food should be a joy. It is not just about taste. It is about the whole happy experience. Which do you prefer, cakes you eat with your hands or with a fork?
Your Turn to Create Some Magic
This recipe is perfect for a first-time baker. The steps are simple. The result is pure magic. I promise you can do this.
Gather your cones and your sprinkles. What color sprinkles will you choose? I always love rainbow ones. Making something with your own hands is a special kind of happiness. I hope you feel it too.
Ingredients:
| Ingredient | Amount | Notes |
|---|---|---|
| white cake mix | 15.25 ounces | |
| instant vanilla pudding | 3.5 ounces | |
| eggs | 4 large | |
| vegetable oil | 3/4 cup | |
| milk | 1/2 cup | |
| sour cream | 1 cup | |
| cake-style ice cream cones | 32 | flat-bottomed |
| Frosting | ||
| unsalted butter | 1 cup | room temperature |
| powdered sugar | 6 cups | |
| clear vanilla extract | 2 tablespoons | |
| sprinkles | as needed | |
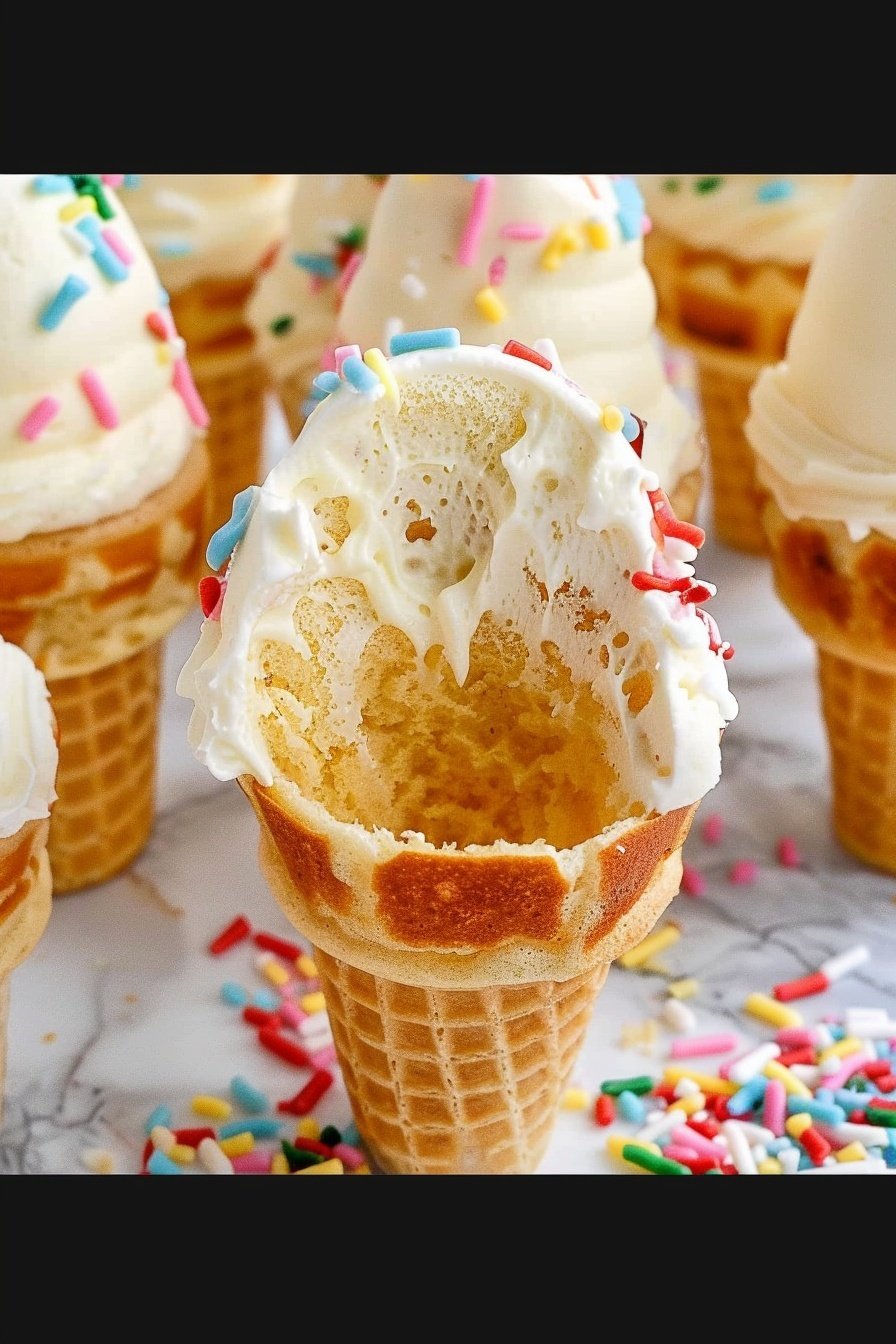
Cone Shaped Cake Treats: A Tower of Sweet Fun
Oh, these little cone cakes bring back such happy memories. My grandson, Miguel, invented them for his tenth birthday. He wanted a cake you could hold in your hand. No plates, no forks, just pure fun. I still laugh at that brilliant idea. Doesn’t that sound perfect for a party?
Let’s get our cones ready for some batter. The secret to making them super moist is the sour cream. It sounds a little funny, I know. But trust your grandma Lena on this one. It makes the cake so soft and delicious.
Step 1: First, get your oven nice and hot. We need it at 400 degrees. Now, grab a big bowl. Put everything in it: the cake mix, pudding powder, eggs, oil, milk, and sour cream. Use your mixer to blend it all together. Just mix until you don’t see dry spots anymore. (A hard-learned tip: Over-mixing makes tough cakes, so stop as soon as it’s combined!)
Step 2: Now for the fun part. Stand your ice cream cones up in a muffin pan. This keeps them from tipping over. Fill each cone about halfway with the batter. They need room to rise and become little cakes. My first time, I filled them too full. What a messy, but sweet, lesson that was!
Step 3: Carefully put the pan in your hot oven. Bake them for about 15 minutes. You’ll know they’re done when a toothpick poked in the middle comes out clean. The smell in your kitchen will be amazing. Let them cool completely on the counter. I know it’s hard to wait!
Step 4: Time for the fluffy frosting. Beat the soft butter and powdered sugar together. Start slow so the sugar doesn’t fly everywhere! Then add the clear vanilla. Whip it on high until it’s light and cloud-like. This is the best part, don’t you think? What’s your favorite frosting color? Share below!
Step 5: Scoop your frosting into a piping bag. Swirl a tall, beautiful tower on top of each cool cake. Now, cover it with colorful sprinkles. Be generous! These treats are happiest eaten the same day. The cone might get a little soft if you wait.
Cook Time: 14–16 minutes
Total Time: 45 minutes
Yield: 32 cone cakes
Category: Dessert, Snack
Let’s Mix It Up!
You can make these cone cakes your own. Try one of these fun twists next time. They are all so simple and tasty.
Fruity Surprise: Add a teaspoon of strawberry jam to the batter before baking. It makes a sweet, gooey center.
Chocolate Lover’s Dream: Use chocolate cake mix and pudding. Then, add chocolate chips to the batter for a double dose.
Cookies and Cream: Crush up some Oreo cookies. Gently fold the chunks into your vanilla batter before filling the cones.
Which one would you try first? Comment below!
Serving Your Sweet Towers
These cakes are a party all by themselves. But you can make them even more special. For a birthday, stick a small flag or a name card into the frosting. You could also set them on a cake stand to make a beautiful tower of treats.
What should you drink with them? A tall, cold glass of milk is always the best friend to cake. For the grown-ups, a sweet glass of Moscato wine pairs wonderfully. The fruity wine tastes lovely with the vanilla frosting. Which would you choose tonight?

Keeping Your Cake Cones Fresh
These cake cones are best the day you make them. The cones can get soft if you wait. Store any leftovers in a single layer on the counter. Cover them loosely with plastic wrap.
I do not recommend freezing them. The frosting does not thaw well. I learned this the hard way. My first batch turned into a sticky, weepy mess. It broke my heart to see it.
Batch cooking is a great idea for parties. You can mix the batter a day ahead. Just keep it covered in the fridge. This saves you so much time on a busy day.
Doing a little prep ahead matters. It makes hosting feel less stressful. You get to enjoy your own party too. Have you ever tried storing it this way? Share below!
Fixing Common Cake Cone Troubles
Is your batter overflowing from the cone? You are filling them too much. Only fill each cone halfway. The cake needs room to rise as it bakes.
Is your frosting too runny? Your butter might have been too soft. I remember my first runny frosting. It slid right off the cake. Just pop the bowl in the fridge for ten minutes.
Are the cones tipping over in the oven? Make sure you use flat-bottomed cones. Place them securely in a muffin pan. This keeps them standing tall and proud.
Fixing small problems builds your confidence. You learn that mistakes are okay. Getting the flavor right makes everyone smile. Which of these problems have you run into before?
Your Cake Cone Questions Answered
Q: Can I make these gluten-free? A: Yes. Use a gluten-free cake mix. Also check that your ice cream cones are gluten-free.
Q: Can I make them ahead? A: You can bake the cakes a day early. Frost them the day you plan to serve.
Q: What can I use instead of sour cream? A: Plain yogurt works just as well. It keeps the cake nice and moist.
Q: Can I make a smaller batch? A: Absolutely. Just cut all the ingredients in half. You will get about sixteen cones.
Q: Any other fun tips? A: Try different pudding flavors. Chocolate pudding makes a delicious chocolate cake. Fun fact: The first ice cream cone was made at a world’s fair! Which tip will you try first?
Bake Some Joy
I hope you love making these fun treats. They always bring a smile to my table. Seeing your creations would make my whole week.
Please share your photos with me. I would love to see your towering swirls of frosting. Have you tried this recipe? Tag us on Pinterest!
Happy cooking!
—Lena Morales.
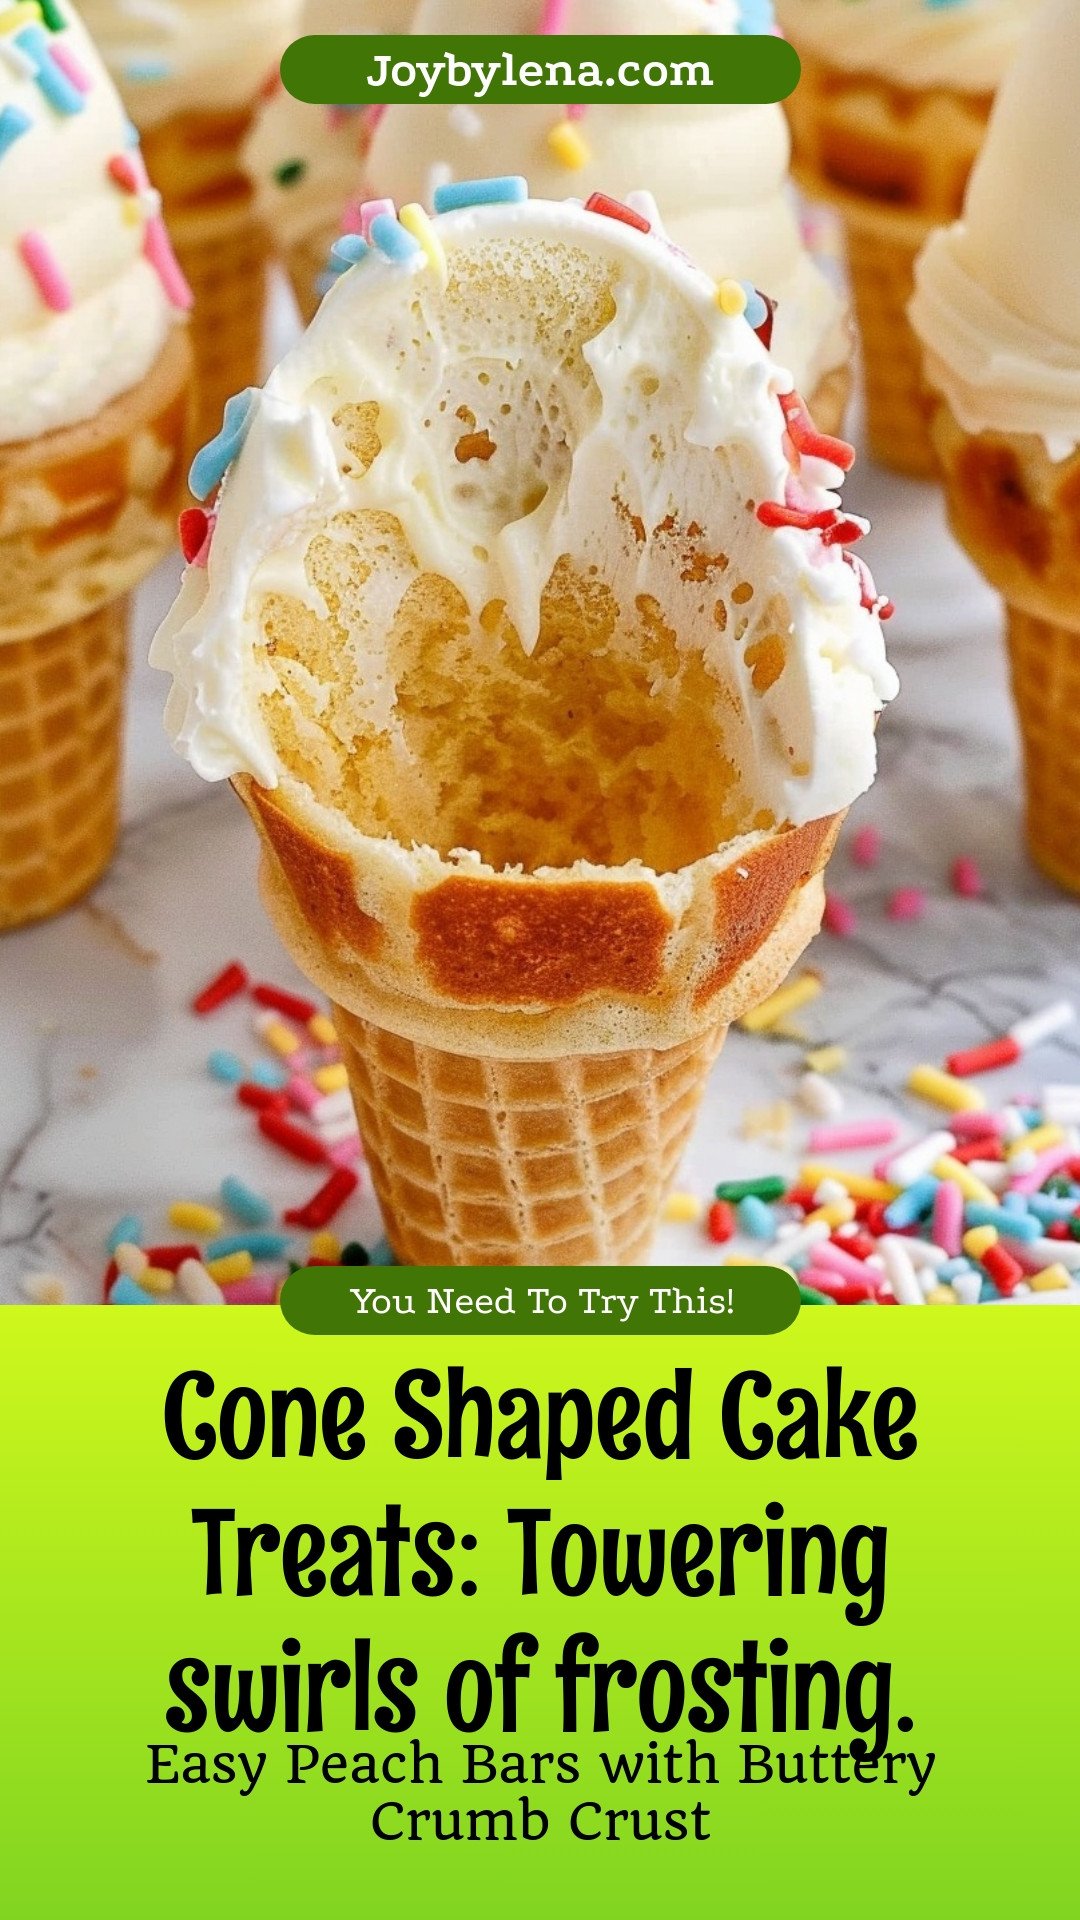
Cone Shaped Cake Treats: Towering swirls of frosting.:
Description
Discover the magic of cone-shaped cakes! These adorable treats feature towering swirls of creamy frosting, making them the perfect eye-catching dessert for any celebration. Easy, fun, and delicious!
Ingredients
=== Frosting ===
Instructions
- Preheat the oven to 400°F. In a large mixing bowl, mix together the cake mix, dry vanilla pudding mix, eggs, oil, milk, and sour cream with a hand mixer. Mix until everything is just combined, being careful not to over-mix.
- Place each ice cream cone in the well of a muffin pan. Fill each cone half full with the prepared batter.
- Bake for 14 to 16 minutes or until a toothpick inserted into the center of the cupcake comes out clean.
- Remove from the oven and let cool completely before frosting.
- In a stand mixer fitted with the whisk attachment, combine the softened butter, powdered sugar, and vanilla. Turn on low and mix until all the powdered sugar is mixed into the butter. Turn on high and whip for 30 seconds until the frosting is light and fluffy.
- Place the frosting into a piping bag fitted with a star tip. Frost the cupcakes, and top with sprinkles. These cupcakes are best served the same day they are prepared.
Notes
- These cupcakes are best served the same day they are prepared.


Leave a Reply