A Cookie Born from Love and a Little Science
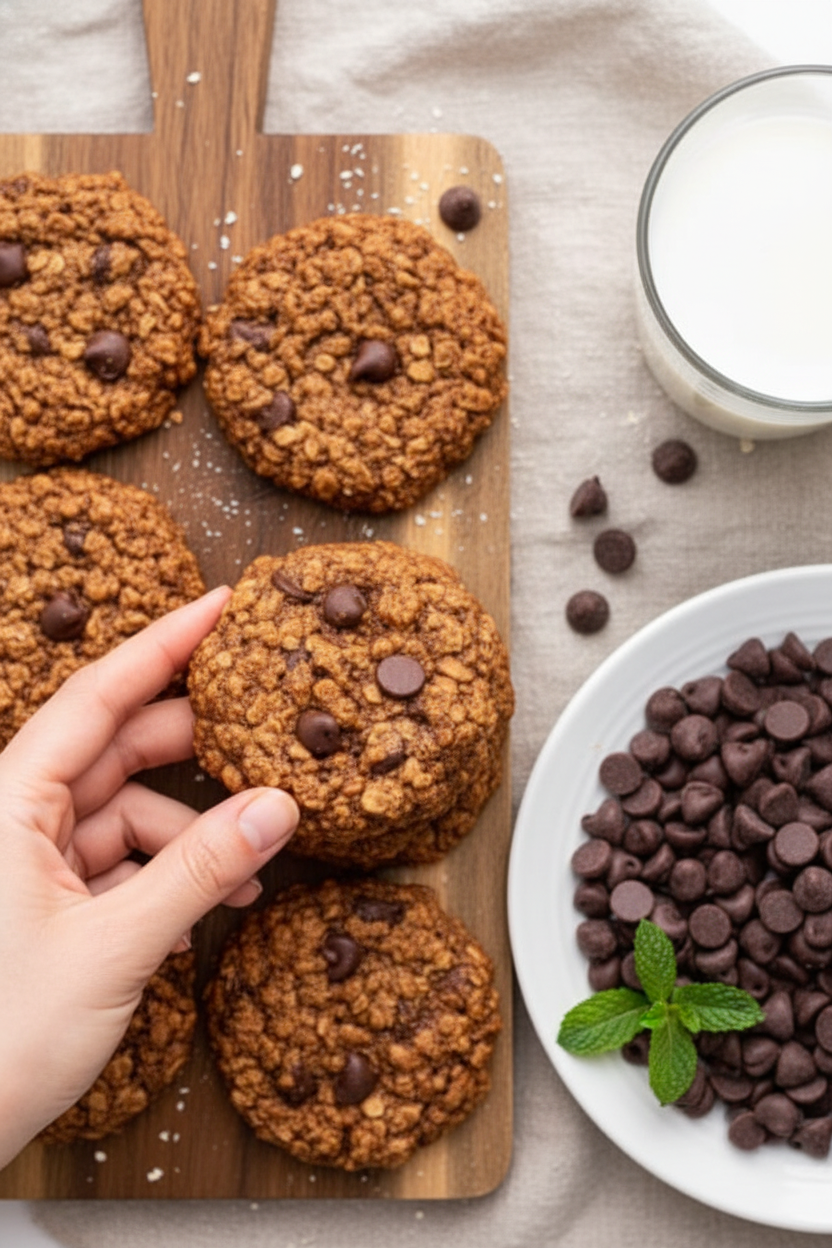
My friend Maria called me after her first baby was born. She was tired and worried about her milk supply. I told her about these cookies my own grandmother used to make for new mamas. They are not just any cookie. They have brewer’s yeast and flaxseed. These are old tricks that help some mothers make more milk. I still laugh at how surprised Maria was that a cookie could be so helpful. *Fun fact: Brewer’s yeast is the same stuff used to make beer, but don’t worry, it tastes toasty and nutty, not like a drink.* Doesn’t that smell amazing when it bakes? The cinnamon and coconut oil fill your whole kitchen with warmth. This is why these cookies matter: they are a little hug for a tired mom.The Secret Ingredient Mixing Bowl
You start by making a “flax egg.” That is just flaxseed mixed with water. It sits and gets gooey, like egg whites. I remember my grandma showing me this for the first time. She said, “See, Lena? Nature gives us everything we need.” She was right. This gooey flax holds the cookie together and adds healthy oils. Have you ever tried using flaxseed in your baking before?Why Oats and Yeast Are Your Friends
Oats are not just for breakfast. They are full of something called iron. For a new mom, iron helps her body feel strong and make good milk. The brewer’s yeast has B vitamins, which give energy. When you mix the dry oats, flour, yeast, and cinnamon, it looks like a pile of happy dust. I always let my kids sniff the cinnamon jar. This is why it matters: every single ingredient has a job to do for your body. Do you have a favorite spice you love to smell? For me, it is always cinnamon.Wet and Dry Becoming One
You mix the melted coconut oil with sugar and vanilla. It looks like golden sand. Then you add the flax egg and stir until it is smooth. My daughter always tries to sneak a lick of the spoon at this point. Next, you pour the flour mix into the wet mix. Stir gently until it all comes together. Do not overmix, or the cookies get tough. I once overmixed a batch and they came out like little hockey pucks. We still ate them with milk. Finally, you fold in the chocolate chips. See those little dark dots? That is the reward for being patient.Shaping and Baking with Love
Use a spoon or a cookie scoop to make little balls. Place them two inches apart on the baking sheet. Then press each one down with a fork. This gives them that pretty crisscross pattern on top. My grandma always said, “Press them gently, like you are tucking a baby into bed.” Bake them for just ten minutes. They will look soft when they come out. Do not panic. Let them sit on the hot sheet for five minutes. They will harden up as they cool. I dare you to try and not eat one right away. They are best when they are still a little warm and the chocolate is melty.Keeping Them Fresh for Busy Days
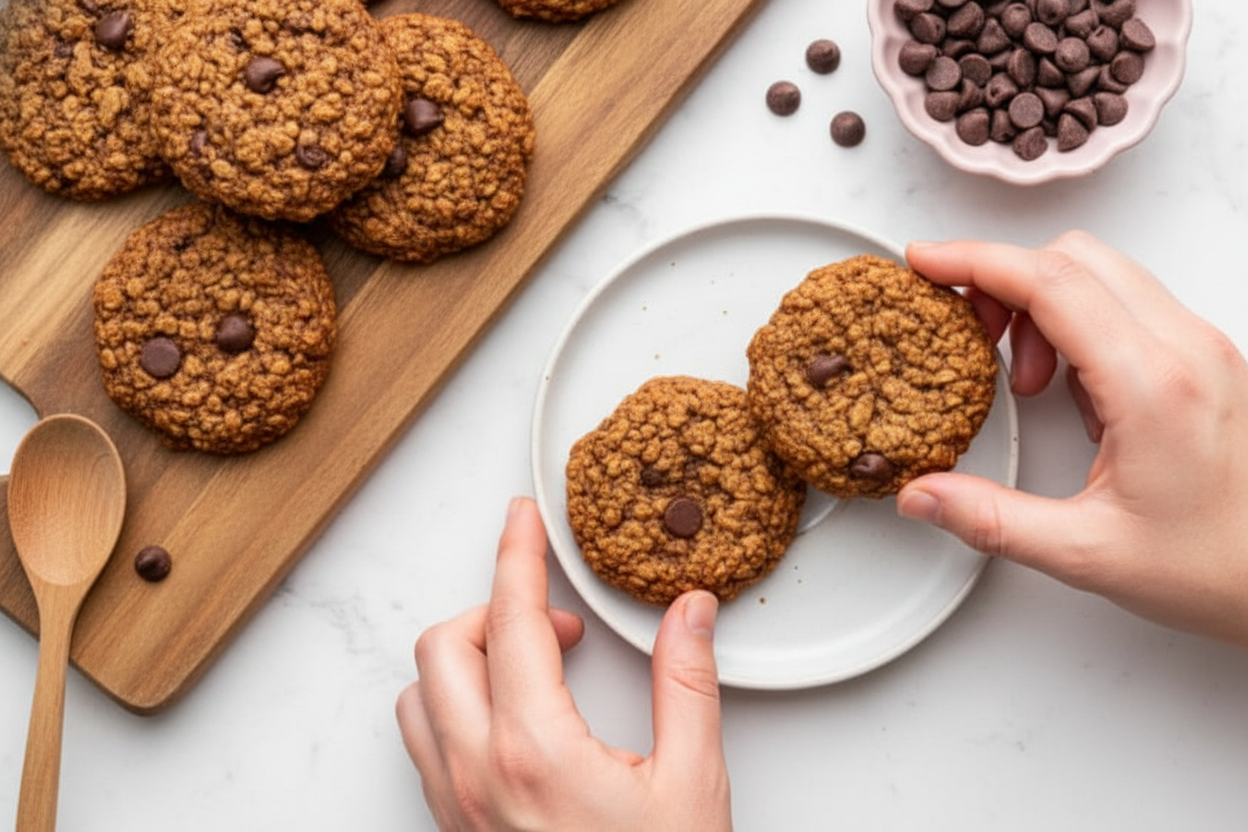
Store these cookies in a tight container in the fridge. They last up to ten days. You can also freeze them for three months. That is perfect for a tired mom who needs a quick snack at 2 a.m. I always make a double batch and give half to a friend. Have you ever made food to help a friend who was having a hard time? It is one of the sweetest things you can do.A Little Question for You
Now I have to ask: who in your life could use a warm, soft cookie right now? Maybe it is a new mom. Maybe it is someone who just needs a kind treat. These cookies are really just love in disguise. I hope you make them and share them. And I hope you remember that the best ingredients are always patience and a happy heart. So, tell me, do you prefer milk chocolate or dark chocolate chips in your cookies?Ingredients:
| Ingredient | Amount | Notes |
|---|---|---|
| Ground flaxseed | 2 tablespoons | |
| Water | ⅓ cup | |
| Quick cooking oats | 2 ¼ cups | |
| Oat flour | ¾ cup | |
| Brewer’s yeast | 3 tablespoons | |
| Baking soda | ½ teaspoon | |
| Baking powder | ½ teaspoon | |
| Cinnamon | ½ teaspoon | |
| Sea salt | ¼ teaspoon | |
| Melted coconut oil | ½ cup | |
| Coconut sugar (or brown sugar) | 1 cup | Brown sugar works as well |
| Vanilla extract | 1 teaspoon | |
| Chocolate chips | ½ cup | Dairy-free, if needed |
These Cookies Helped My Best Friend (And They Taste Great Too!)
I still laugh at the day my best friend called me in a panic. She was a new mom, tired, and worried about her milk supply. A friend told her about “lactation cookies.” She thought they would taste like cardboard. I promised her we would make a batch together that actually tasted like a treat.
We stood in my tiny kitchen, and she kept sniffing the brewer’s yeast. “This smells like soup,” she said, worried. I just smiled and told her to trust me. By the time the cookies came out of the oven, her whole face changed. The cinnamon and chocolate won her over. Doesn’t that smell amazing just thinking about it?
These cookies are packed with good stuff for nursing moms. But honestly, anyone who loves a soft, chewy oatmeal cookie will ask for the recipe. The secret is not to overbake them. We learned that the hard way when our first batch turned into crunchy little rocks.
Which healthy ingredient surprises you most in a cookie? Share below!
Let’s get mixing. Here is the simple step-by-step to make your own batch of these soft and helpful cookies.
Step 1: First, preheat your oven to 350°F. Grab two baking sheets and spray them with non-stick spray. You can also use parchment paper. This keeps the cookies from sticking.
Step 2: In a small bowl, whisk together 2 tablespoons of ground flaxseed with ⅓ cup of water. Let this sit for about 5 minutes. It will get thick and gooey, like an egg. This is your “flax egg.” (Hard-learned tip: Do not skip this rest time. If you rush, the cookies will be too crumbly.)
Step 3: In a medium bowl, stir together 2 ¼ cups quick oats, ¾ cup oat flour, 3 tablespoons brewer’s yeast, ½ teaspoon baking soda, ½ teaspoon baking powder, ½ teaspoon cinnamon, and ¼ teaspoon sea salt. Set this bowl aside for now.
Step 4: In a big mixing bowl, combine ½ cup melted coconut oil, 1 cup coconut sugar (or brown sugar), your flax egg mixture, and 1 teaspoon vanilla. Whisk it all together until it’s smooth and shiny. My friend loved this part because it looked like caramel.
Step 5: Pour the dry flour mixture into the wet bowl. Stir gently with a spatula until you can’t see any more dry flour. Do not mix too much, or the cookies will get tough. Then, gently fold in ½ cup of chocolate chips.
Step 6: Use a spoon or a cookie scoop to drop tablespoon-sized balls onto your baking sheets. Leave about 2 inches between each ball. Press each one down a little bit with a fork. This helps them bake evenly and look pretty.
Step 7: Bake for exactly 10 minutes, until the edges turn golden brown. The centers will look soft, and that is perfect. Do not bake them longer, or they will get too crisp. Let them cool on the sheet for 5 minutes, then move them to a rack to finish cooling.
Store these cookies in a sealed container in the fridge. They stay soft and chewy for up to 10 days. You can also freeze them for 3 months. My friend hid a few in the freezer for herself!
Cook Time: 10 minutes
Total Time: 25 minutes
Yield: 24 cookies
Category: Snack, Dessert
Three Fun Twists On This Recipe
Once you master the basic recipe, it is fun to shake things up. I love adding little surprises to keep the cookies interesting. Here are three of my favorite ways to change the flavor.
Spiced Apple Twist: Replace the chocolate chips with ½ cup of diced dried apple and add ¼ teaspoon of nutmeg. It tastes just like a warm apple pie.
Peanut Butter Dream: Swap the coconut oil for ½ cup of creamy peanut butter. Omit the chocolate chips, or keep them for a peanut butter cup cookie.
Tropical Sun: Use ¼ cup of unsweetened shredded coconut and ¼ cup of chopped dried mango instead of the chocolate chips. It feels like a little vacation.
Which one would you try first? Comment below!
How To Serve These Cookies (It Matters More Than You Think)
These cookies are lovely just as they are, but a little extra touch makes them feel special. I love to warm one up for ten seconds in the microwave. It makes the chocolate chips all gooey and soft inside.
For a pretty plate, stack three cookies on a small dish with a few fresh berries on the side. The tartness of raspberries or blueberries balances the sweet cookie perfectly. A little dusting of cinnamon on the plate looks fancy too.
For a drink, pour a tall glass of cold oat milk. It is creamy and matches the oat flavor in the cookies. If you want something for a cozy evening, a small cup of warm chamomile tea is wonderful and relaxing.
Which would you choose tonight?
Storing Your Cookies Like a Pro
These cookies store really well. I keep mine in an airtight container in the fridge. They stay fresh for up to ten days. You can also freeze them for up to three months. Just stack them with a bit of parchment paper between each layer.
To reheat, pop one in the microwave for about ten seconds. Or let it sit on the counter for a few minutes. I remember my first batch. I froze half and forgot about them for a month. They tasted just as good as fresh!
Batch cooking saves so much time. You can make a double batch on Sunday and have snacks ready all week. This matters because new moms are busy and tired. Having a ready snack helps you stay strong.
Have you ever tried storing it this way? Share below!
Common Cookie Problems Fixed Easy
Sometimes your cookies turn out too dry. This happens if you bake them too long. Watch them closely at the ten-minute mark. They should look golden but still soft in the middle.
Another issue is cookies that fall apart. Make sure your flax eggs are gooey before mixing them in. Let them sit for five minutes after whisking. I once forgot this step and had crumbly cookies everywhere!
Your cookies might taste bitter. That is from too much brewer’s yeast. Use the exact amount in the recipe. This matters because fixing these problems makes you a more confident cook. You learn to trust your eyes and hands.
Which of these problems have you run into before?
Your Questions Answered
Q: Can I make these gluten-free?
A: Yes, just use certified gluten-free oats and oat flour.
Q: Can I make the dough ahead?
A: Yes, roll the dough into balls and freeze them. Bake when you want fresh cookies.
Q: Can I swap coconut sugar for something else?
A: Yes, brown sugar works great and gives a deeper flavor.
Q: Can I halve the recipe?
A: Yes, simply cut every ingredient in half. Bake for the same time.
Q: Any extra tips?
A: Add a handful of chopped nuts or dried cranberries for crunch.
Which tip will you try first?
A Warm Goodbye from Lena
I hope these cookies bring you joy and comfort. They are made with love for you and your little one. Remember, every batch gets better with practice. Share your photos with us so we can see your beautiful baking.
*Fun fact: These cookies freeze so well you can make them before your baby arrives.*
Have you tried this recipe? Tag us on Pinterest!
Happy cooking!
—Lena Morales.

Healthy Lactation Cookies: Healthy Lactation Cookies for Breastfeeding Moms
Description
Delicious and nutritious lactation cookies made with oats, brewer’s yeast, and flaxseed to support breastfeeding moms.
Ingredients
Instructions
- Preheat oven to 350°F and spray two baking sheets with cooking spray or line with parchment or Silpat and set aside.
- Make flax eggs by whisking together ground flaxseed with water. Set aside.
- In a medium bowl, mix together oats, oat flour, brewer’s yeast, baking soda, baking powder, cinnamon and salt. Set aside.
- In a large mixing bowl mix together oil, sugar, flaxseed eggs and vanilla until smooth.
- Add dry ingredients into the bowl with the wet ingredients and stir until just combined.
- Gently stir in chocolate chips.
- Using a spoon or cookie scoop, drop cookie dough by rounded tablespoonfuls about 2 inches apart on baking sheets. Press each cookie down with a fork a bit.
- Bake for 10 minutes, or until golden brown. The cookies may seem a little soft, but do not over bake or they’ll get too crisp. Remove from oven and let cool on sheet for about 5 minutes or until they start to harden up a bit. At this point you can transfer the cookies to a wire rack to cool completely.
- Store cookies in an airtight container in the fridge for up to 10 days or in the freezer for up to 3 months.
Notes
- Store cookies in an airtight container in the fridge for up to 10 days or in the freezer for up to 3 months.


Leave a Reply