The Best Kind of Mess
I first made these for my grandson’s school bake sale. The kitchen was a wonderful mess. Marshmallows were stuck to my fingers. I still laugh at that.
But you know what? That mess means you are making memories. It is not just about the treat. It is about the fun you have creating it. That matters more than a clean floor.
Building Your Chocolate Dream
Start with your brownie mix. Bake it just like the box says. Your house will start to smell amazing. That is the first layer of your dream.
Then, pour the mini marshmallows on top. Put the pan back in the warm oven. Watch them get puffy and gooey. It is like a fluffy cloud on a chocolate sky.
A Little Crunch and a Cool Story
Next, sprinkle on the sliced almonds. They add a nice little crunch. This reminds me of my friend, Maria. She always adds nuts for a surprise.
*Fun fact*: Almonds are not really nuts. They are the seeds of a fruit, related to peaches! Isn’t that funny? Now, let the pan cool down. This is a good time to take a breath.
The Magic Icing
Now for the magic part. You make the icing in a saucepan. Mix the butter, buttermilk, and cocoa powder. Heat it until it gets bubbly.
Then you take it off the heat. Stir in the powdered sugar and vanilla. Be careful, it is hot! Let it sit for a bit. This waiting makes the icing just right for pouring.
Your Turn to Share
Once the icing is cool, pour it over everything. Try to spread it to the edges. Now, you must wait for it to cool completely. This is the hardest part!
But it is worth it. When you cut the squares, you see all the beautiful layers. This shows how simple steps can make something special. What is your favorite thing to bake with a friend? Tell me about your kitchen adventures. I love hearing your stories.
Ingredients:
| Ingredient | Amount | Notes |
|---|---|---|
| Brownie mix | 1 (18 to 19-ounce) box | Plus ingredients to prepare brownies per the package instructions |
| Mini marshmallows | 3 cups | |
| Sliced almonds | 1 cup | |
| Butter | 1/4 cup | |
| Buttermilk | 3 tablespoons | |
| Cocoa powder | 2 tablespoons | |
| Powdered sugar | 2 cups | |
| Vanilla | 1/2 teaspoon |
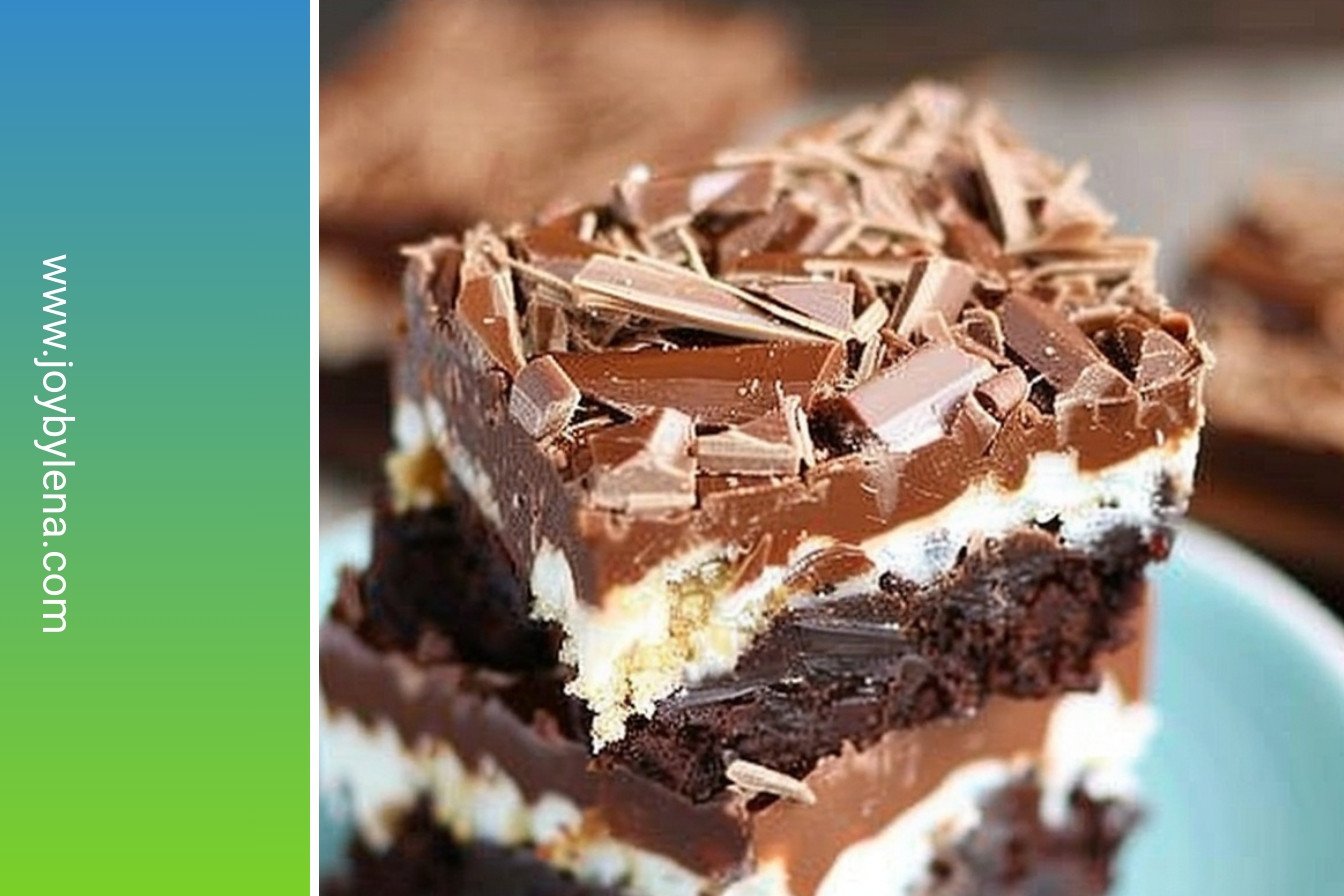
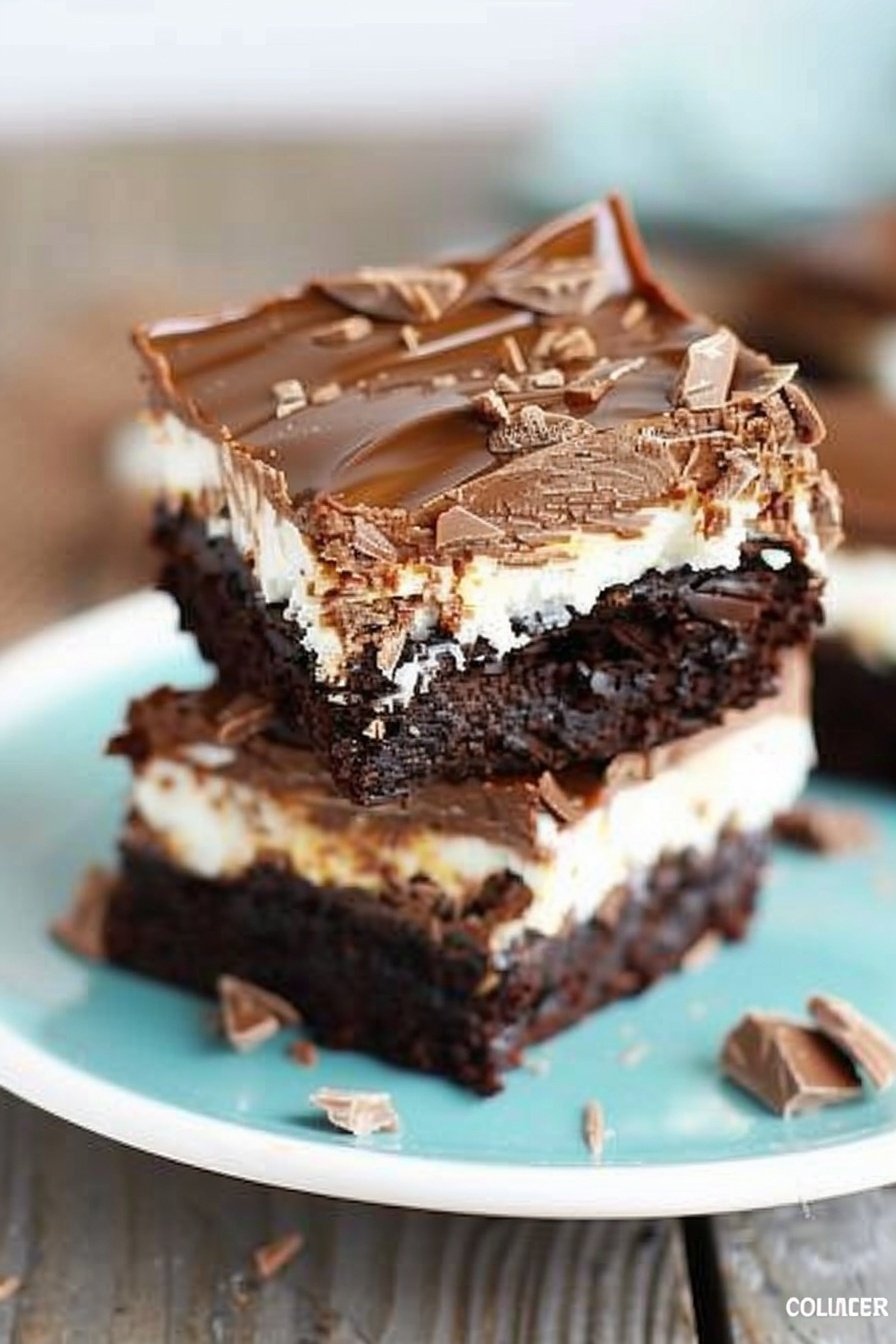
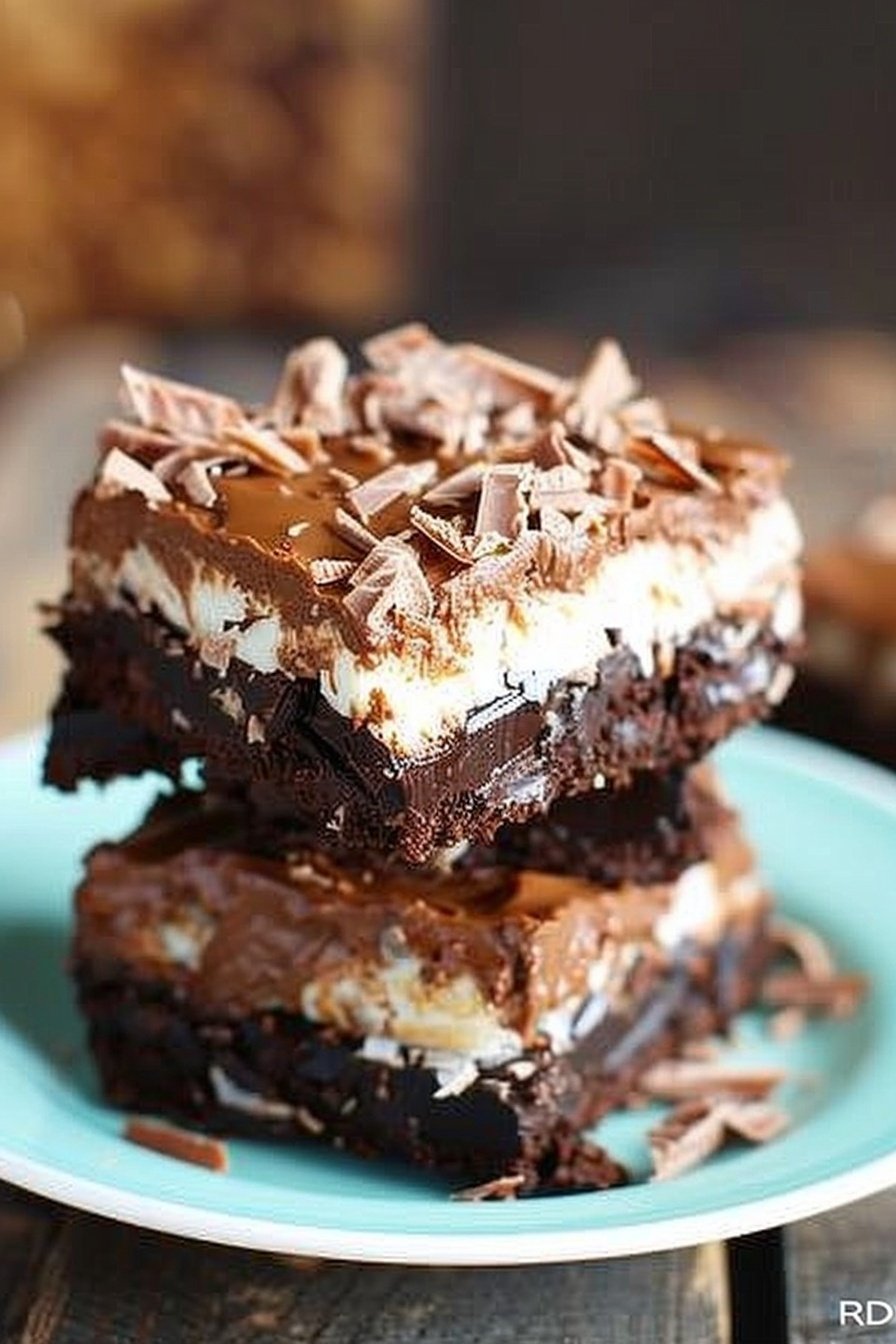
Heavenly Chocolate Squares: A Sweet Story
My grandson calls these “cloud squares.” I think that’s just perfect. You get a rich, fudgy brownie base. Then a soft, fluffy marshmallow cloud sits on top. A crunchy almond blanket and shiny chocolate icing finish it. It’s like a little hug on a plate. I love making these for my book club. The whole house smells like a chocolate dream.
Let’s Get Baking!
First, you’ll need a box of brownie mix. Prepare it just like it says on the box. Pour the batter into a greased pan and bake it. Your kitchen will start to smell amazing. Once the brownies are done, pull them out. But don’t turn the oven off! We need that heat for the next step.
Step 1: The Marshmallow Cloud
Sprinkle three cups of mini marshmallows over the hot brownies. Do this right away. The heat will start to make them soft. Now, pop the whole pan back into the warm oven. Watch them carefully through the window. You just want them puffy and melty, not brown. (I learned this the hard way once. Don’t walk off to answer the phone!)
Step 2: The Almond Blanket
Take the pan out again. Now, scatter one cup of sliced almonds over the marshmallows. They will stick to the soft, gooey surface. Let the whole pan cool on the counter. This takes some patience. I know it’s hard to wait! Do you like your treats chewy or crunchy? Share below!
Step 3: The Magic Icing
Time for the magic icing. In a saucepan, mix butter, buttermilk, and cocoa powder. Stir it until it comes to a boil. Then take it off the heat. Carefully stir in the powdered sugar and vanilla. It will get smooth and glossy. Let this icing cool for about 15 minutes. Then pour it right over the almonds.
Step 4: The Final Test
The final test is waiting. Let the squares cool completely before you cut them. This makes for nice, clean slices. If you cut them warm, the icing will run. I still laugh at the first time I made these. We had a delicious, gooey mess! It was still wonderful, though.
Cook Time: 25 minutes
Total Time: 1 hour
Yield: 12 squares
Category: Dessert, Bars
Three Tasty Twists to Try
This recipe is like a good friend. It’s wonderful as it is, but you can play dress-up! Here are a few fun ideas my family loves. They are all so simple. You can’t go wrong with any of them.
Rocky Road: Swap the almonds for chopped walnuts. Mix in some chocolate chips with the marshmallows.
Peanut Butter Cup: Drizzle melted peanut butter over the marshmallows before adding the almonds.
Coconut Dream: Use toasted coconut flakes instead of almonds. It tastes like a candy bar.
Which one would you try first? Comment below!
Serving Your Sweet Creation
These squares are a star all on their own. But I love making a plate look pretty. For a special touch, place a square on a small plate. Add a few fresh raspberries on the side. The little bit of tart fruit is so nice with the sweet chocolate. A dollop of whipped cream never hurts either.
What to drink? A cold glass of milk is the classic choice. It’s my favorite. For the grown-ups, a small glass of ruby port is lovely. The deep, fruity wine sips so well with the rich chocolate. Which would you choose tonight?
Keeping Your Chocolate Squares Perfect
Let’s talk about keeping these treats yummy. They last three days in the fridge. Just cover the pan tightly with foil.
You can also freeze them for a sweet surprise later. Cut them into squares first. Wrap each one in plastic wrap and pop them in a freezer bag.
I once sent a frozen batch to my grandson at college. He said it made his whole dorm happy. Batch cooking like this saves you time for later.
This matters because a ready-made treat can brighten a tough day. Let them thaw on the counter for an hour before eating. Have you ever tried storing it this way? Share below!
Easy Fixes for Common Chocolate Square Troubles
Sometimes our baking needs a little help. If your marshmallows get too brown, just move your pan to a lower oven rack. I remember when I burned a whole tray because my oven was too hot.
Is your icing too runny? Let it cool a bit longer in the pan. It will thicken up nicely. Is it too thick? Just add a tiny splash of buttermilk.
Getting the squares to cut cleanly is easier if you wait. Let everything cool completely first. This patience gives you neat, beautiful pieces.
Fixing small problems builds your confidence in the kitchen. It also makes the final flavor so much better. Which of these problems have you run into before?
Your Chocolate Square Questions Answered
Q: Can I make these gluten-free?
A: Yes! Just use your favorite gluten-free brownie mix. It works just the same.
Q: Can I make them ahead of time?
A: Absolutely. They are even better the next day. The flavors get to know each other.
Q: What if I don’t have buttermilk?
A: No problem. Mix one cup of milk with one tablespoon of lemon juice. Let it sit for five minutes.
Q: Can I double the recipe?
A: You can, for a big party. Just use a bigger, greased baking sheet.
Q: Are the almonds optional?
A: Of course. You can leave them out or use chopped peanuts instead. *A fun fact: The marshmallow topping was my granddaughter’s idea!
Which tip will you try first?
Share Your Kitchen Creations
I hope you love making these chocolate squares. Baking should fill your home with joy and good smells. I would love to see what you create in your own kitchen.
It makes me so happy to see your versions. Please share your photos with everyone. Have you tried this recipe? Tag us on Pinterest!
Happy cooking!
—Lena Morales.
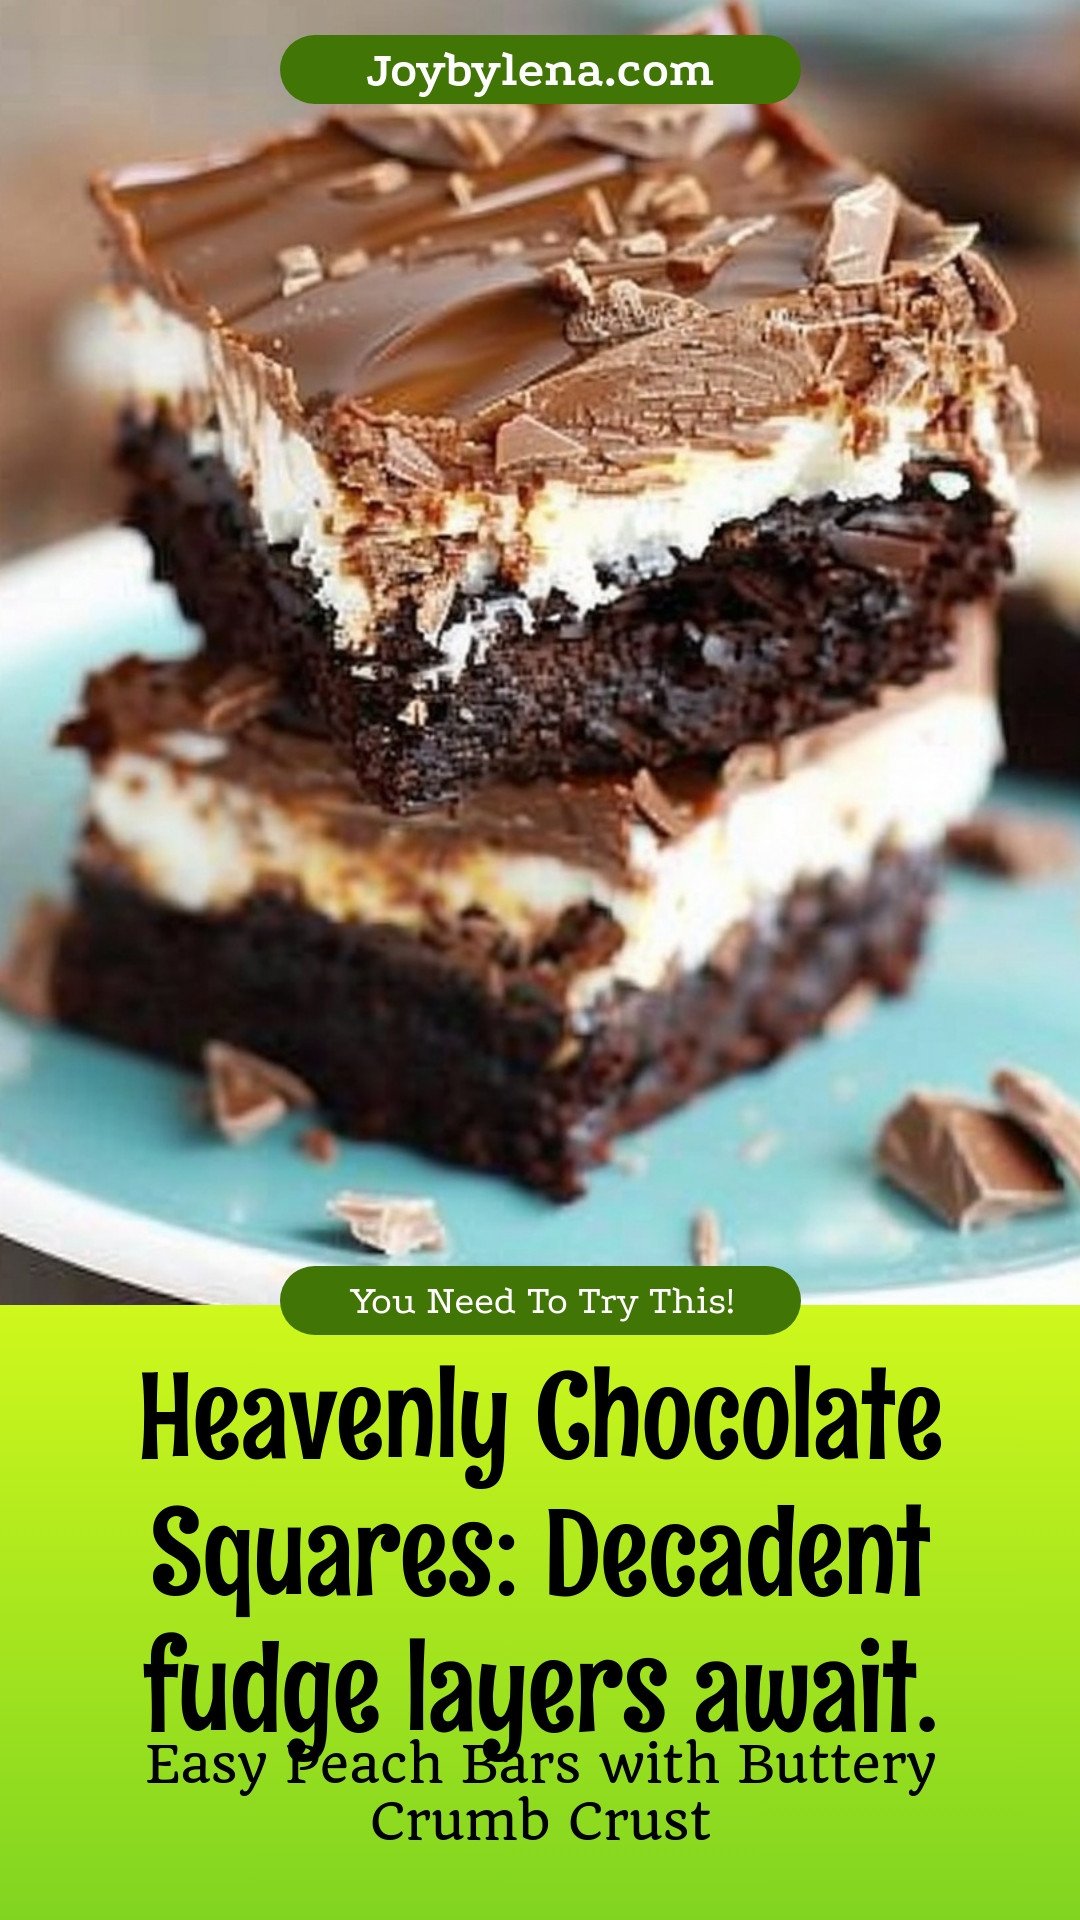
Heavenly Chocolate Squares: Decadent fudge layers await.:
Description
Indulge in the ultimate chocolate dessert! These heavenly squares feature rich, decadent fudge layers for an easy, irresistible treat. Perfect for parties and chocolate lovers.
Ingredients
Instructions
- Prepare brownies to package directions and remove from oven, leaving oven on.
- Top with marshmallows and return to hot oven until marshmallows puff up and melt slightly.
- Remove from oven and top with almonds, cool.
- In a medium sauce pan, combine butter, buttermilk, and cocoa powder. Cook until boiling.
- Remove from heat and add sugar and vanilla. Allow icing to cool for 15 minutes.
- Pour icing over almonds and marshmallows. Allow to cool completely before cutting.


Leave a Reply