The Day I Fell in Love with Crispy Rice
I was visiting my friend Yuki in her tiny kitchen. She pulled a baking sheet from the oven and the smell hit me first. It was warm, salty, and a little bit like the ocean.
She handed me a piece and it snapped in my mouth. I still laugh at that sound because I ate five before she could stop me. Have you ever had a snack that just makes you grin for no reason?
Why We Use Leftover Rice for This
This recipe starts with cooked rice. Cold rice from yesterday works best because it is drier. Sticky, warm rice makes a mess instead of a crisp.
Using leftover rice means we waste less food. That is one big reason I love this recipe. Doesn’t that smell amazing when it starts to toast in the oven? It fills the whole house.
The Seaweed Secret I Learned from Yuki
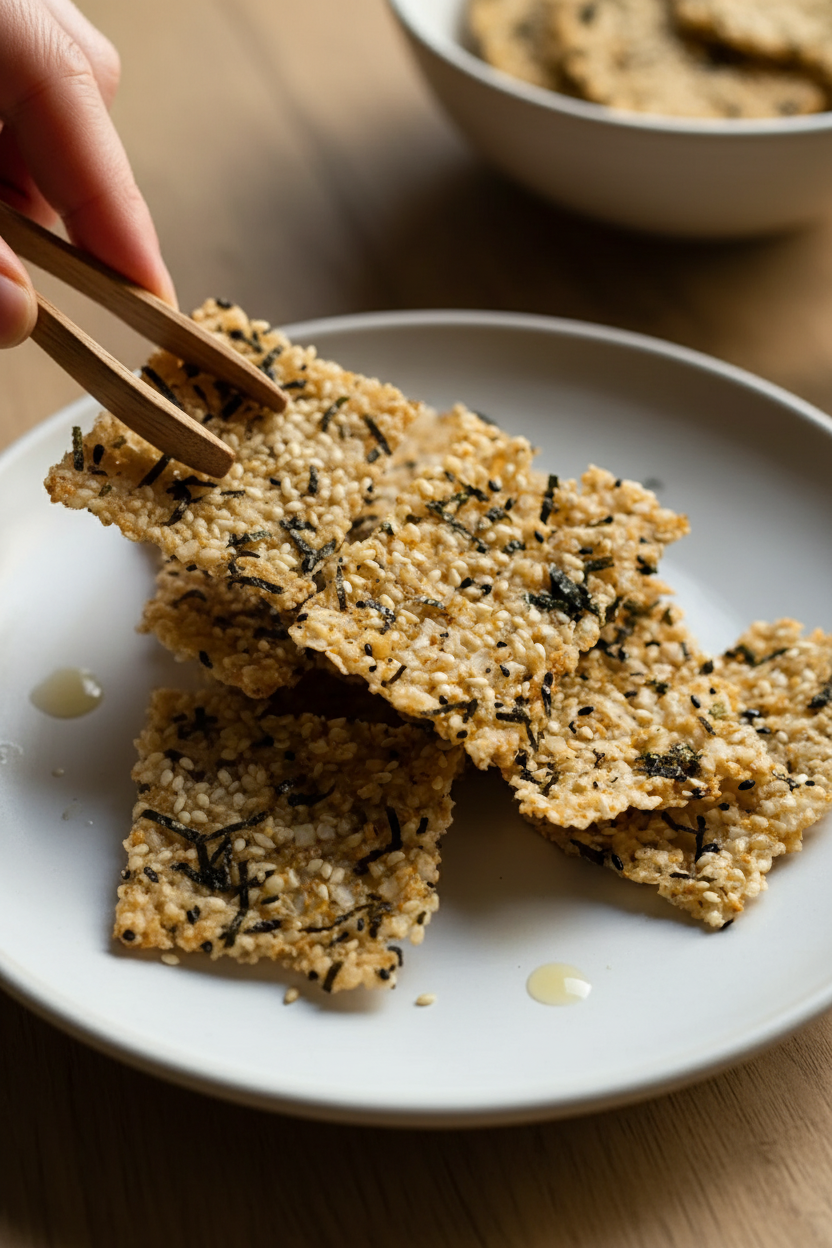
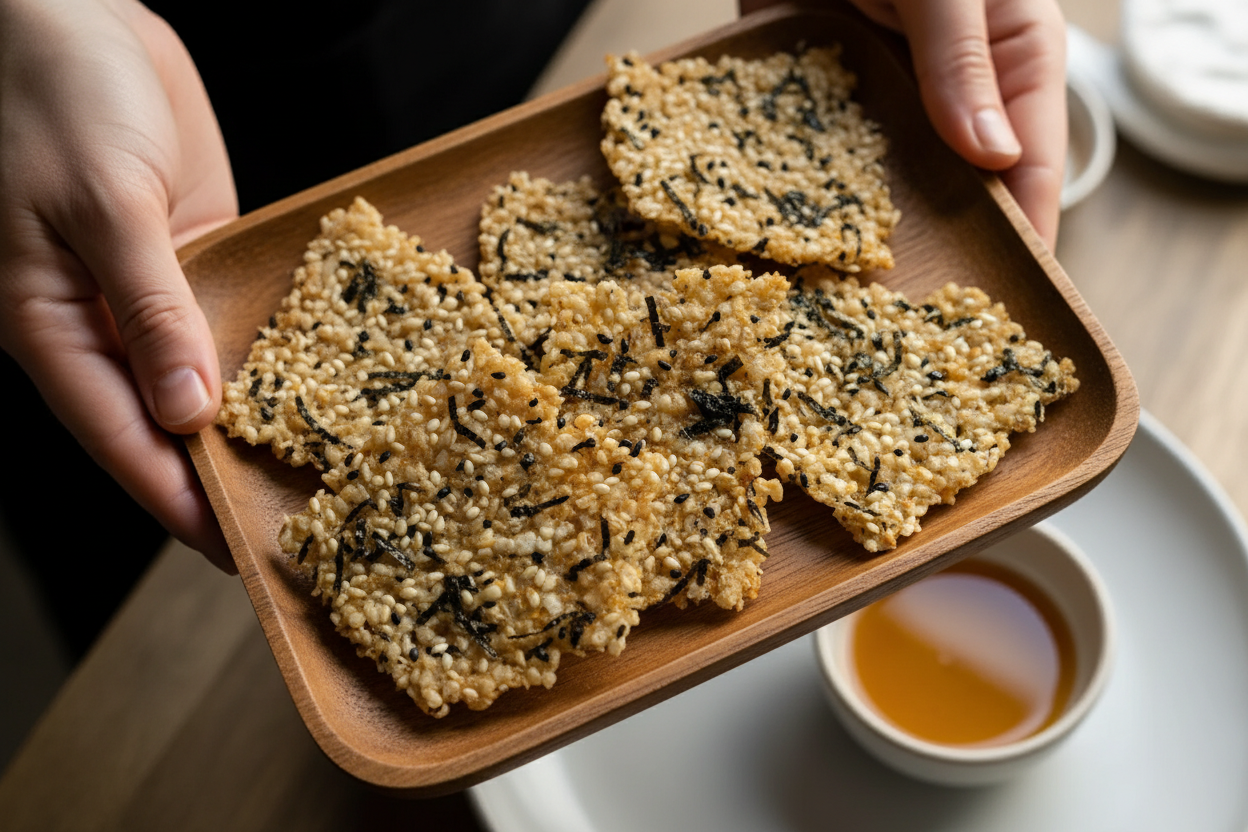
Yuki showed me how to shred the nori with scissors. You snip it into tiny, skinny strips. The seaweed looks like dark green confetti.
She told me her grandmother always added nori to rice snacks. It gives a taste of the sea without being fishy. *Fun fact: Nori is the same seaweed wrapped around sushi rolls, just dried and crunchy.* I have a bag in my pantry at all times now.
Why Sesame Seeds Are Little Powerhouses
This recipe uses both white and black sesame seeds. White seeds taste nutty and soft. Black seeds are crunchier and a little stronger.
When you mix them together, they look like tiny stars on the rice disks. Toasted sesame oil adds even more warmth. Have you ever tried to count all the seeds on one crisp? I dare you to try.
The Trick to Getting Them Thin and Crunchy
You need to flatten each spoonful of rice into a thin disk. Use a wet spoon or wet fingertips so the rice does not stick. Aim for about the thickness of a coin.
Thicker disks stay soft in the middle. Thin disks turn golden and shatter when you bite them. That is the crunch you want, I promise.
Patience Pays Off in the Oven
Baking takes 25 to 35 minutes. You flip them halfway through so both sides get brown. Watch them near the end because they burn fast.
This matters because rushing makes soggy snacks. Waiting lets the water cook out and the oil do its work. Which step in the kitchen tests your patience the most?
How to Keep Them Fresh for Days
Let the crisps cool completely on a wire rack. If you stack them while warm, they will steam and get soft. Store them in an airtight container for up to a week.
But I bet they disappear faster than that. My grandkids polish off a batch in one afternoon. What snack would you make if you had only rice and seaweed in the house?
Ingredients:
| Ingredient | Amount | Notes |
|---|---|---|
| Cooked short-grain rice | 1 cup | Rice Base |
| Salt | 1/2 teaspoon | Rice Base |
| Rice vinegar | 1 tablespoon | Rice Base |
| Toasted sesame oil | 2 teaspoons | Flavorings |
| White sesame seeds | 1 tablespoon | Flavorings |
| Black sesame seeds | 1 tablespoon | Flavorings |
| Nori seaweed, finely shredded | 2 sheets | Flavorings |
| Neutral oil or cooking spray | As needed | Finishing |
The Snack That Won My Grandkids Over
I still remember the first time I made these crispy seaweed rice snacks. My kitchen smelled like a little seaside bakery. My youngest grandkid, Leo, kept peeking into the oven. He asked, “Grandma, is that sea paper in there?” I laughed so hard I almost forgot to flip them. Doesn’t that smell amazing? Let’s make some together.
These little disks are crunchy, salty, and full of toasty sesame flavor. They use leftover rice you might have in the fridge. That makes them a smart, no-waste snack. My neighbor once told me she uses sticky sushi rice for extra crunch. I tried it, and she was right. Which one of your kitchen tricks makes snacks better? Share below!
Step 1: Preheat your oven to 325°F. That’s 160°C for my friends across the pond. Line a baking sheet with parchment paper so nothing sticks. I once forgot the paper and spent an hour scraping. (Hard-learned tip: always use parchment, or you’ll be scrubbing until dinner!)
Step 2: Grab a bowl and dump in one cup of cooked short-grain rice. Sprinkle in half a teaspoon of salt and one tablespoon of rice vinegar. Stir it gently until every grain gets a little tangy coat. My husband says this step wakes up the rice like a morning stretch. He’s not wrong.
Step 3: Now add the fun stuff. Pour in two teaspoons of toasted sesame oil. Toss in one tablespoon each of white and black sesame seeds. Finely shred two sheets of nori seaweed and mix everything together. The black and white seeds look like tiny confetti. I always think they’re too pretty to eat, but I eat them anyway.
Step 4: Spoon heaping teaspoons of the mixture onto your baking sheet. Flatten each one into a thin disk about the thickness of a coin. Dip your fingers in water first so the rice doesn’t stick to you. My friend Maria uses the back of a wet spoon. She says it’s faster, and she’s a smart cookie.
Step 5: Lightly brush or spray the tops with a neutral oil like canola or grapeseed. This helps them turn golden and adds that nice crunch. Pop the tray in the oven for 25 to 35 minutes. Flip each crisp halfway through so both sides get crispy and brown.
Step 6: When they look golden and sound crunchy when tapped, they are done. Move them to a wire rack to cool completely. They will get even crispier as they sit. Store them in an airtight jar, if they last that long. My grandkids usually polish them off in one afternoon.
Cook Time: 25–35 minutes
Total Time: 45 minutes
Yield: About 20–24 crisps
Category: Snack, Appetizer
Three Fun Twists to Try
Plain is nice, but playing around is better! Here are three twists my family loves. Which one would you try first? Comment below!
Spicy Kick: Add half a teaspoon of chili flakes or a tiny drizzle of sriracha to the rice mix. The heat pairs perfectly with the cool sesame.
Cheesy Crunch: Stir in two tablespoons of finely grated parmesan cheese before baking. It melts into golden, salty spots. My nephew says it tastes like fancy popcorn.
Lemony Herb: Mix in the zest of half a lemon and a pinch of dried thyme. It makes the crisps taste bright and fresh, like a summer garden snack.
How to Serve and Sip
These crisps shine as a crunchy dip partner. Serve them with a bowl of creamy hummus or a spicy yogurt dip. They also make a lovely topping for a simple miso soup. Just float a few on top for texture.
For a drink, try a cold glass of iced green tea with a squeeze of lemon. It cleanses your palate between each crunchy bite. For grown-ups, pair it with a light, crisp sake or a dry riesling wine. The salt and sesame love a little sweetness. Which would you choose tonight?
Storing Your Crisps (And My First Batch Mishap)
I remember my first batch of these rice crisps. I left them out on the counter in a bowl, uncovered. By morning, they were soft and chewy, not crunchy at all. I learned my lesson fast. Always store them in an airtight container.
These crisps keep well for up to a week at room temperature. Just place them in a sealed jar or zip-top bag. Do not put them in the fridge. The fridge makes them soggy. You can freeze them too. Lay them flat on a tray first, then pop them into a freezer bag. They will stay crisp for a month. Batch cooking is a lifesaver. Make a double batch on Sunday, and you have snacks all week. It saves time and money. Have you ever tried storing it this way? Share below!
Why does this matter? Because homemade snacks are better than store-bought. You control the salt and oil. Storing them right means you always have a crunchy treat ready when a craving hits.
Three Common Crisp Problems (And Easy Fixes)
I once made a batch that came out like cardboard. Hard as a rock! The problem was I flattened them too thin. Aim for about the thickness of a coin. Another time, my crisps were pale and soft. I realized my oven ran a little cool. You might need to bake them a few extra minutes if they look pale.
A third issue is the crisps falling apart. This happens when the rice mixture is too dry. Add a tiny splash of water next time. It helps everything stick together. Why does this matter? Because fixing these little mistakes makes you a better cook. You learn to trust your eyes and hands. Which of these problems have you run into before?
*Fun fact: Short-grain rice is sticky by nature, which helps the crisps hold their shape better than long-grain rice.*
Why does this matter? When your crisps come out perfect every time, you feel proud. Cooking becomes fun, not frustrating. You will want to share them with friends.
Your Top 5 Questions Answered
Q: Are these crisps gluten-free? A: Yes. Rice, sesame seeds, and nori are all naturally gluten-free. Just check your rice vinegar label to be sure.
Q: Can I make them ahead of time? A: Absolutely. Bake them a day or two before a party. They stay crunchy in a sealed container.
Q: What if I do not have black sesame seeds? A: Use all white sesame seeds. The flavor is the same, just a different look.
Q: Can I double the recipe? A: Yes. Just use two baking sheets and swap their positions halfway through baking.
Q: Any optional tips? A: Sprinkle a tiny pinch of flaky salt on top before baking. It adds a nice pop of flavor. Which tip will you try first?
A Warm Goodbye From My Kitchen to Yours
I hope you make these little crisps and love them as much as I do. They remind me of sunny afternoons in my grandma’s kitchen. She always said the best snacks come from a happy heart. So put on some music, get your hands in the rice, and have fun. Cooking does not have to be perfect. It just has to be yours. Have you tried this recipe? Tag us on Pinterest!
Happy cooking!
—Lena Morales.
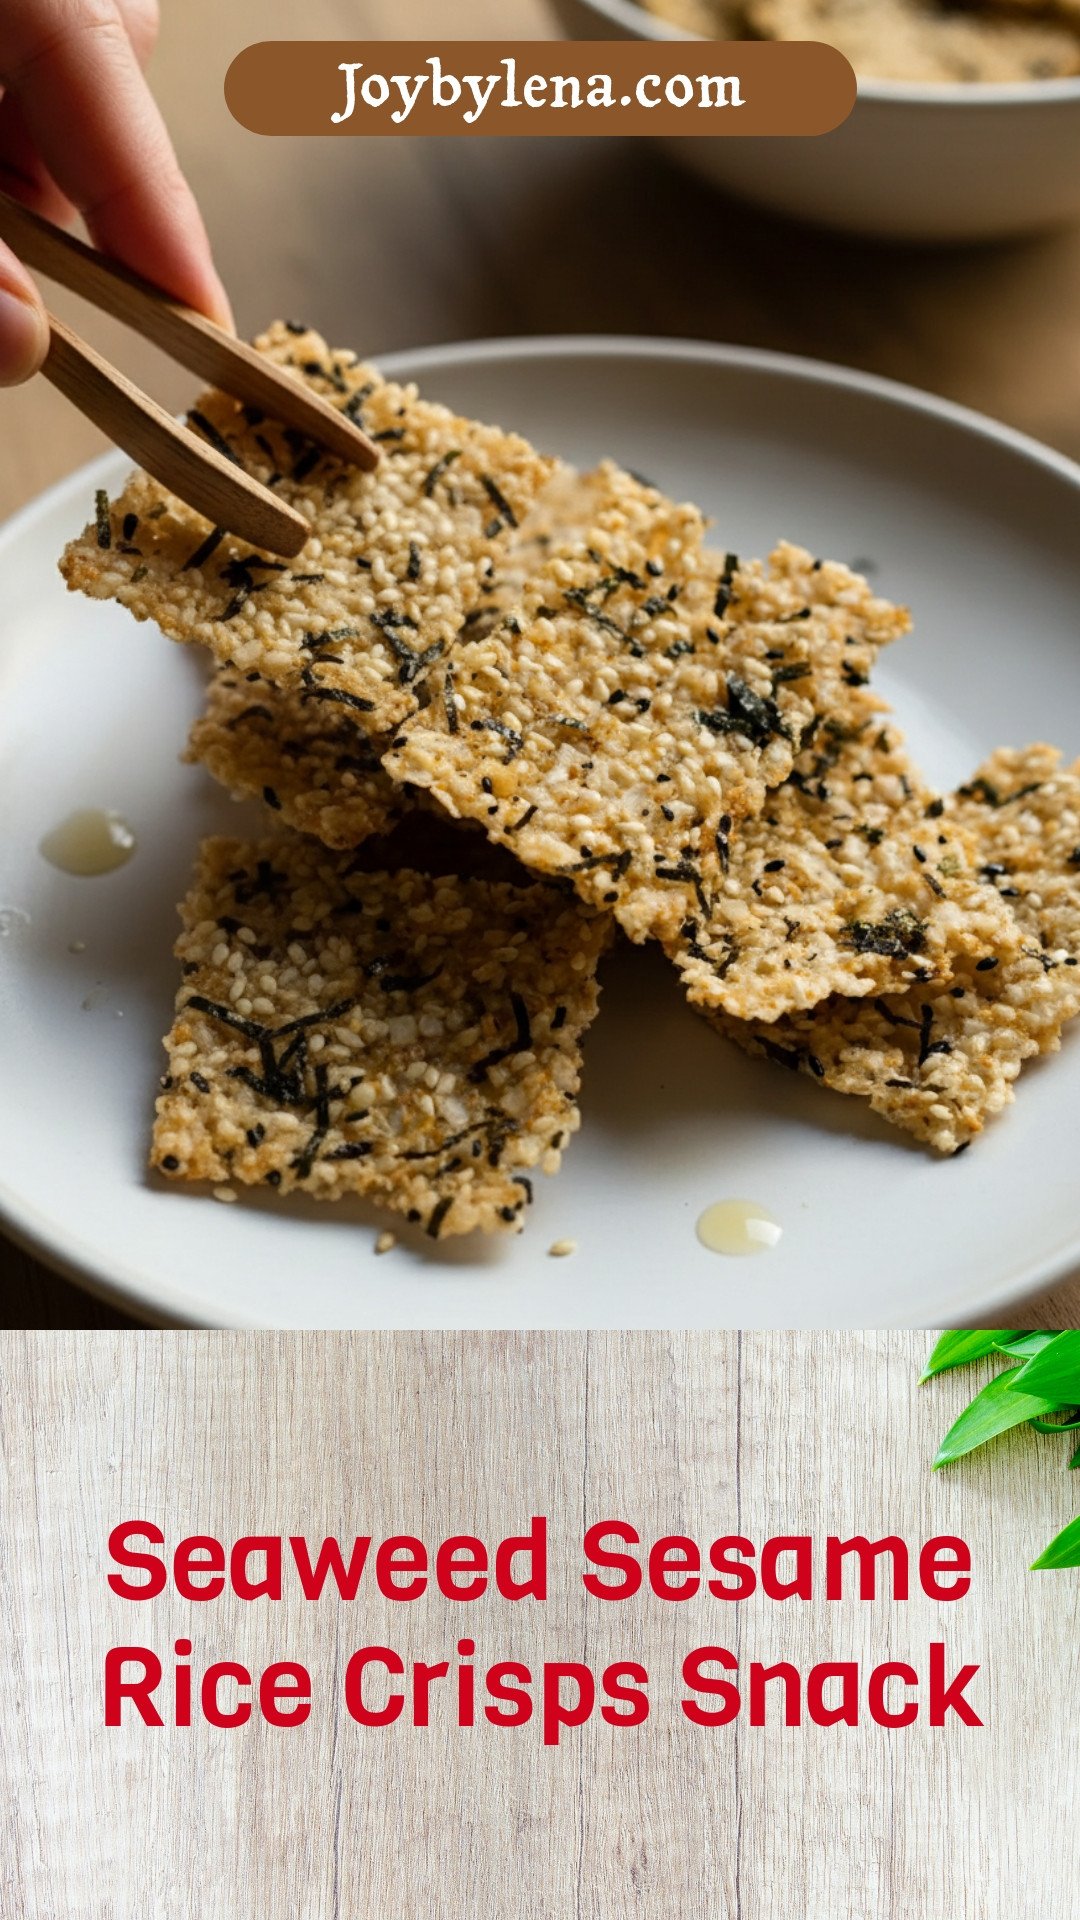
Seaweed Sesame Rice Crisps Snack
Ingredients
Instructions
- Preheat Oven: Preheat oven to 325°F (160°C) and line a baking sheet with parchment paper.
- Prepare Rice Mixture: Combine cooked short-grain rice, salt, and rice vinegar in a mixing bowl, stirring until evenly seasoned.
- Add Flavorings: Mix in toasted sesame oil, white sesame seeds, black sesame seeds, and shredded nori seaweed until fully incorporated.
- Portion and Shape: Spoon heaping teaspoons of the mixture onto the prepared baking sheet. Flatten each portion with a wet spoon or fingertips to approximately 1/8-inch thick, forming round disks.
- Apply Oil: Lightly brush or spray the tops of each disk with neutral oil.
- Bake: Bake for 25 to 35 minutes, flipping crisps halfway through, until golden brown and crisp.
- Cool and Serve: Transfer crisps to a wire rack to cool completely before serving or storing in an airtight container.


Leave a Reply